The Queen
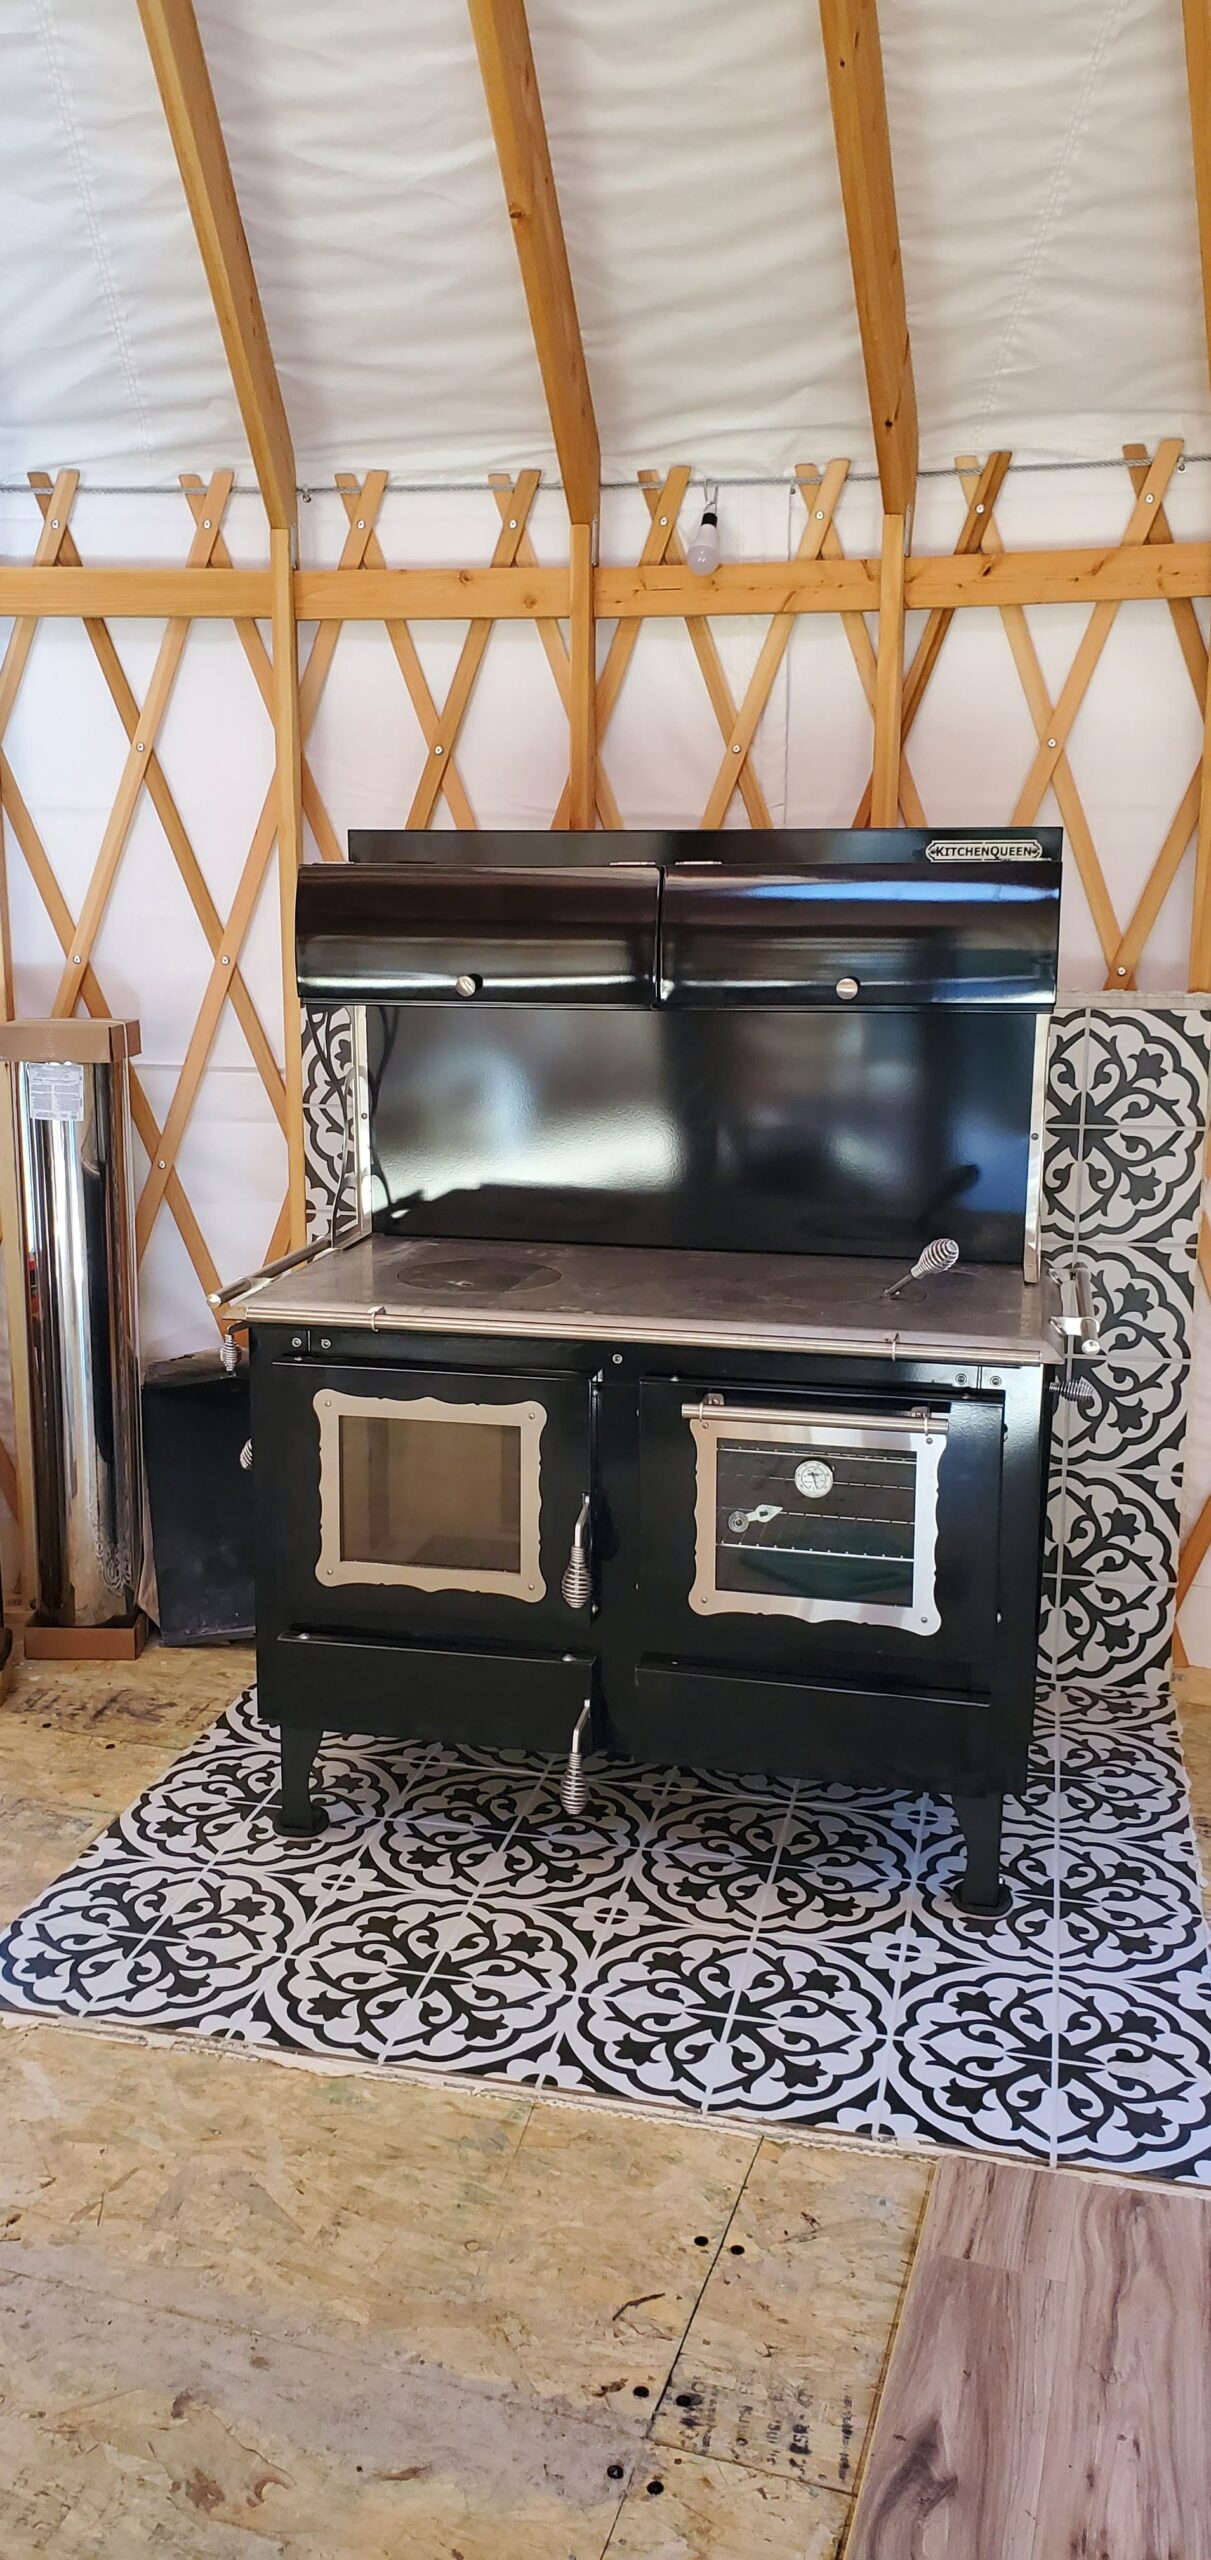
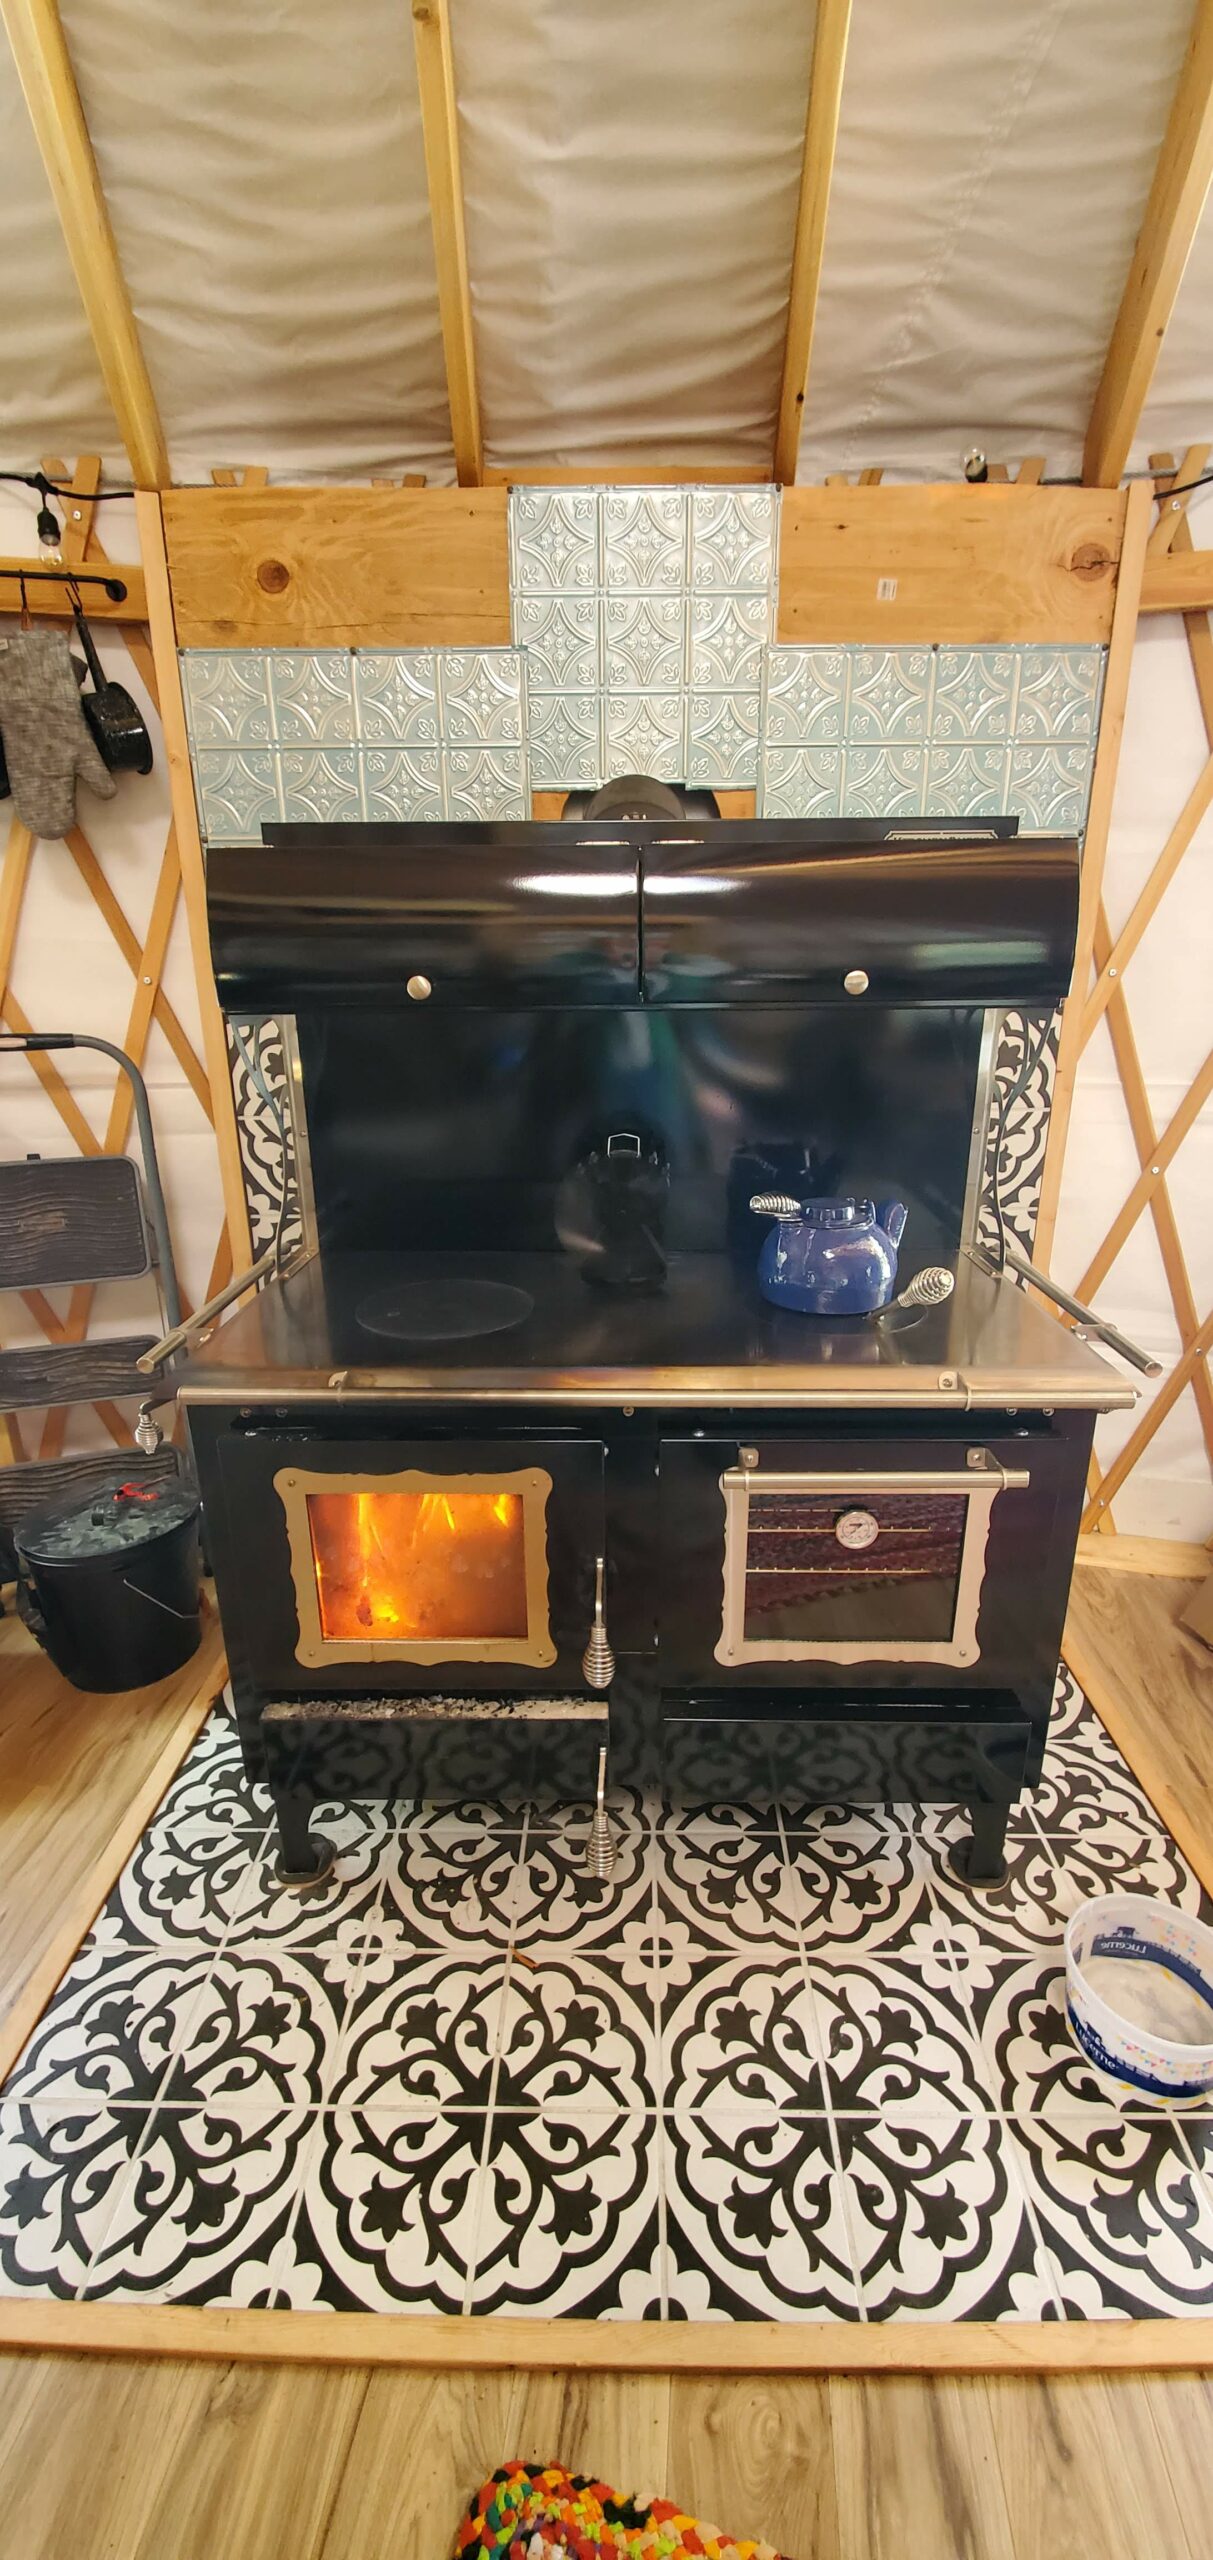
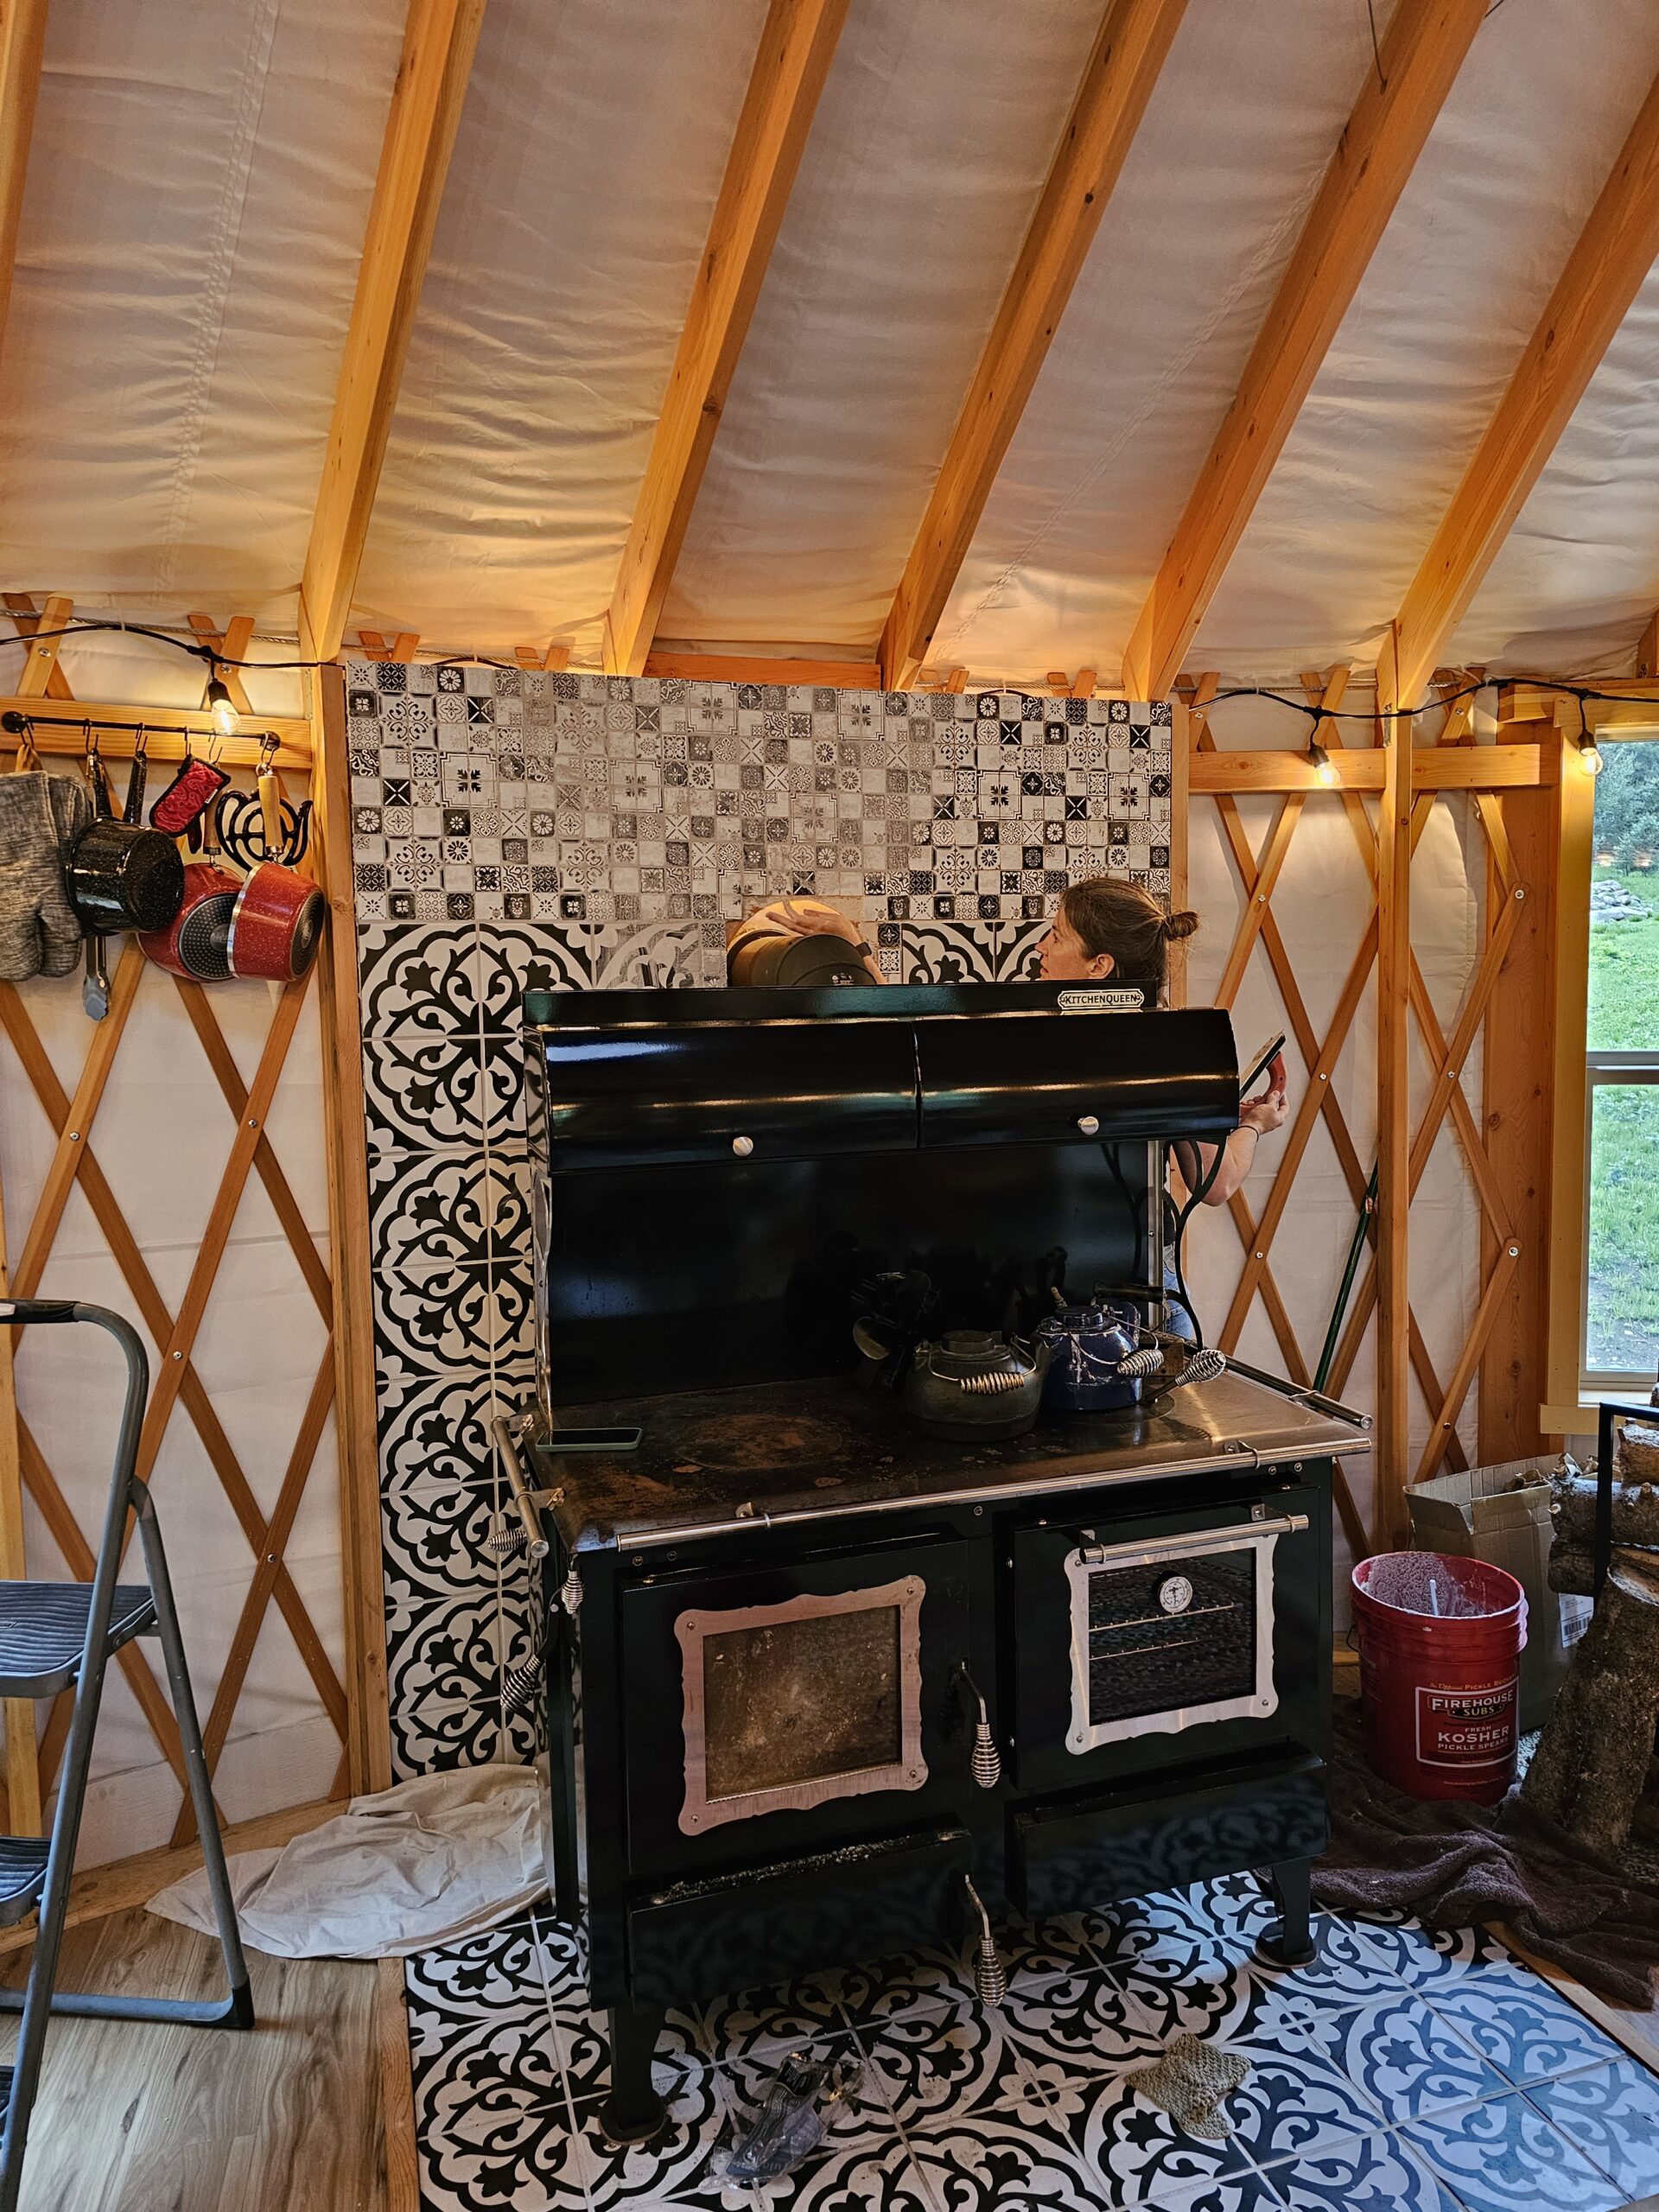
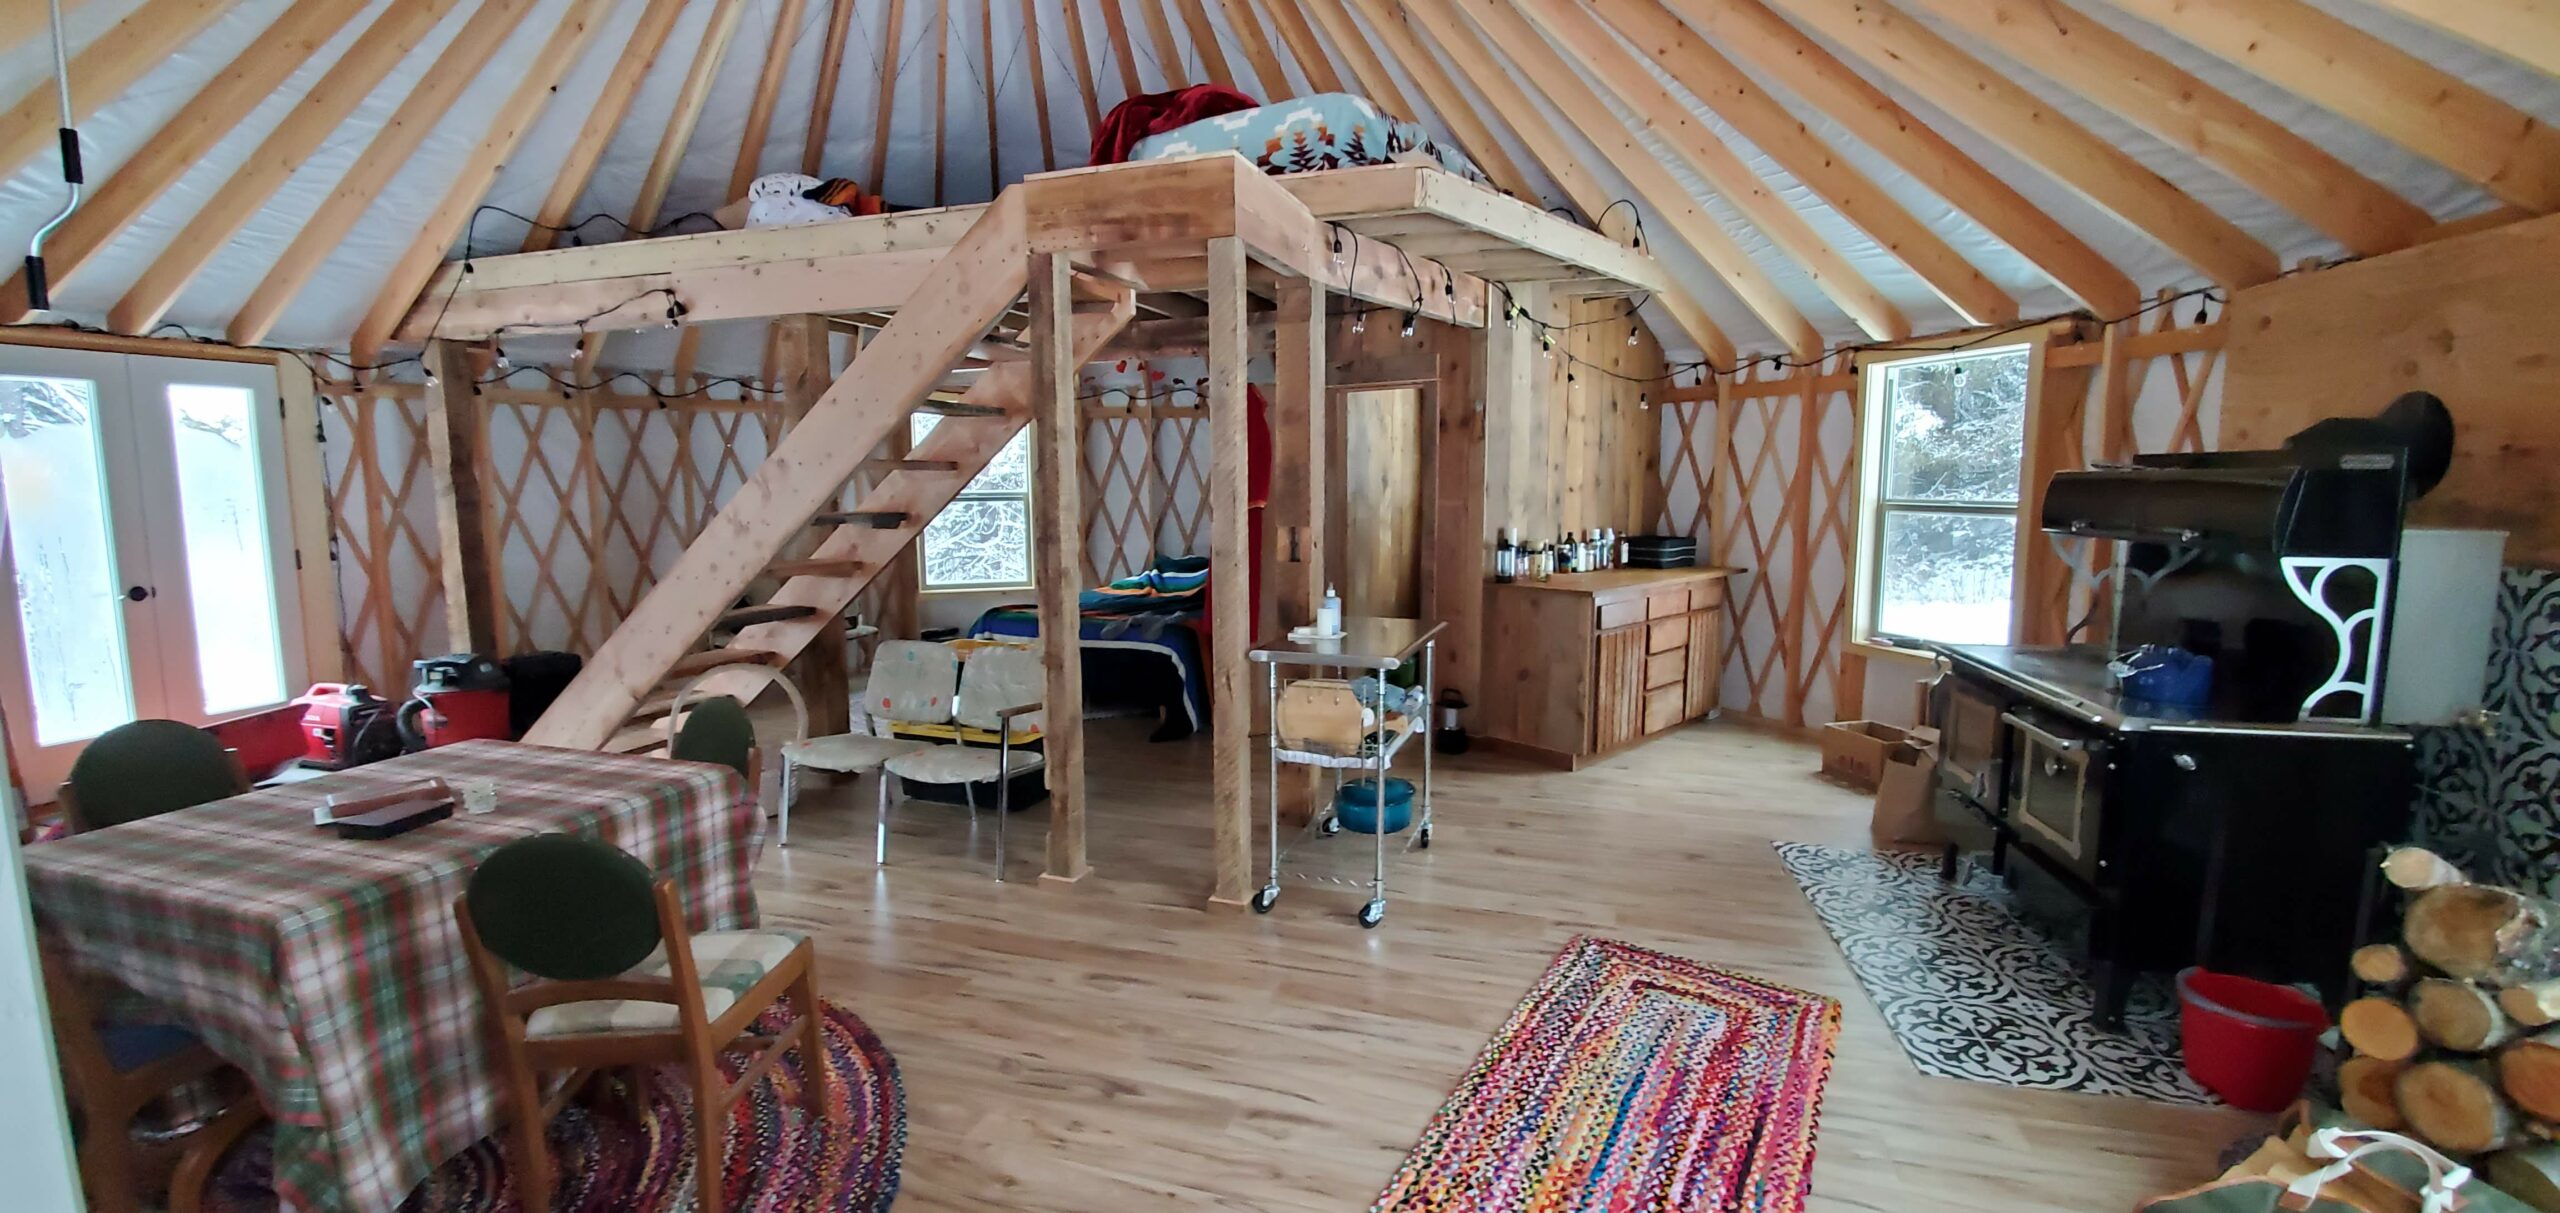
The Queen is as important, to our off-grid adventure, as the shitter. However, the focus of the Queen was a bit more prominent during our build. In fact, she was important enough to have the yurt built around her, once she was home. Our Kitchen Queen is the biggest splurge we made at our off-grid getaway, worth every penny.
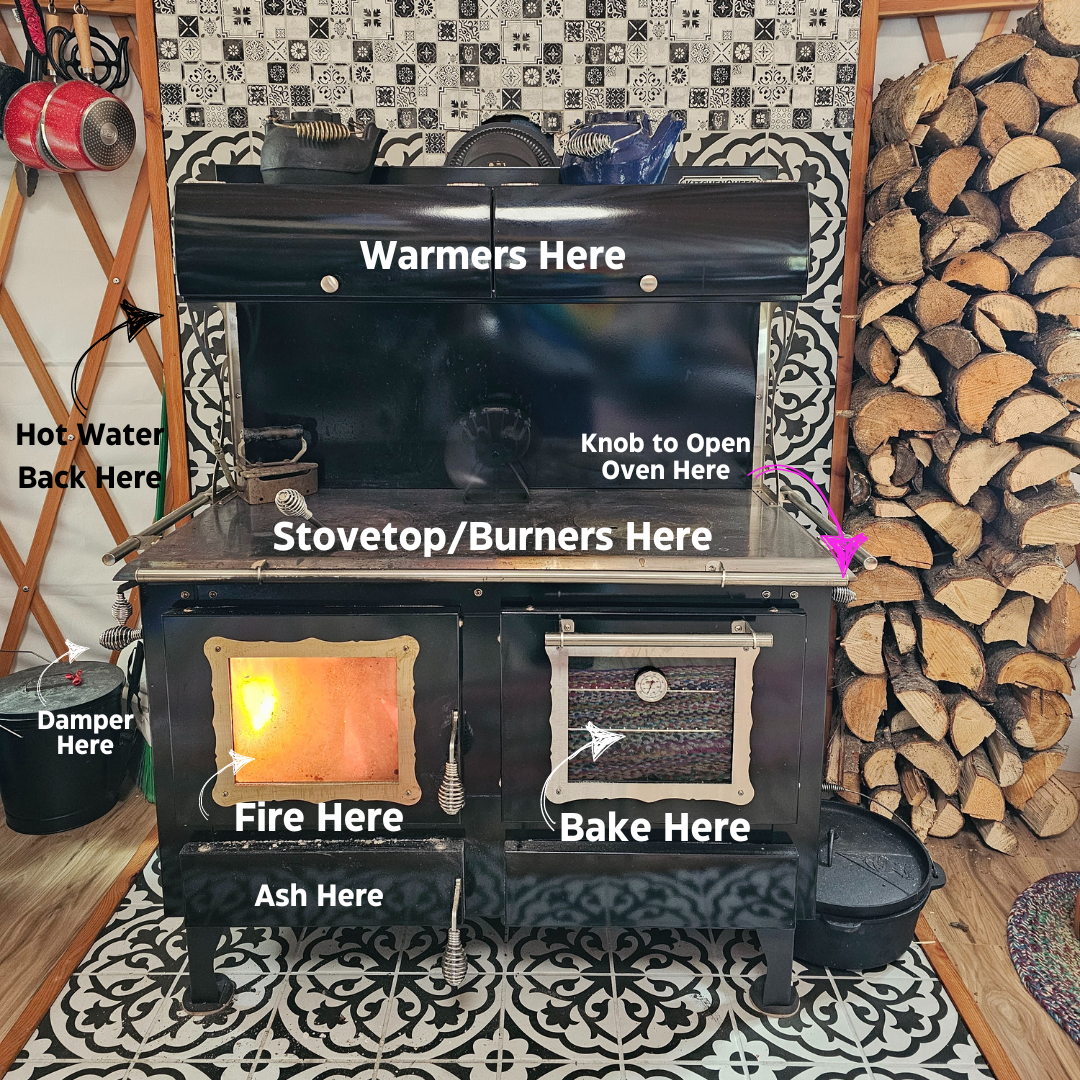
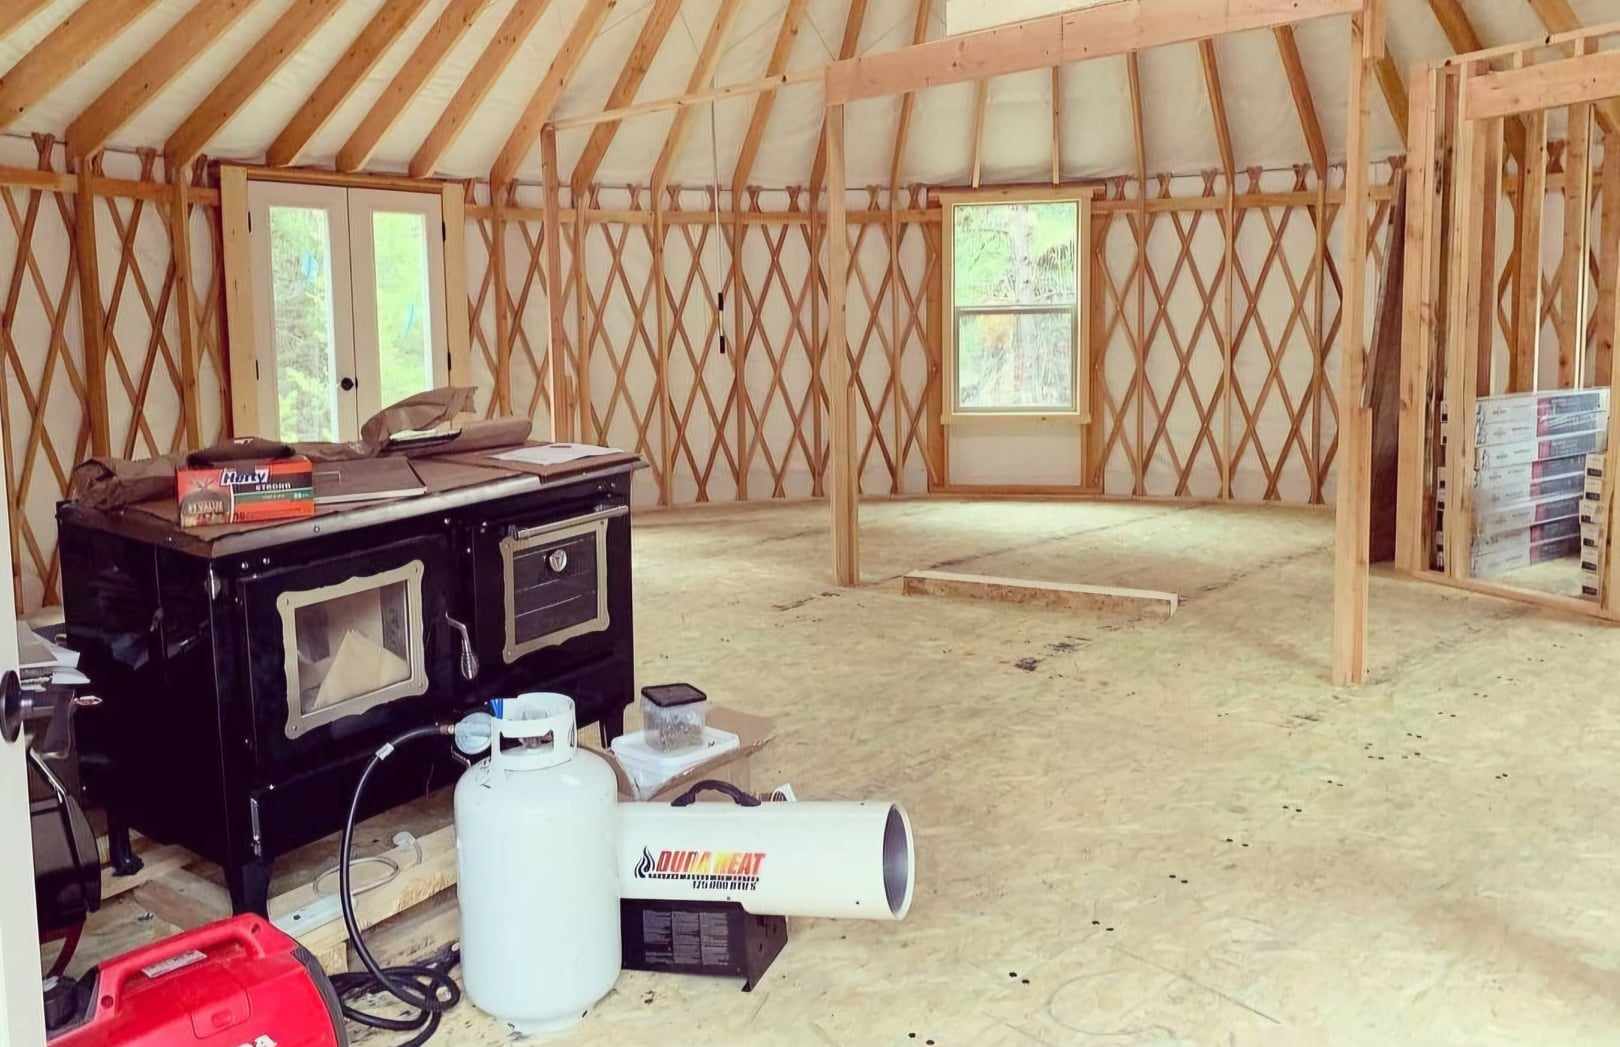
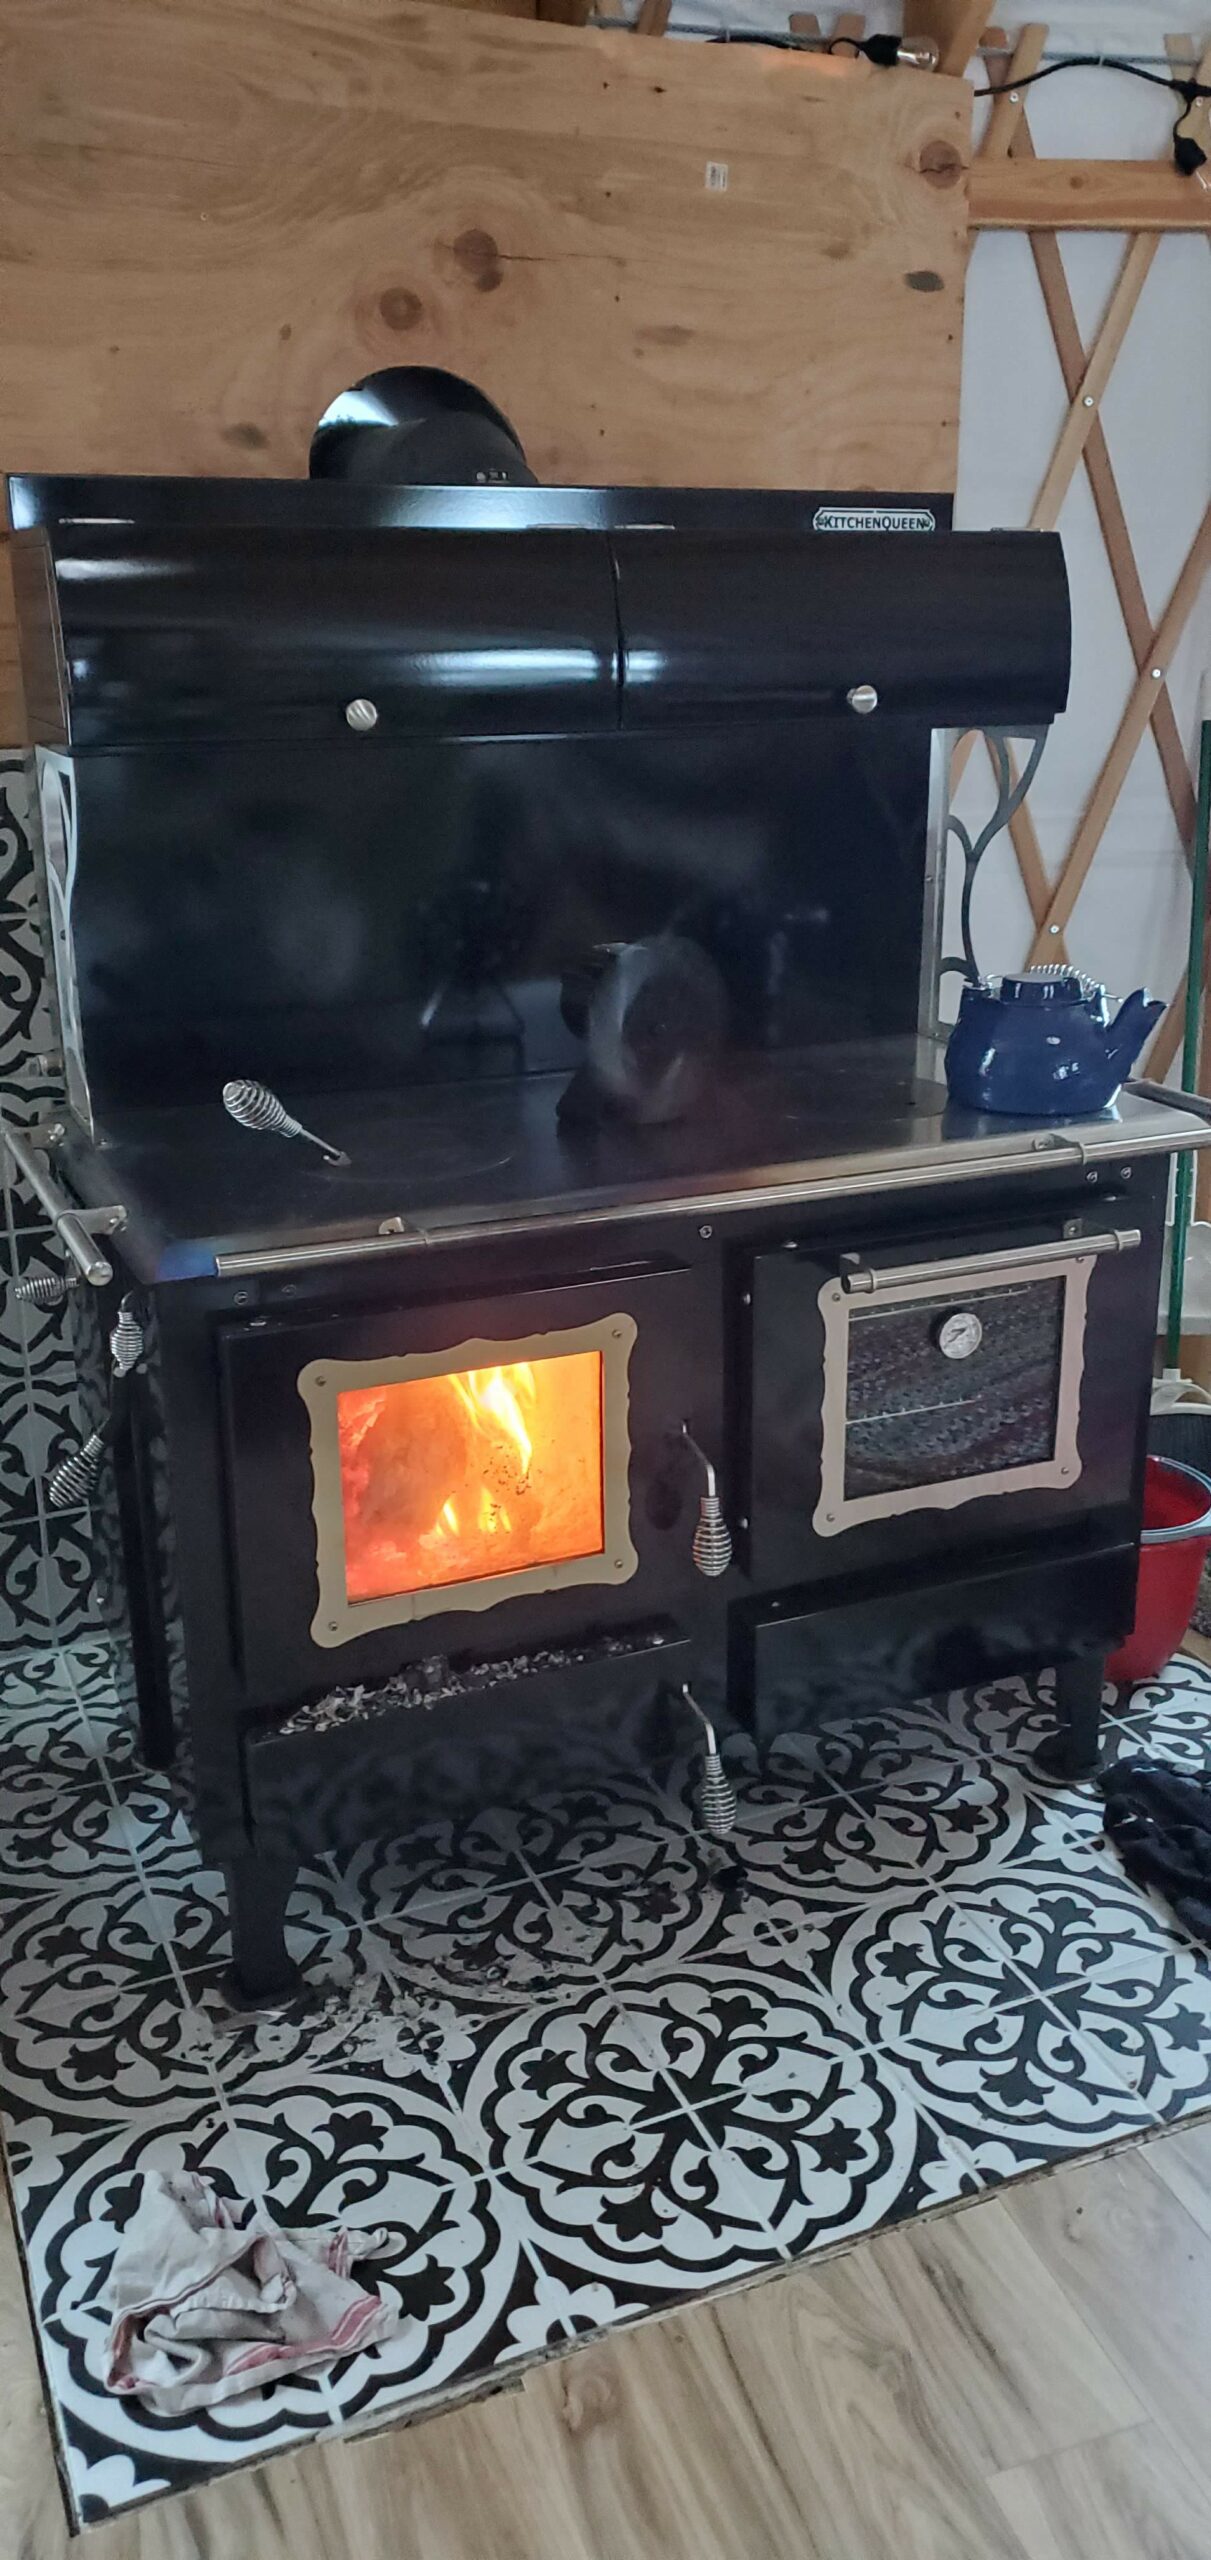
The Queen does everything. She heats the yurt, we can cook on her, bake in her, and she even heats our water while she heats our bodies and food.
After we ordered our yurt kit, we went to our local fireplace store and ordered a wood burning stove. We needed heat if we wanted to be able to getaway to the woods year round. Then, we had dinner with some professional off-grid neighbors, and called after dinner to cancel that woodstove order. They steered us in the direction of the Queen. We special ordered our Amish-made, heavy as fuck, stove the following week. Logistics weren’t clear, but we knew it was a smart splurge, and surprisingly, it didn’t cost much more than a regular woodburning stove. And LOOK at what she can do! A woodburning stove would have only kept us warm.
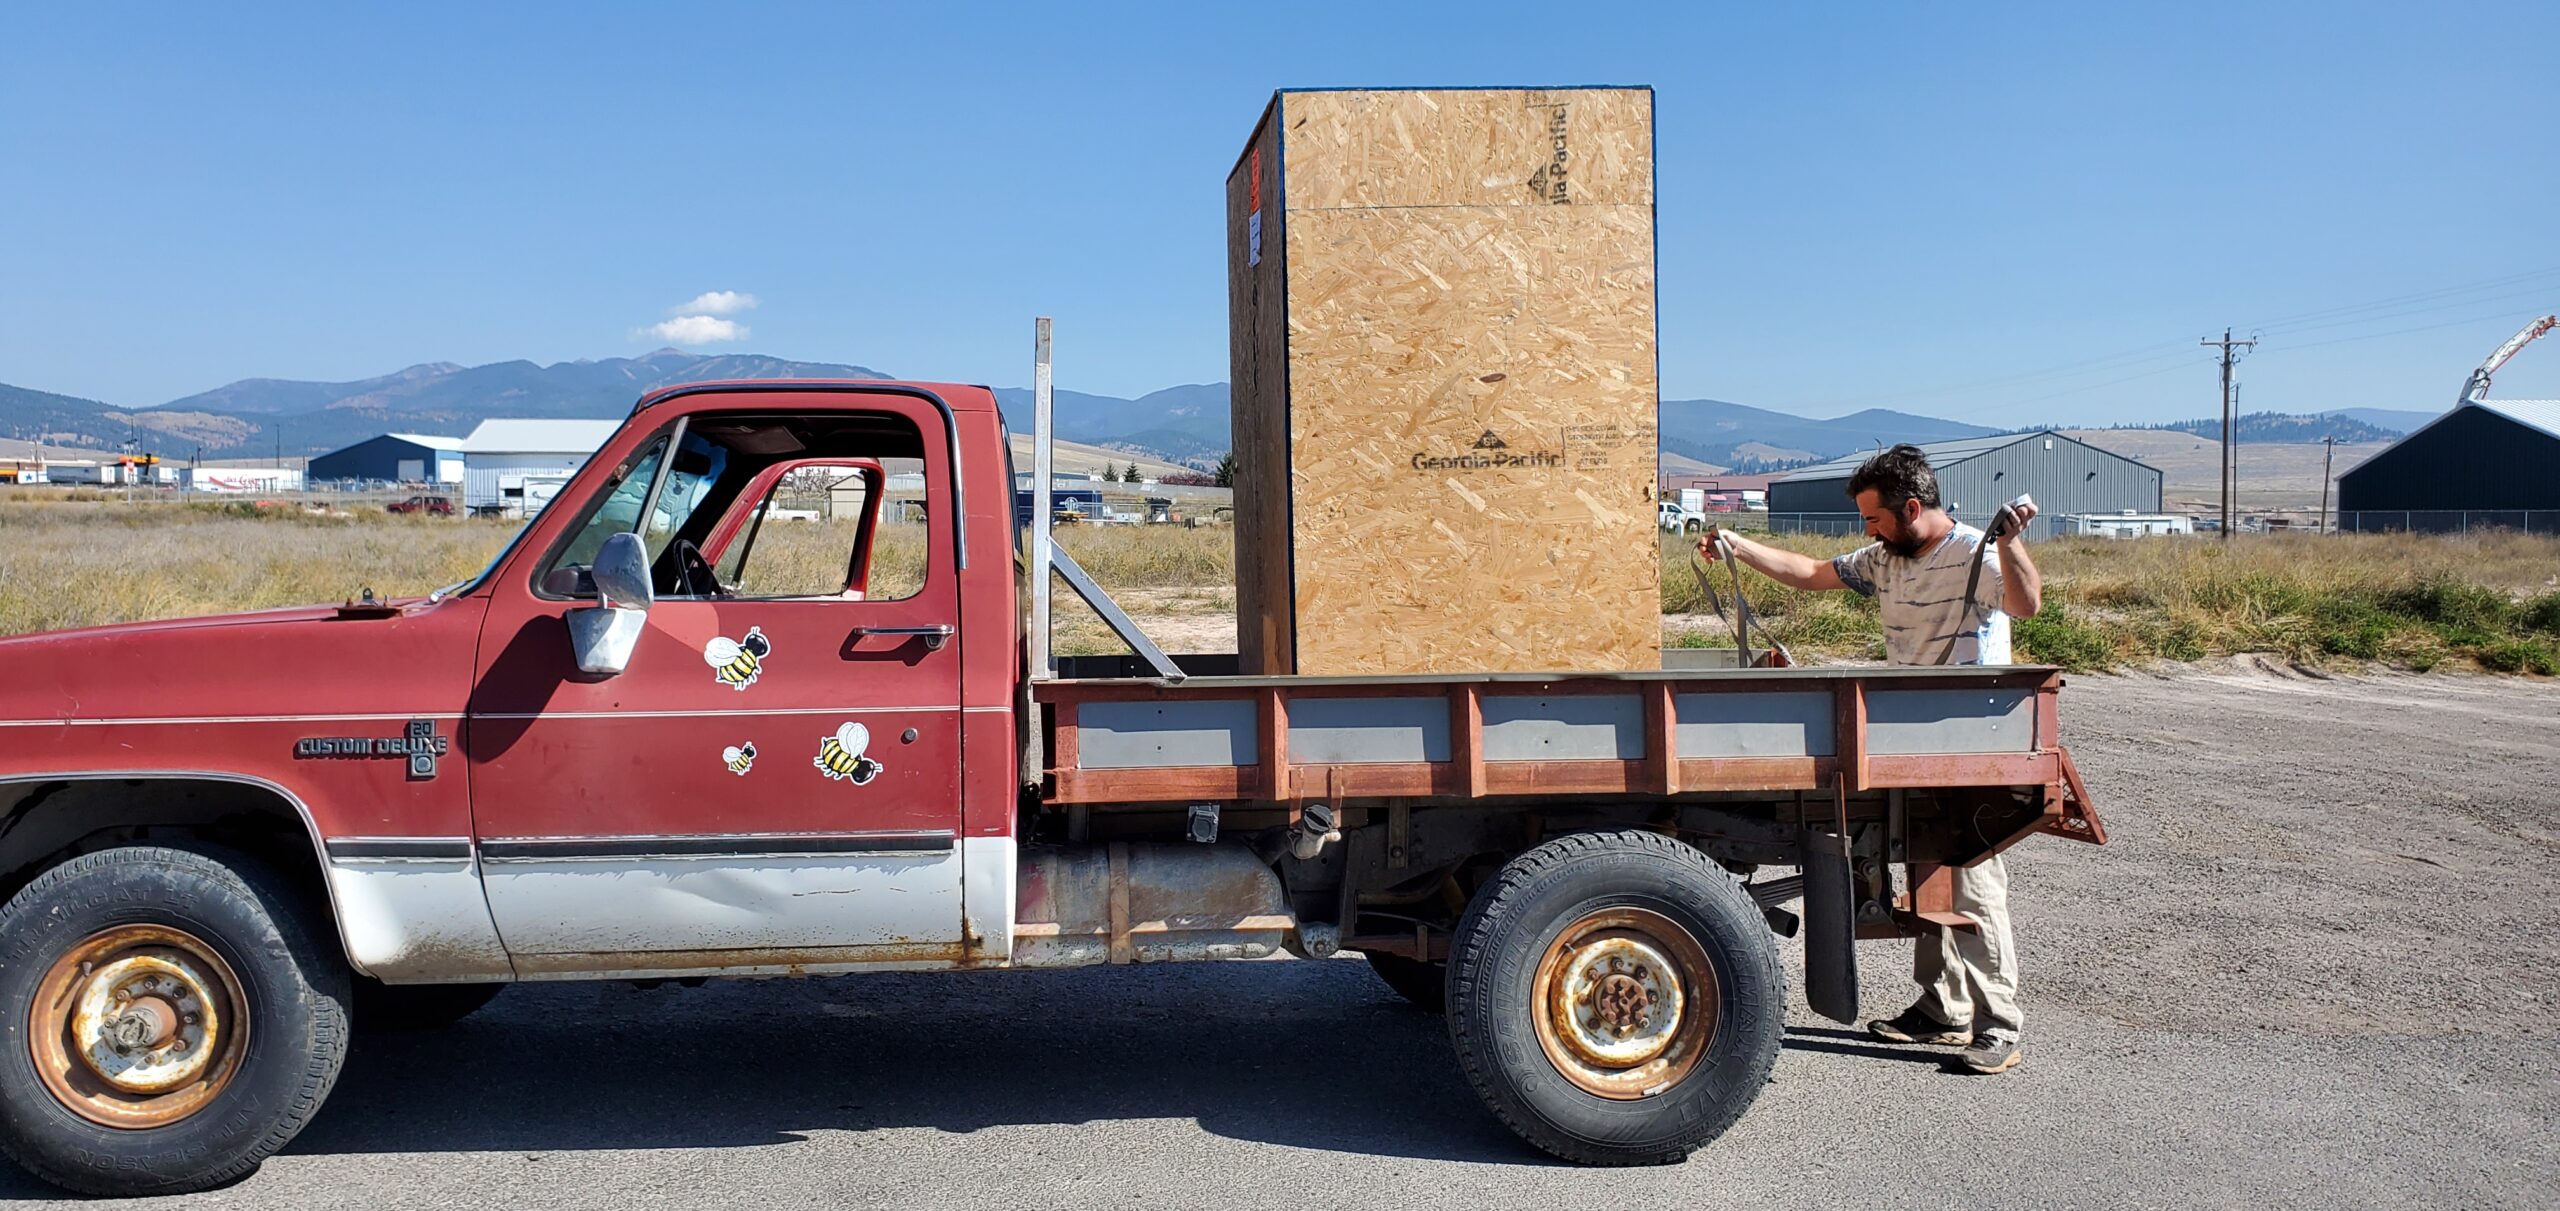
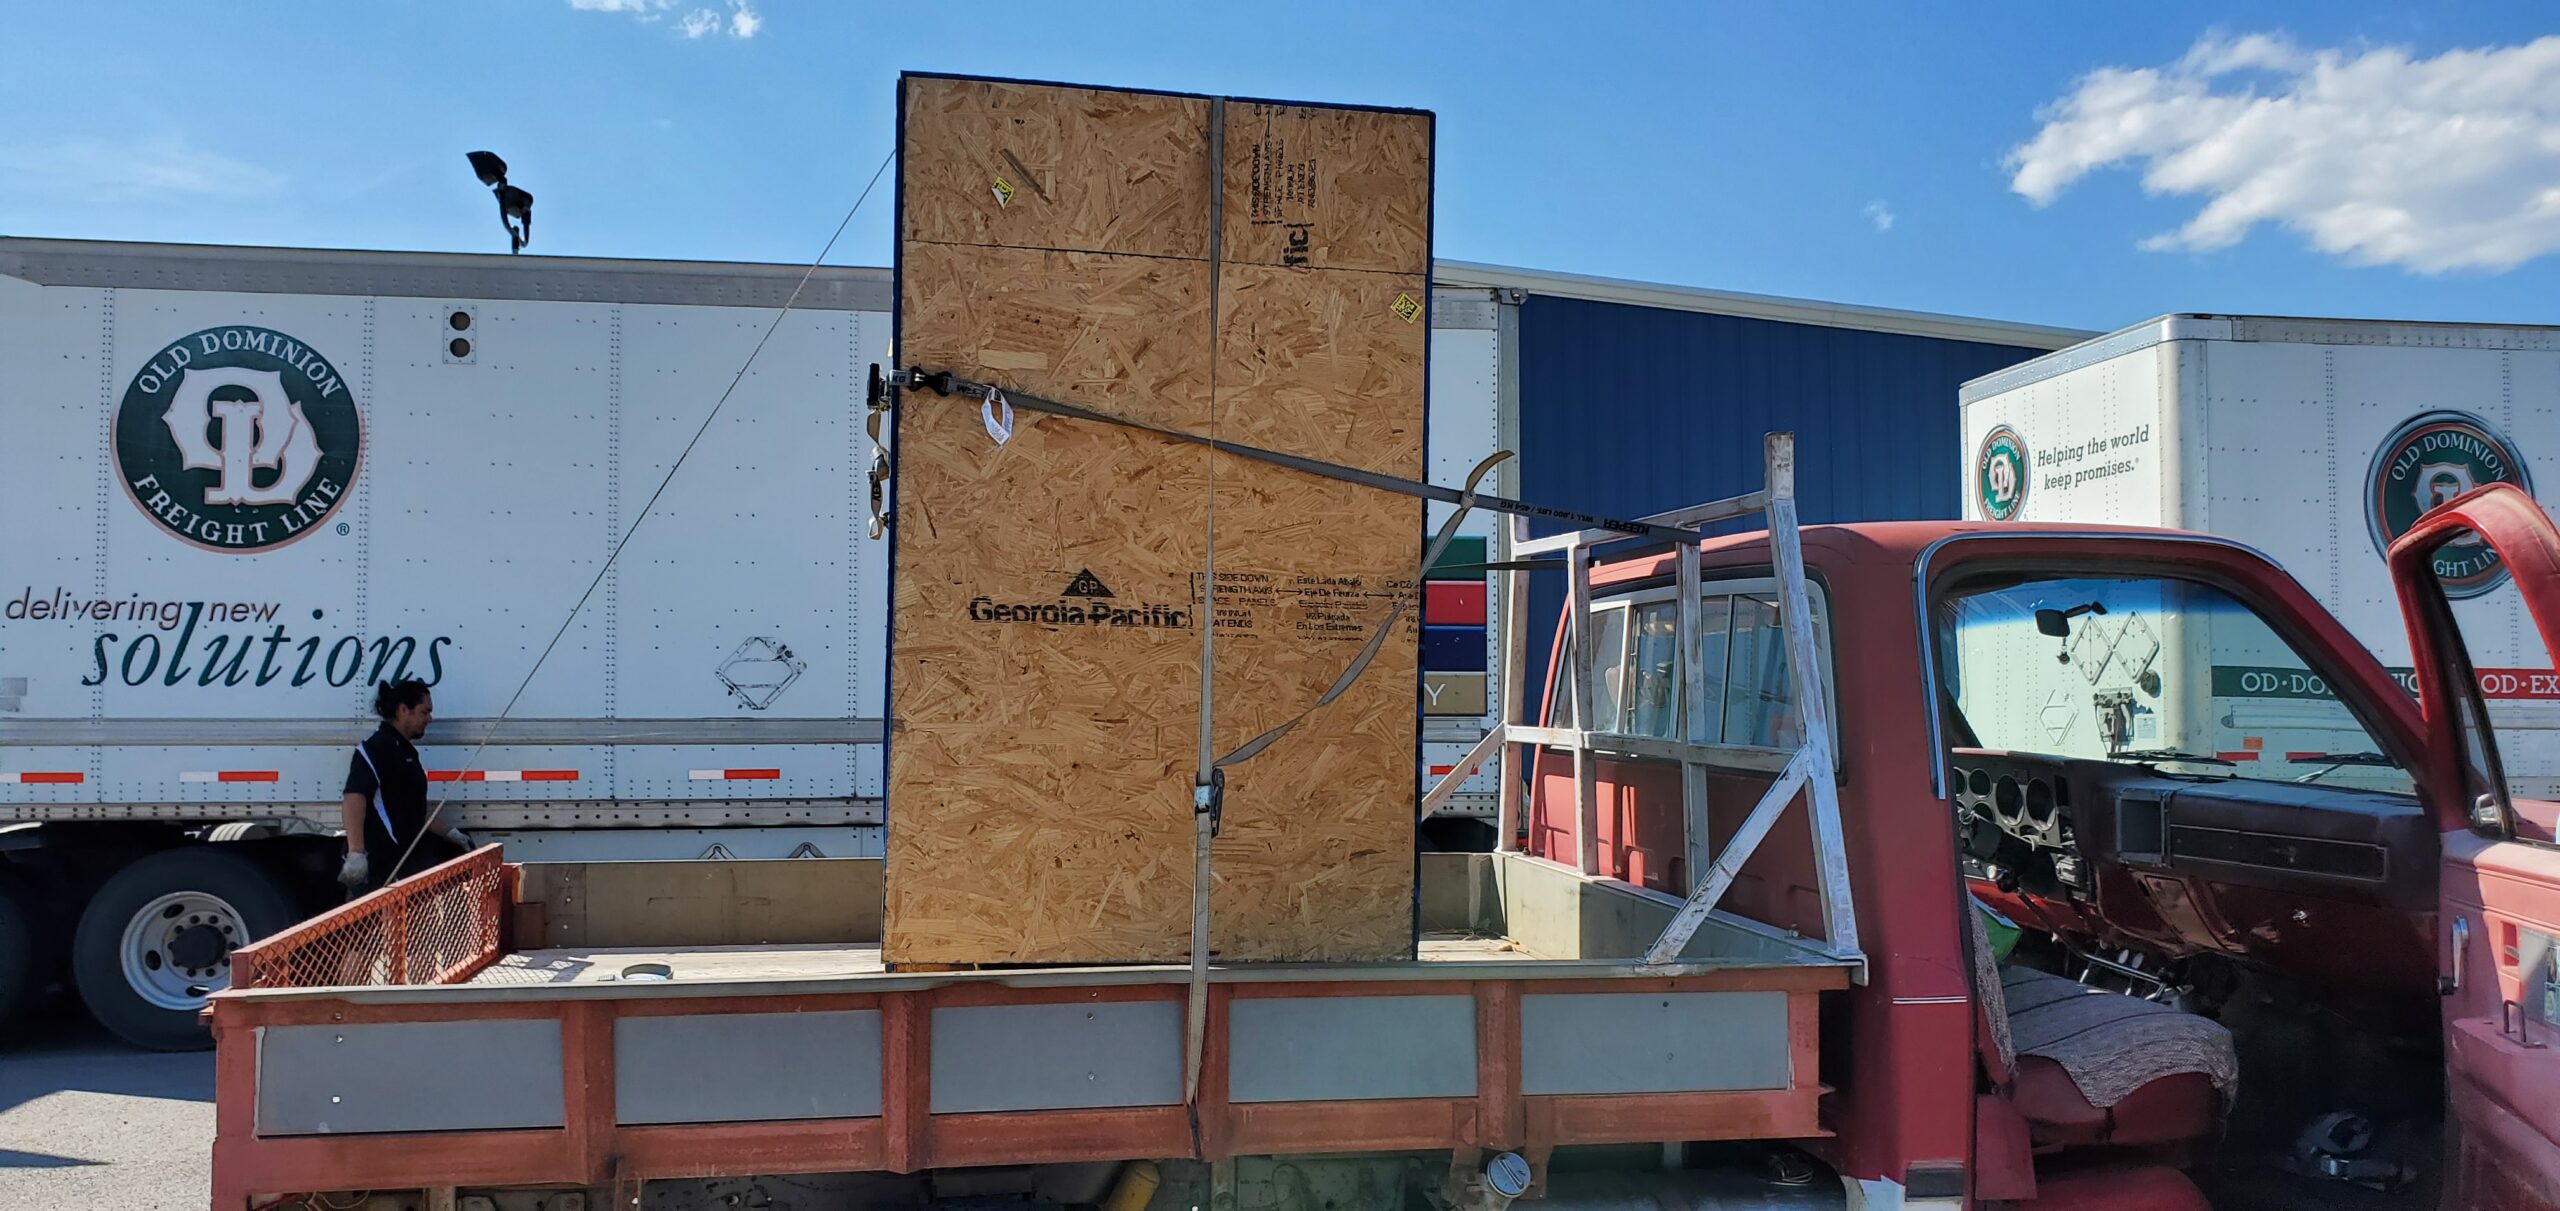
When I say she’s heavy, I mean it! I think she was just shy of 1000 lbs. We asked our contractor to pick her up at the receiving station and he was turned away because his truck wasn’t burly enough. Thank goodness for the Honeybee! She loves the call for a big job.
The trek up the mountain was more stressful with the Queen than with any other load. I actually had my very kind stepdad follow me up, 1/2 way, until I realized how silly it was and let him off the hook. One more thing Shane (not me) has learned how to do throughout this whole off-grid process is work a ratchet strap.

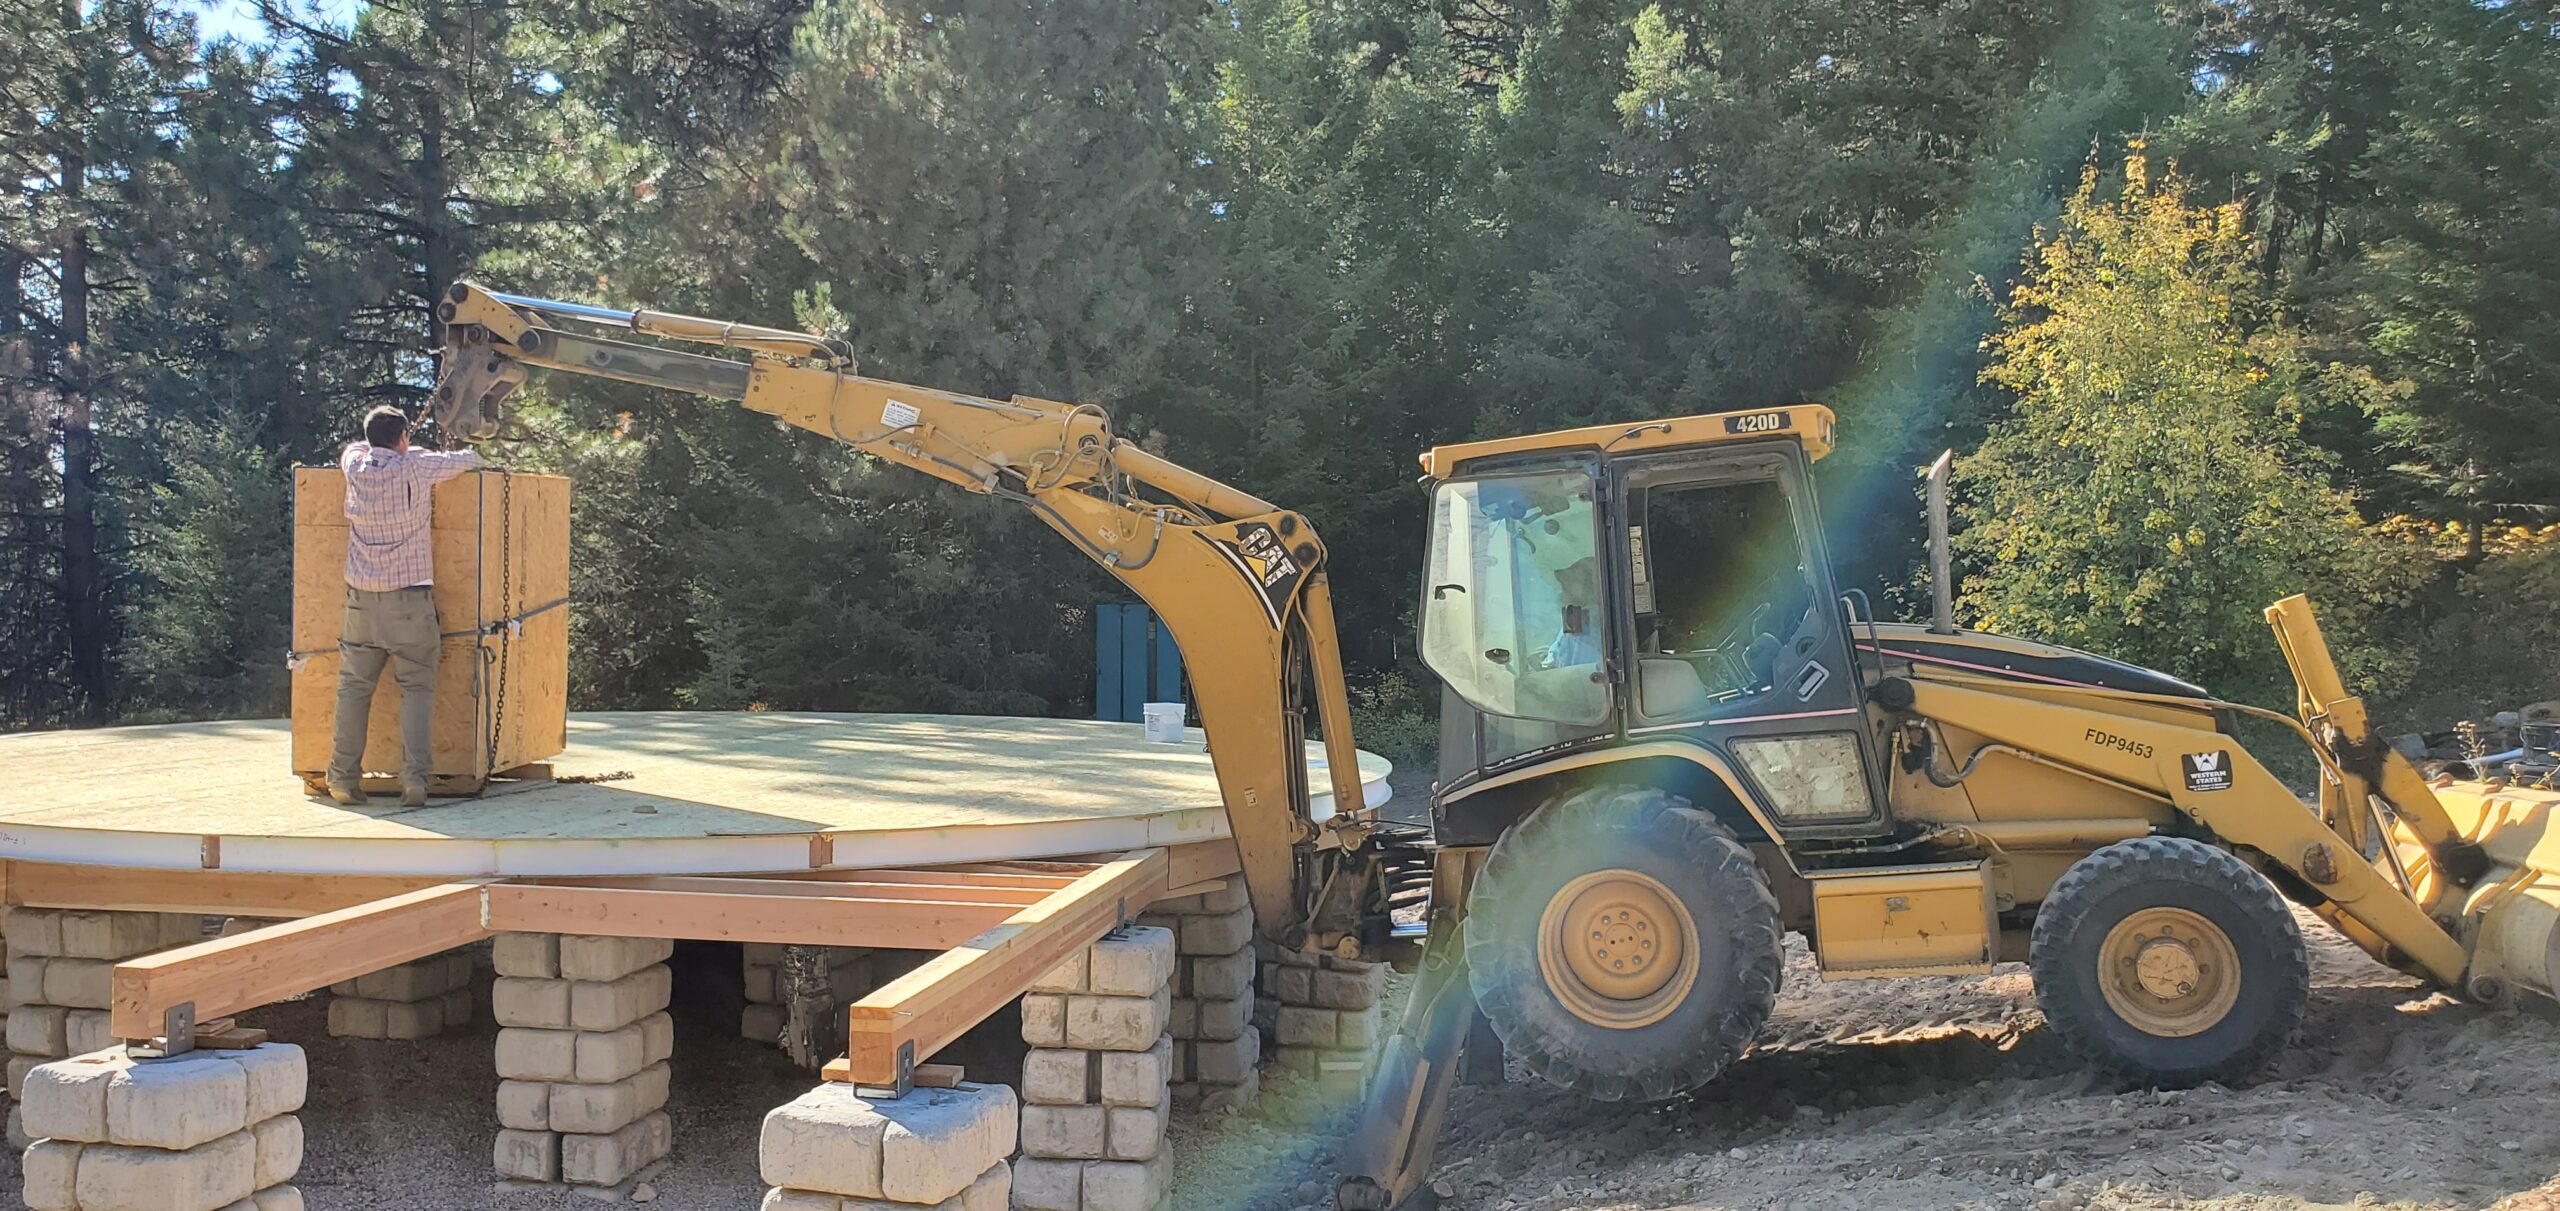
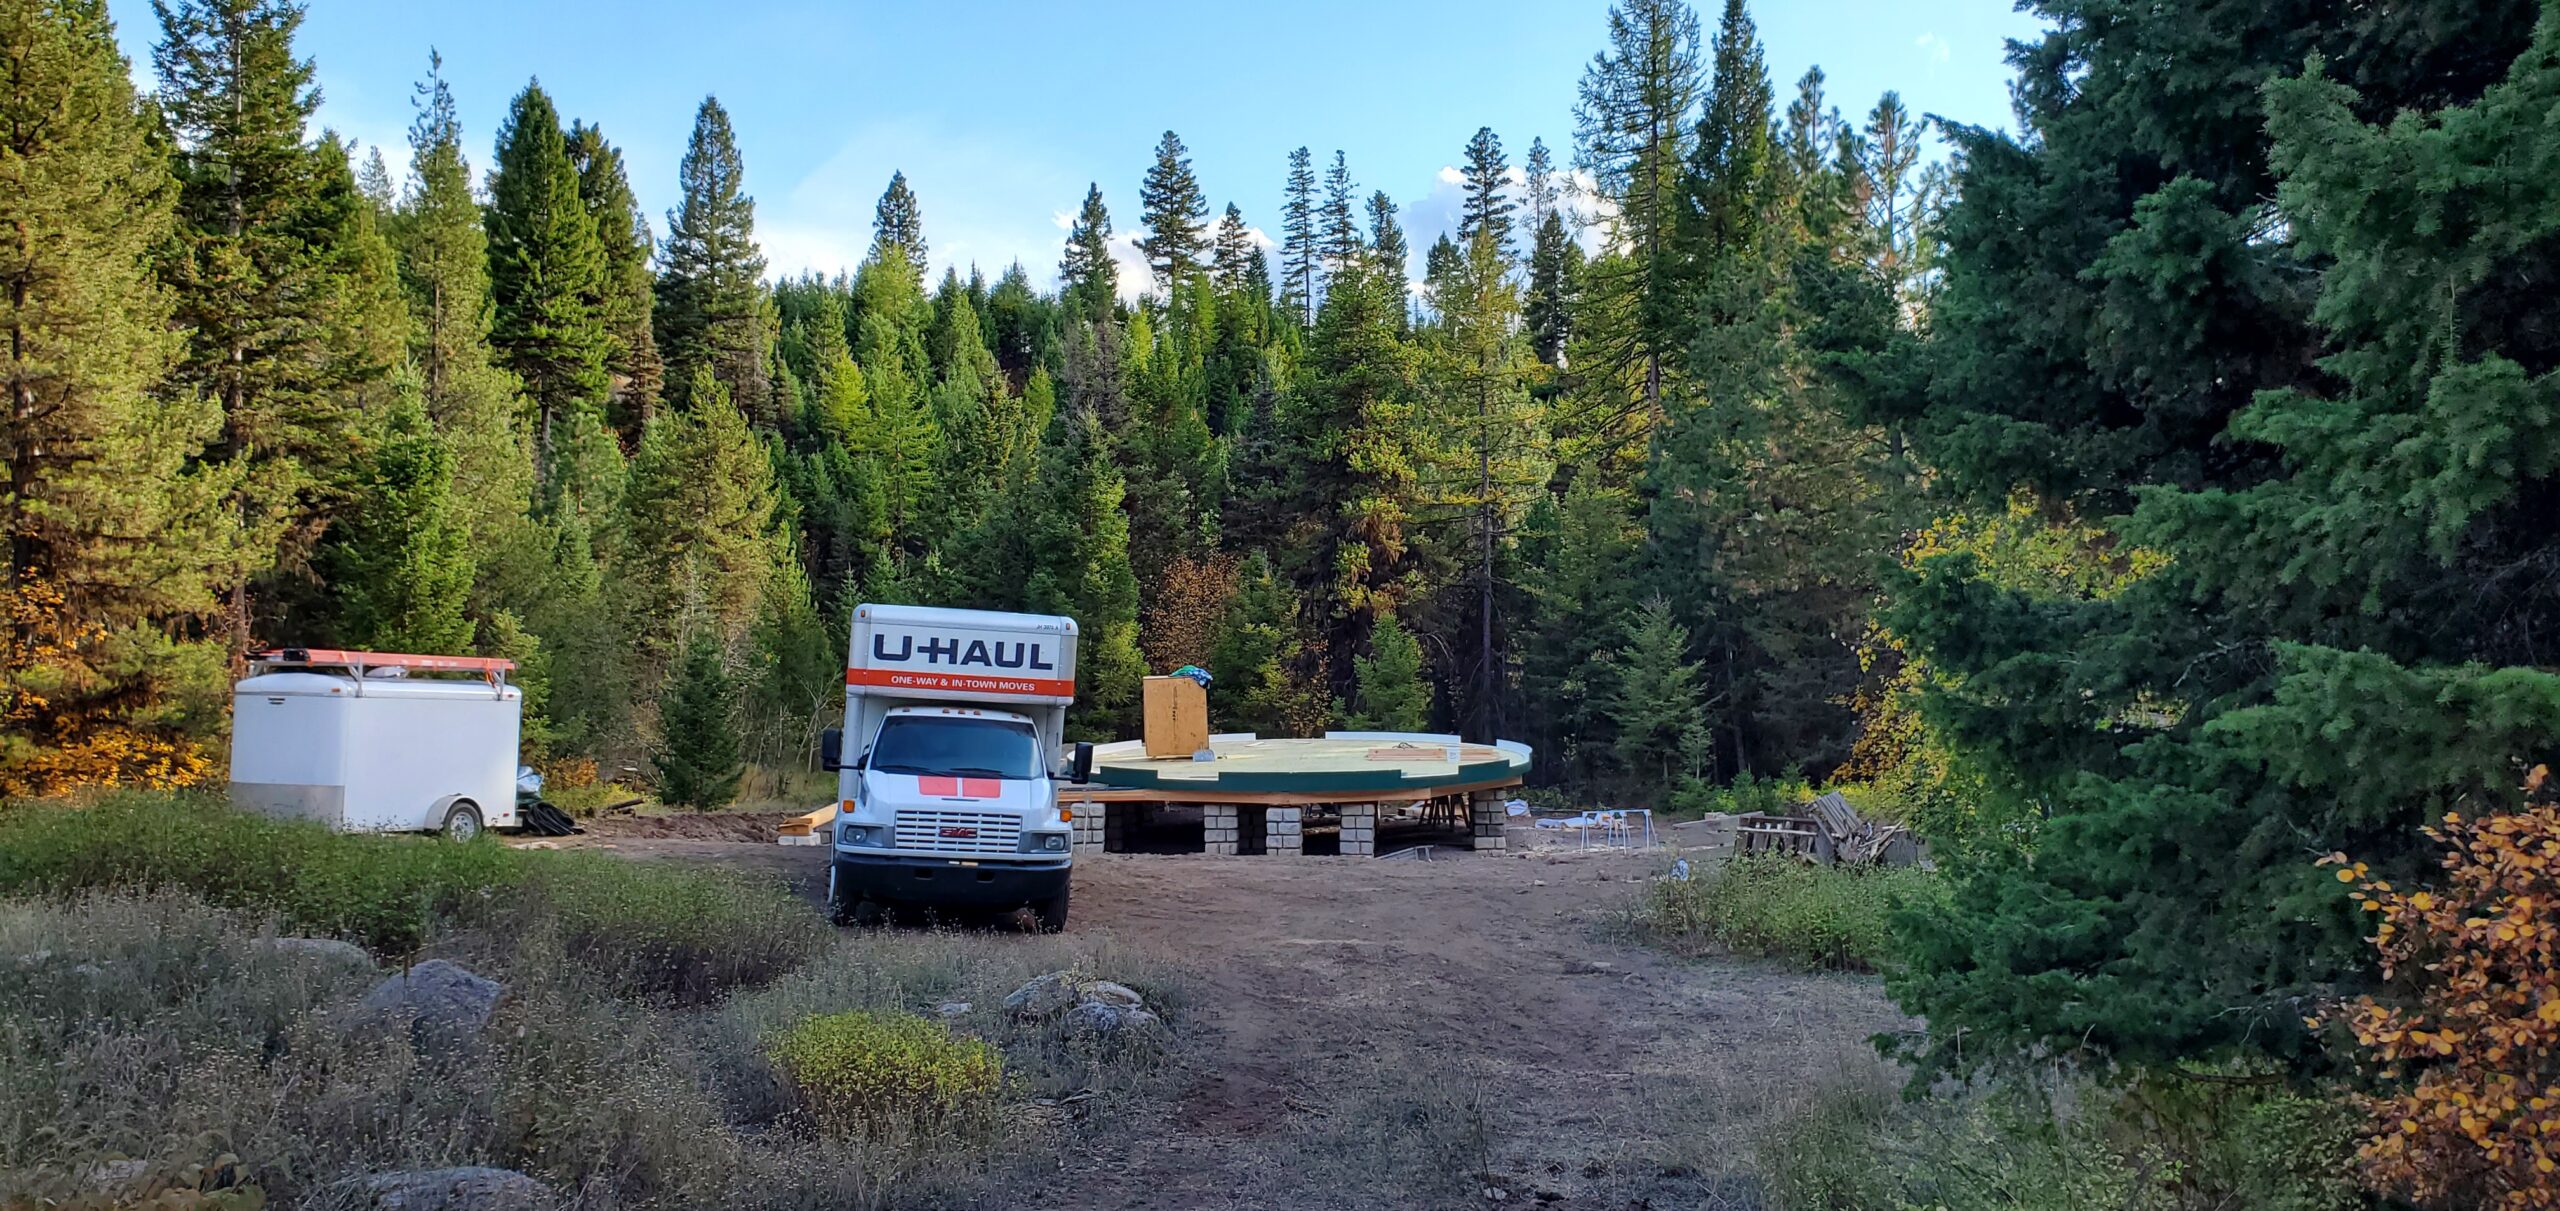
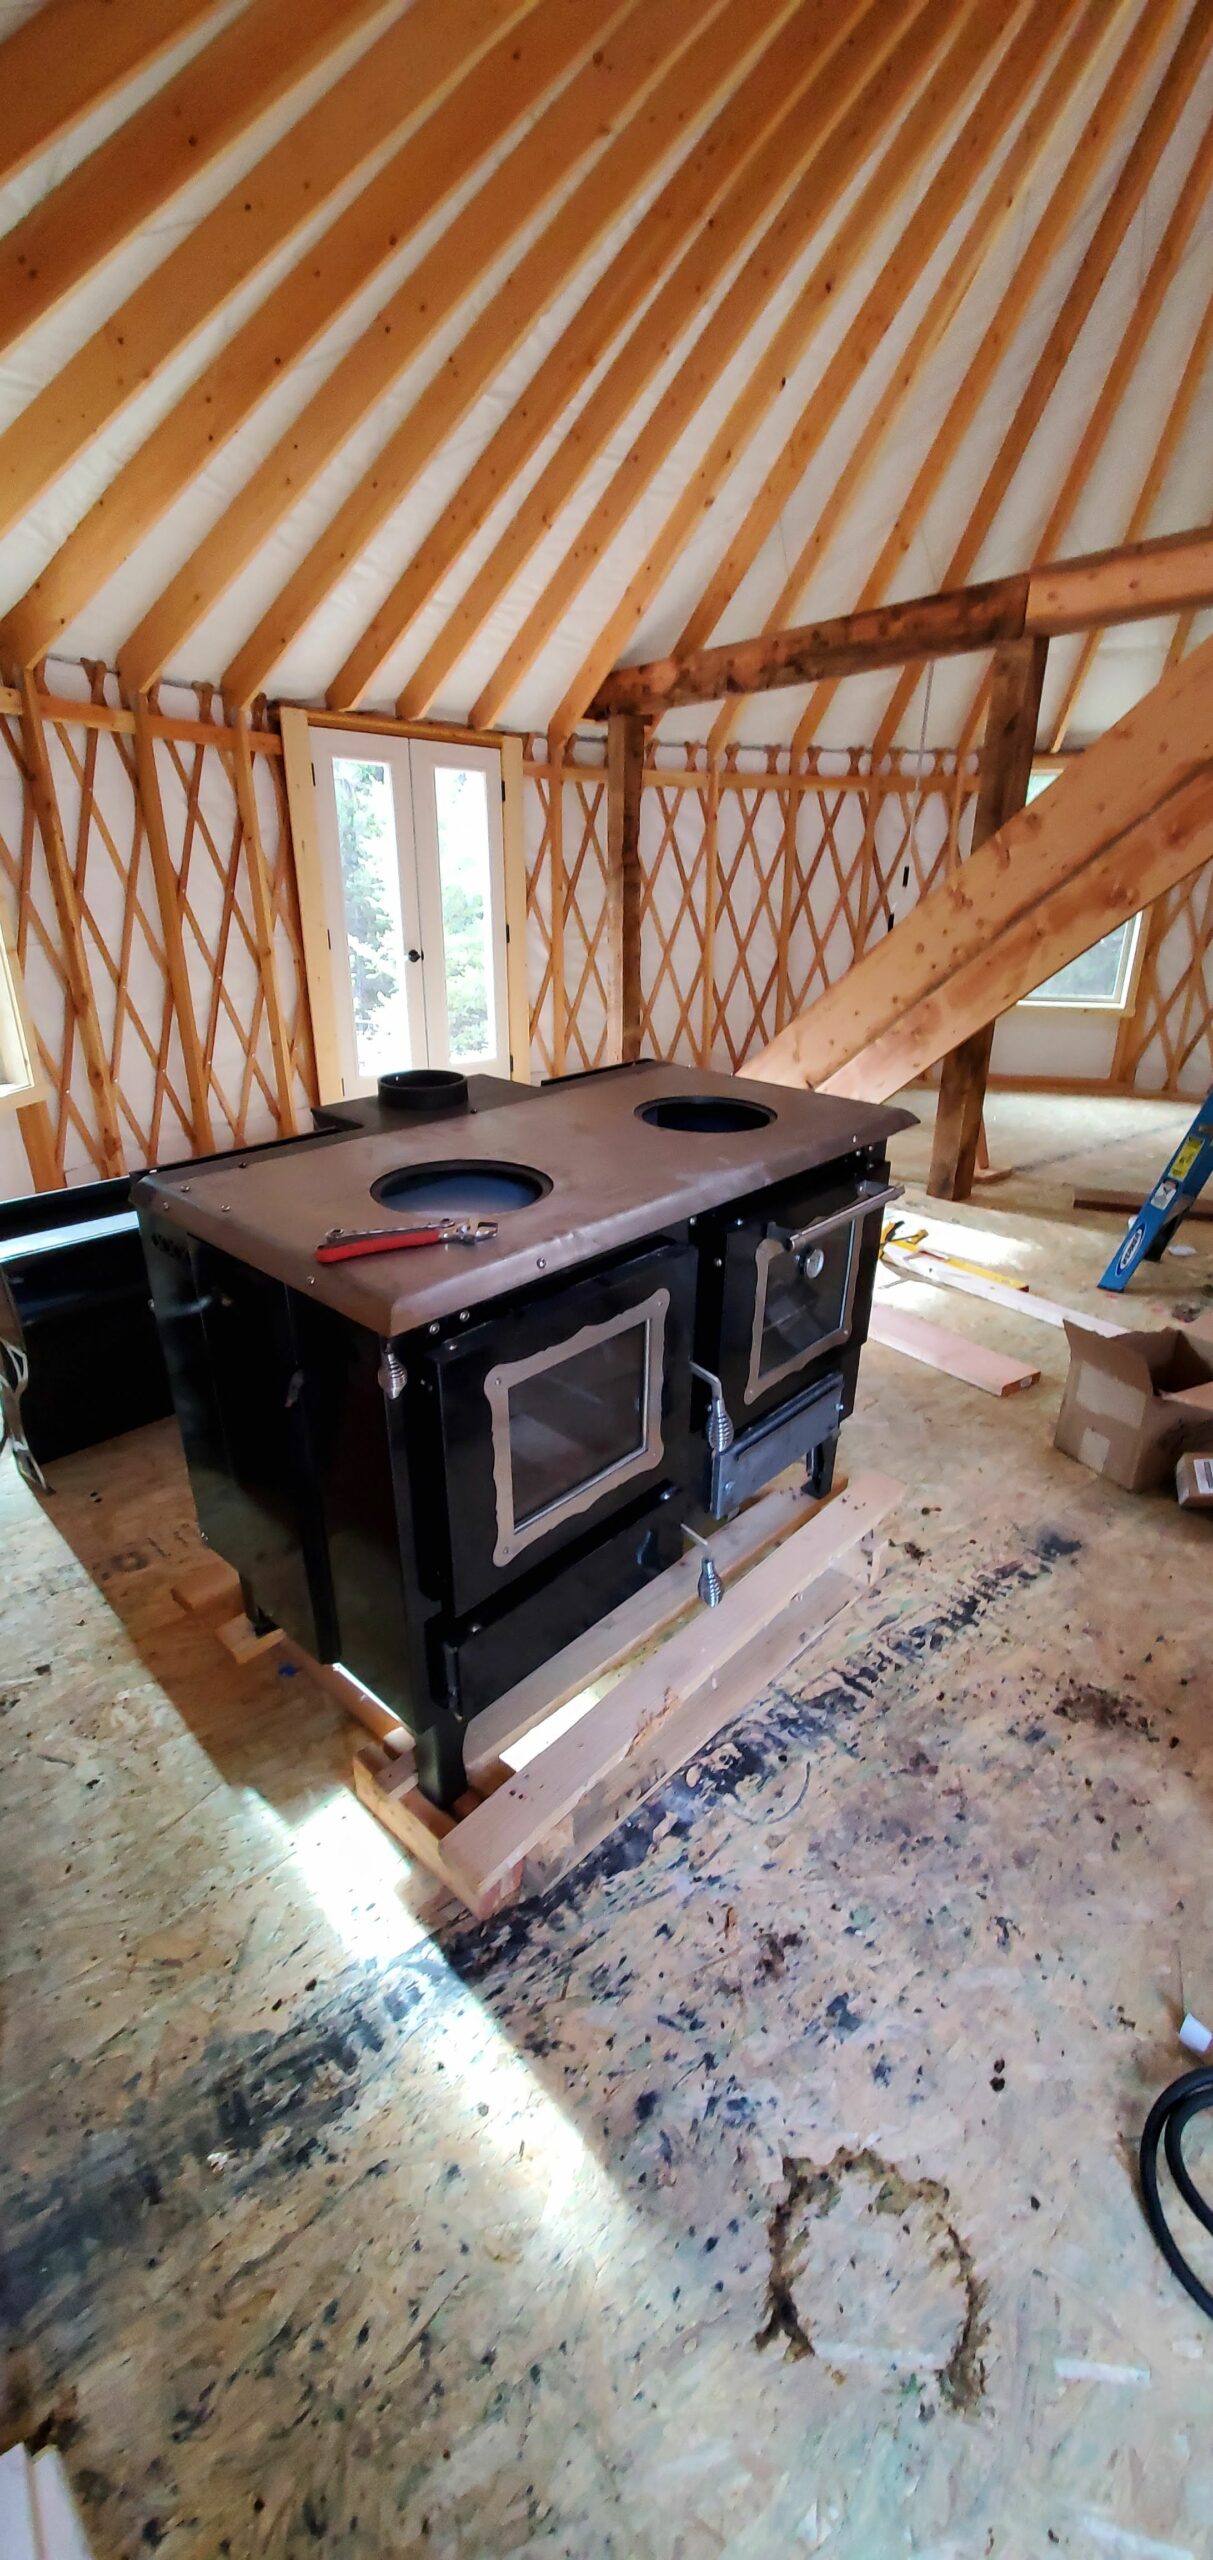
The timing worked perfectly because we had Mike & his Excavator at the yurt when the Queen arrived. He took her off the truck and delicately placed her onto the SIPs floor.
The Beginning
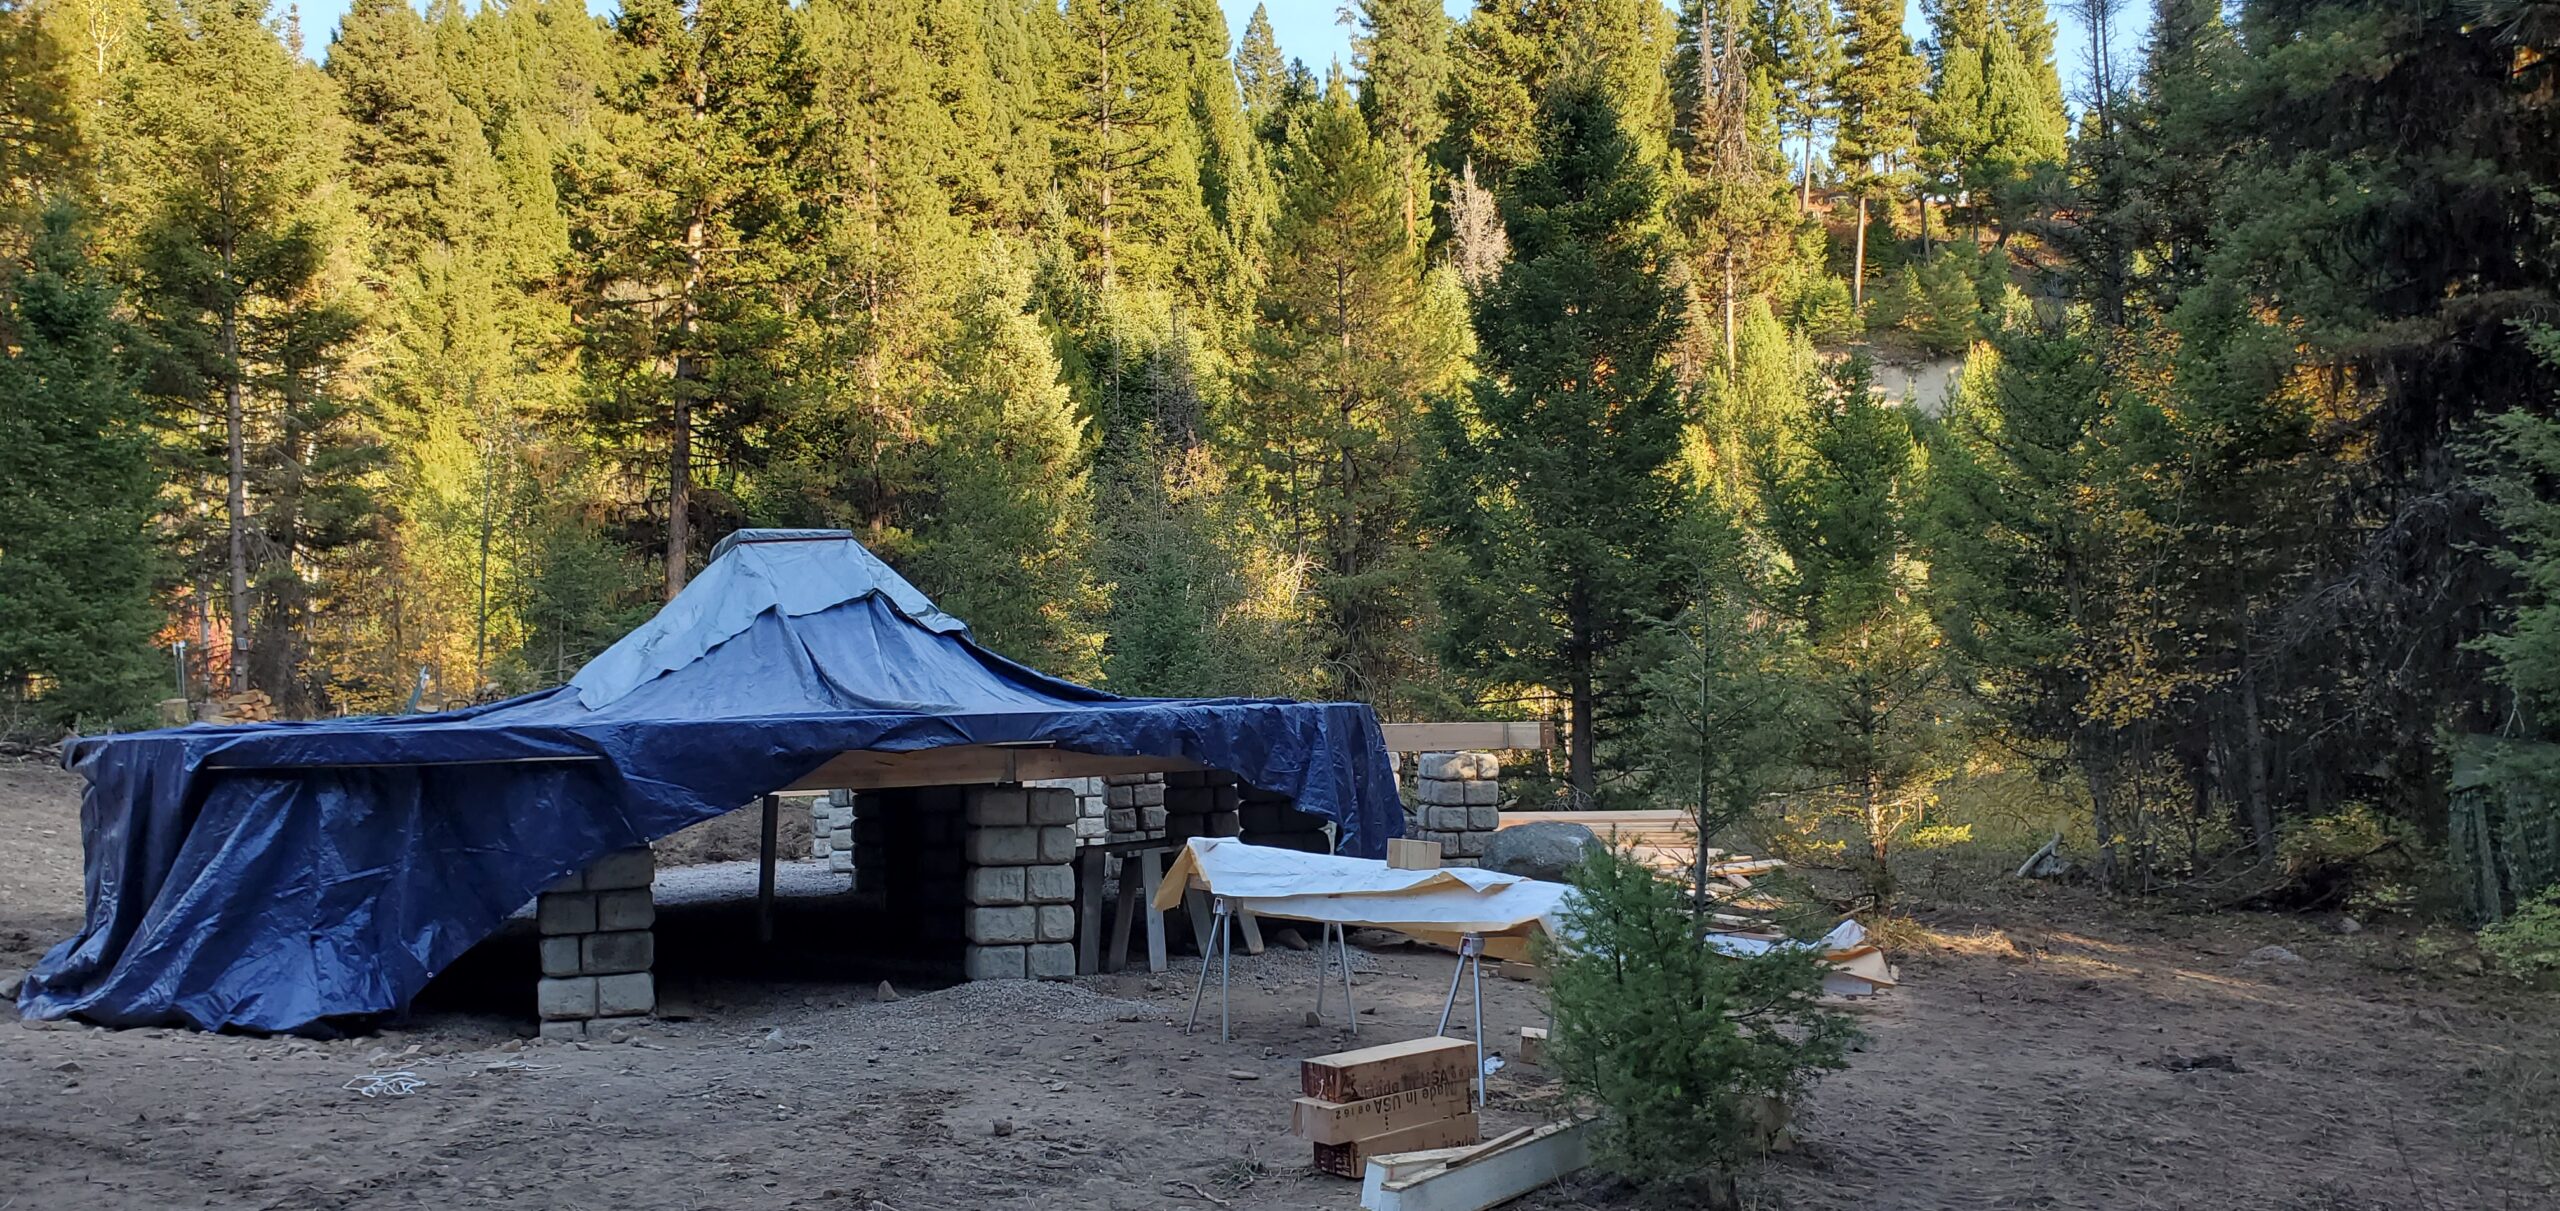
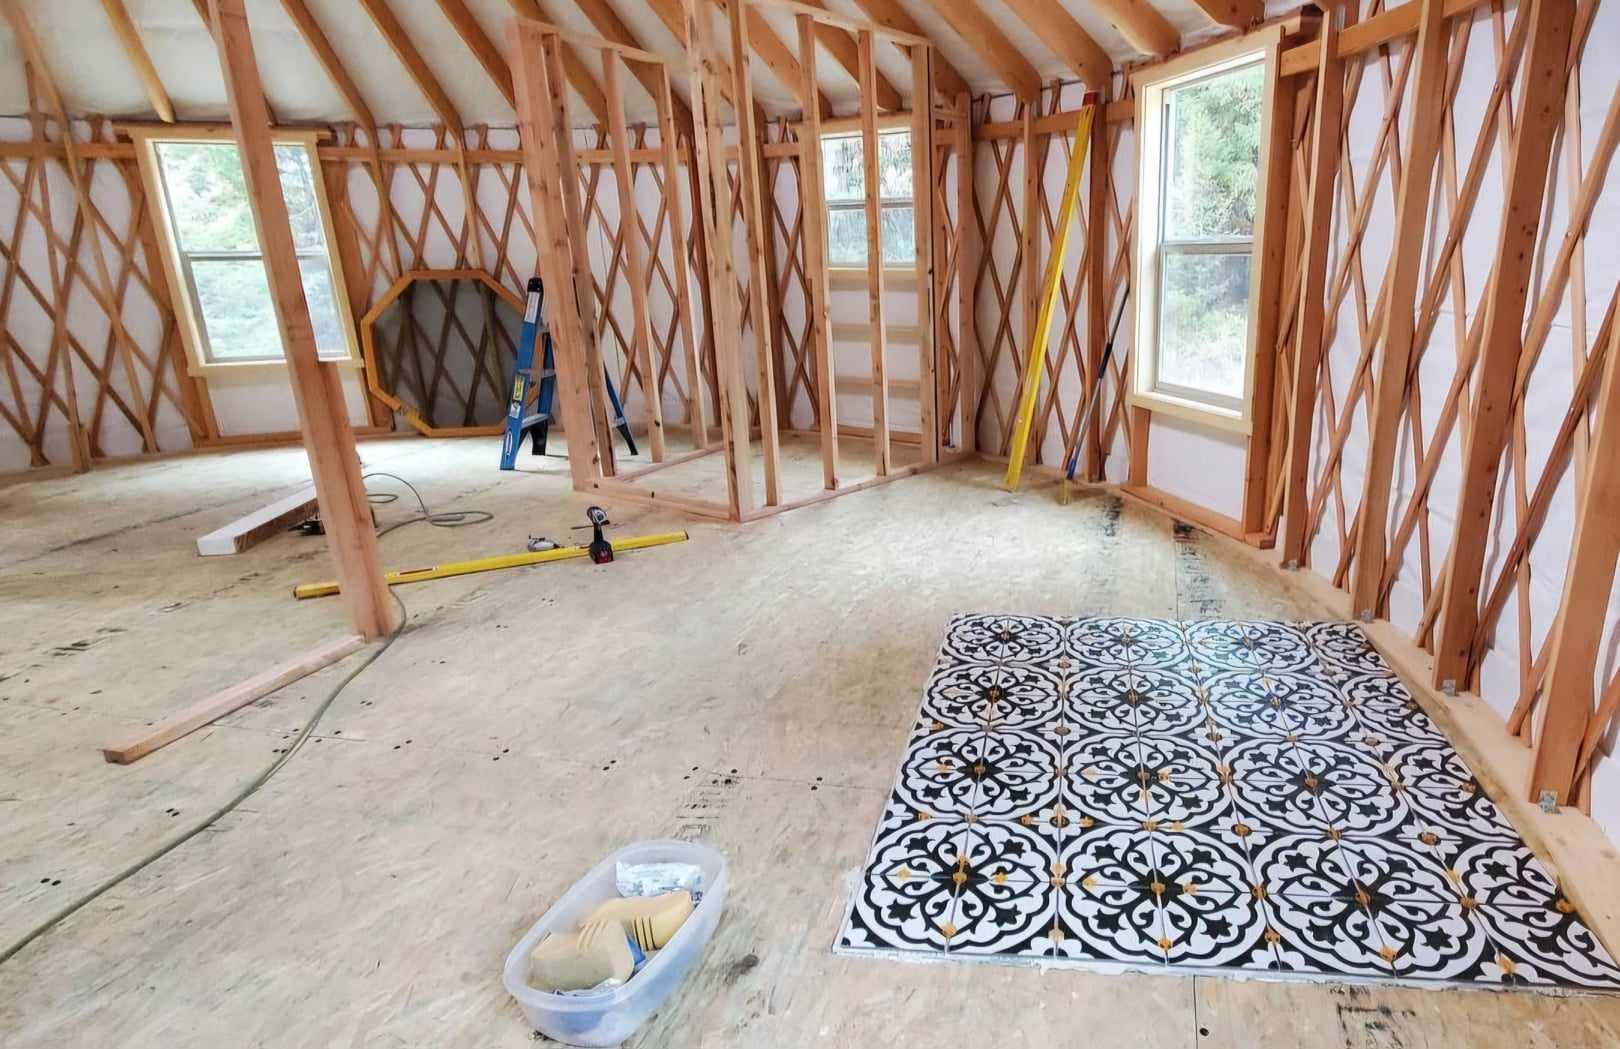
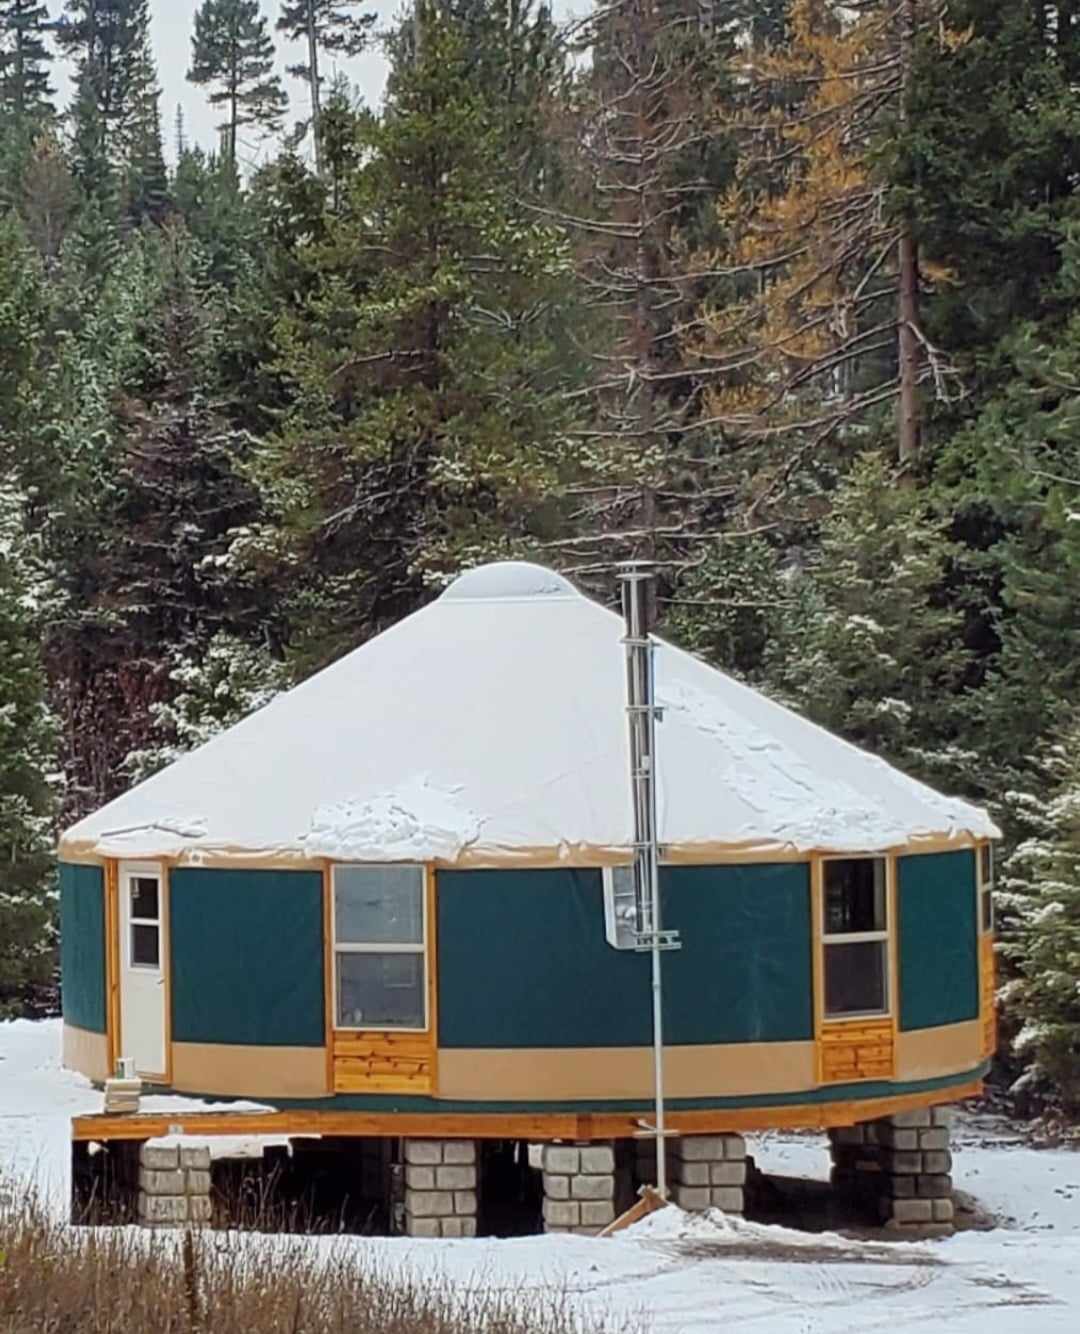
When I say we built the yurt around her, I mean it. You’ll see on Yurt Erection Weekend, three years ago, she was already front and center. Although, she hid in her box until she had a circus tent of safety built around her. Even then, it was nearly two months until we’d light her first fire.
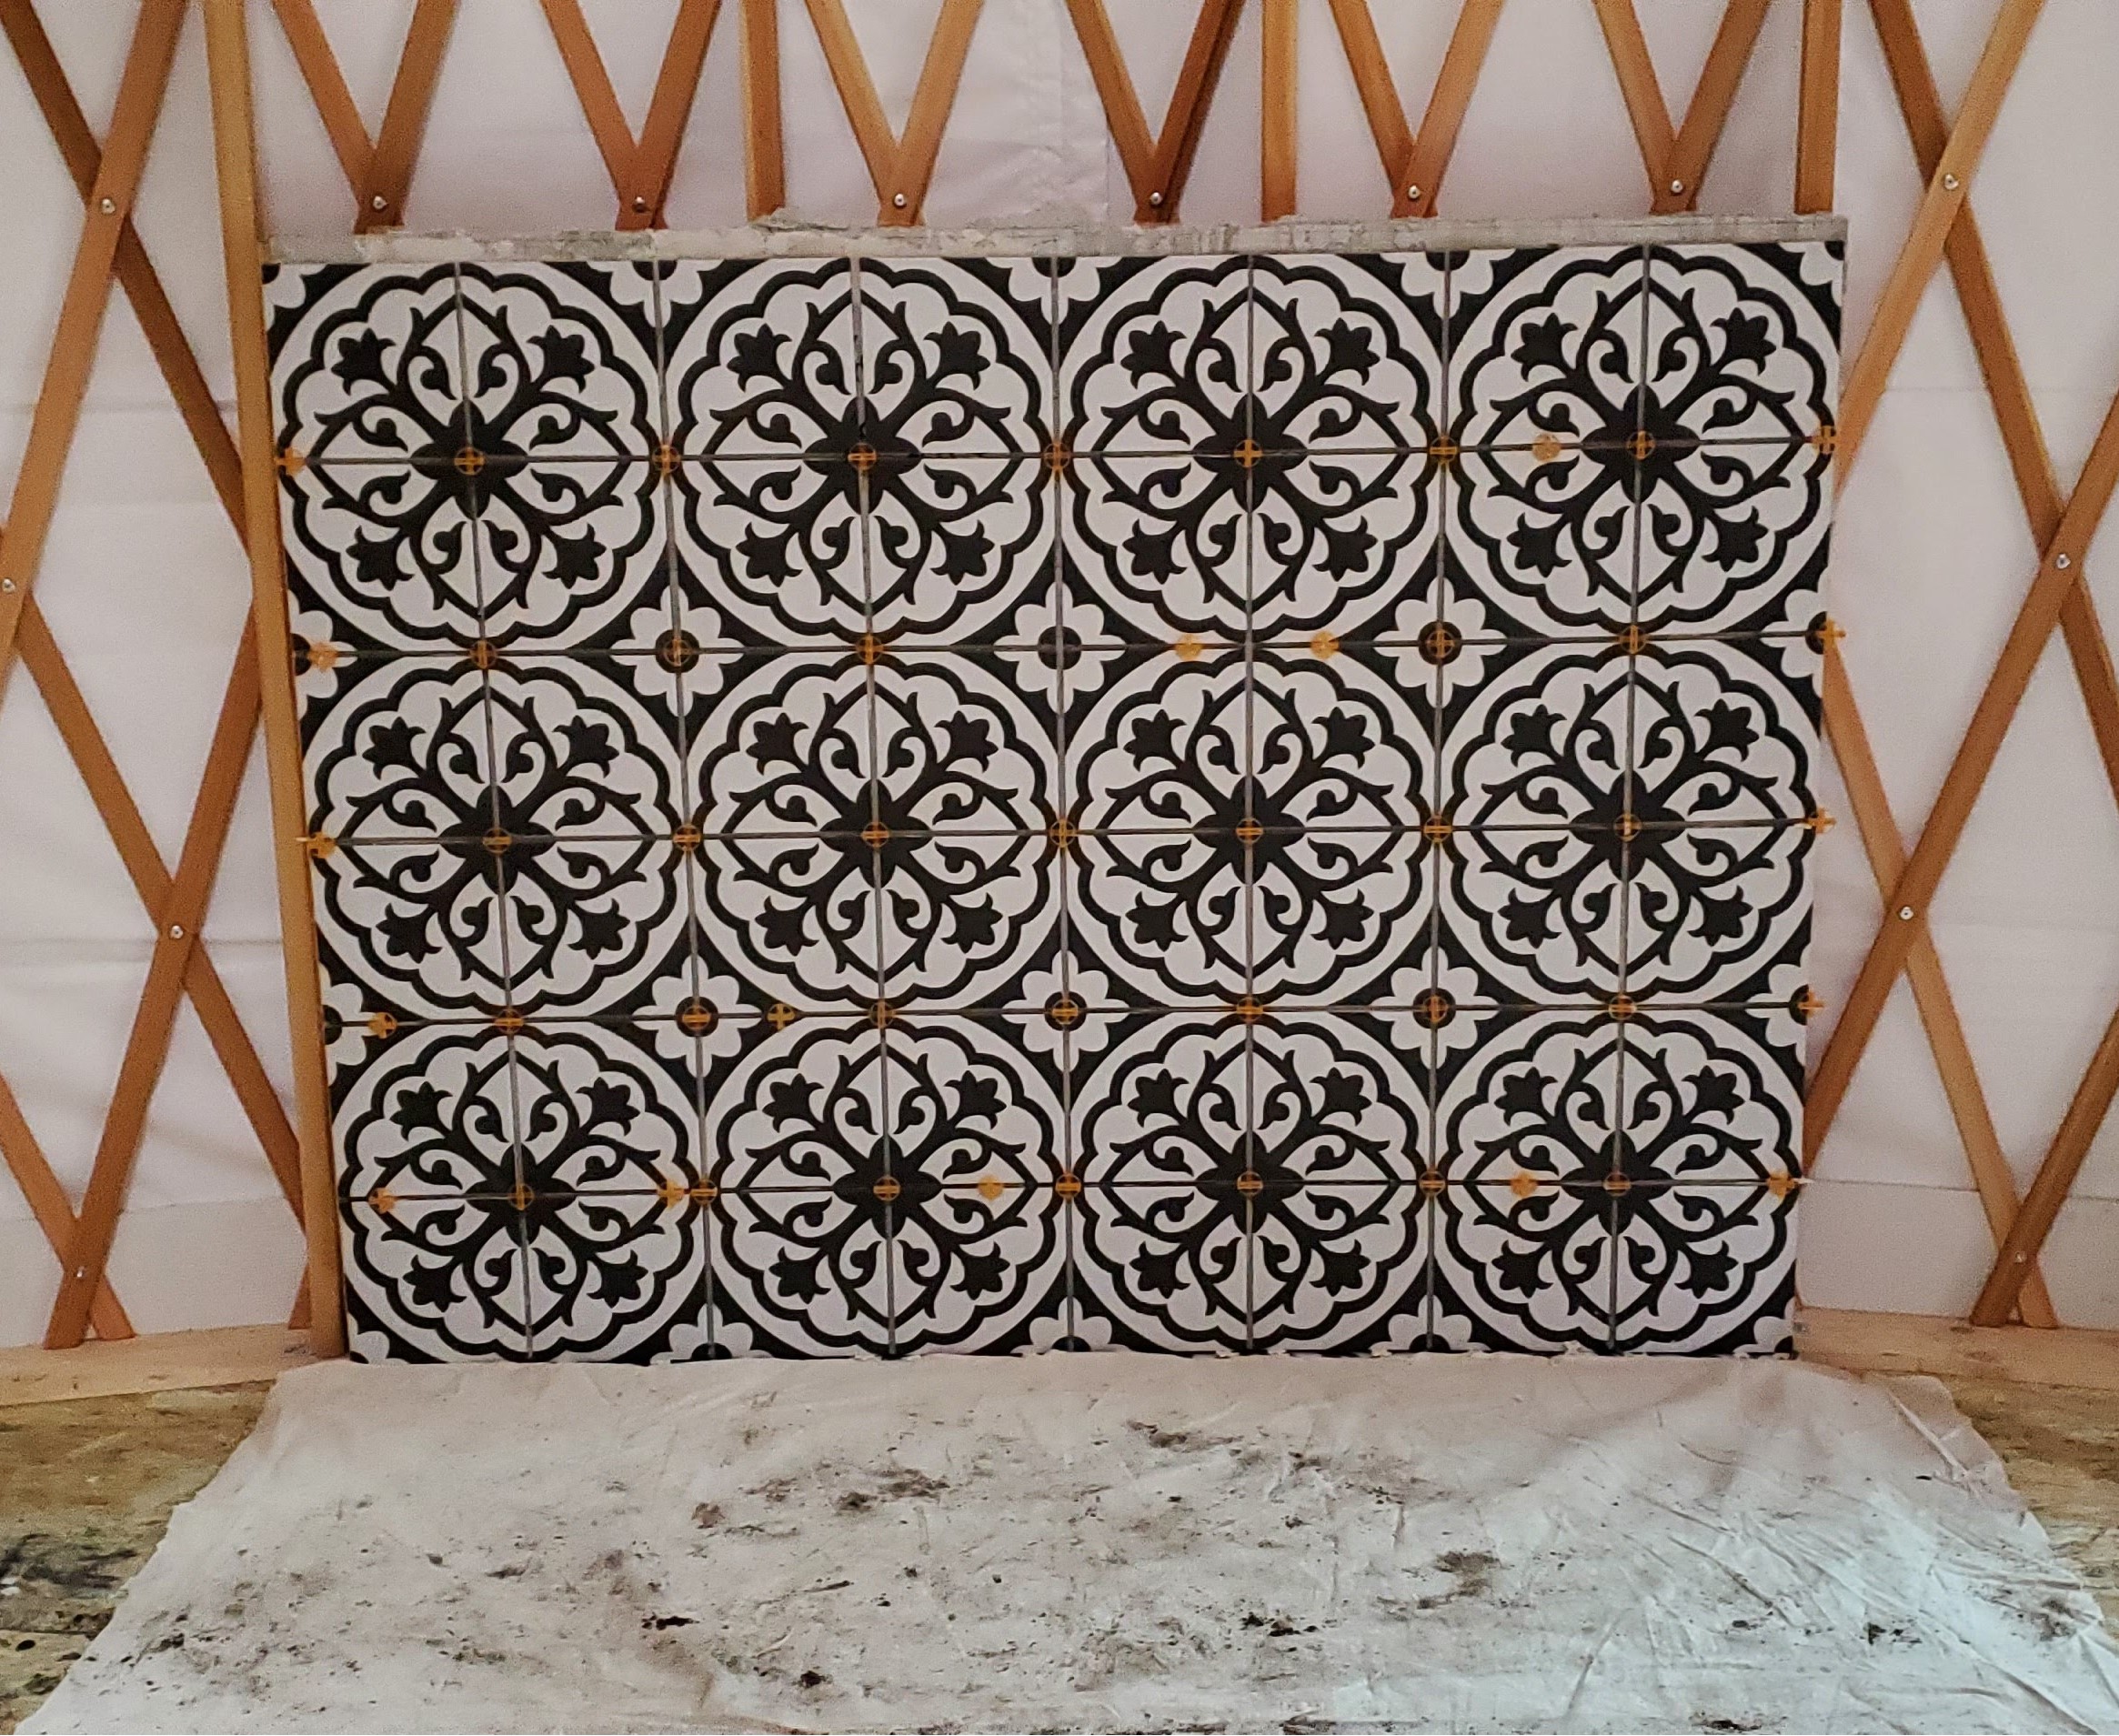
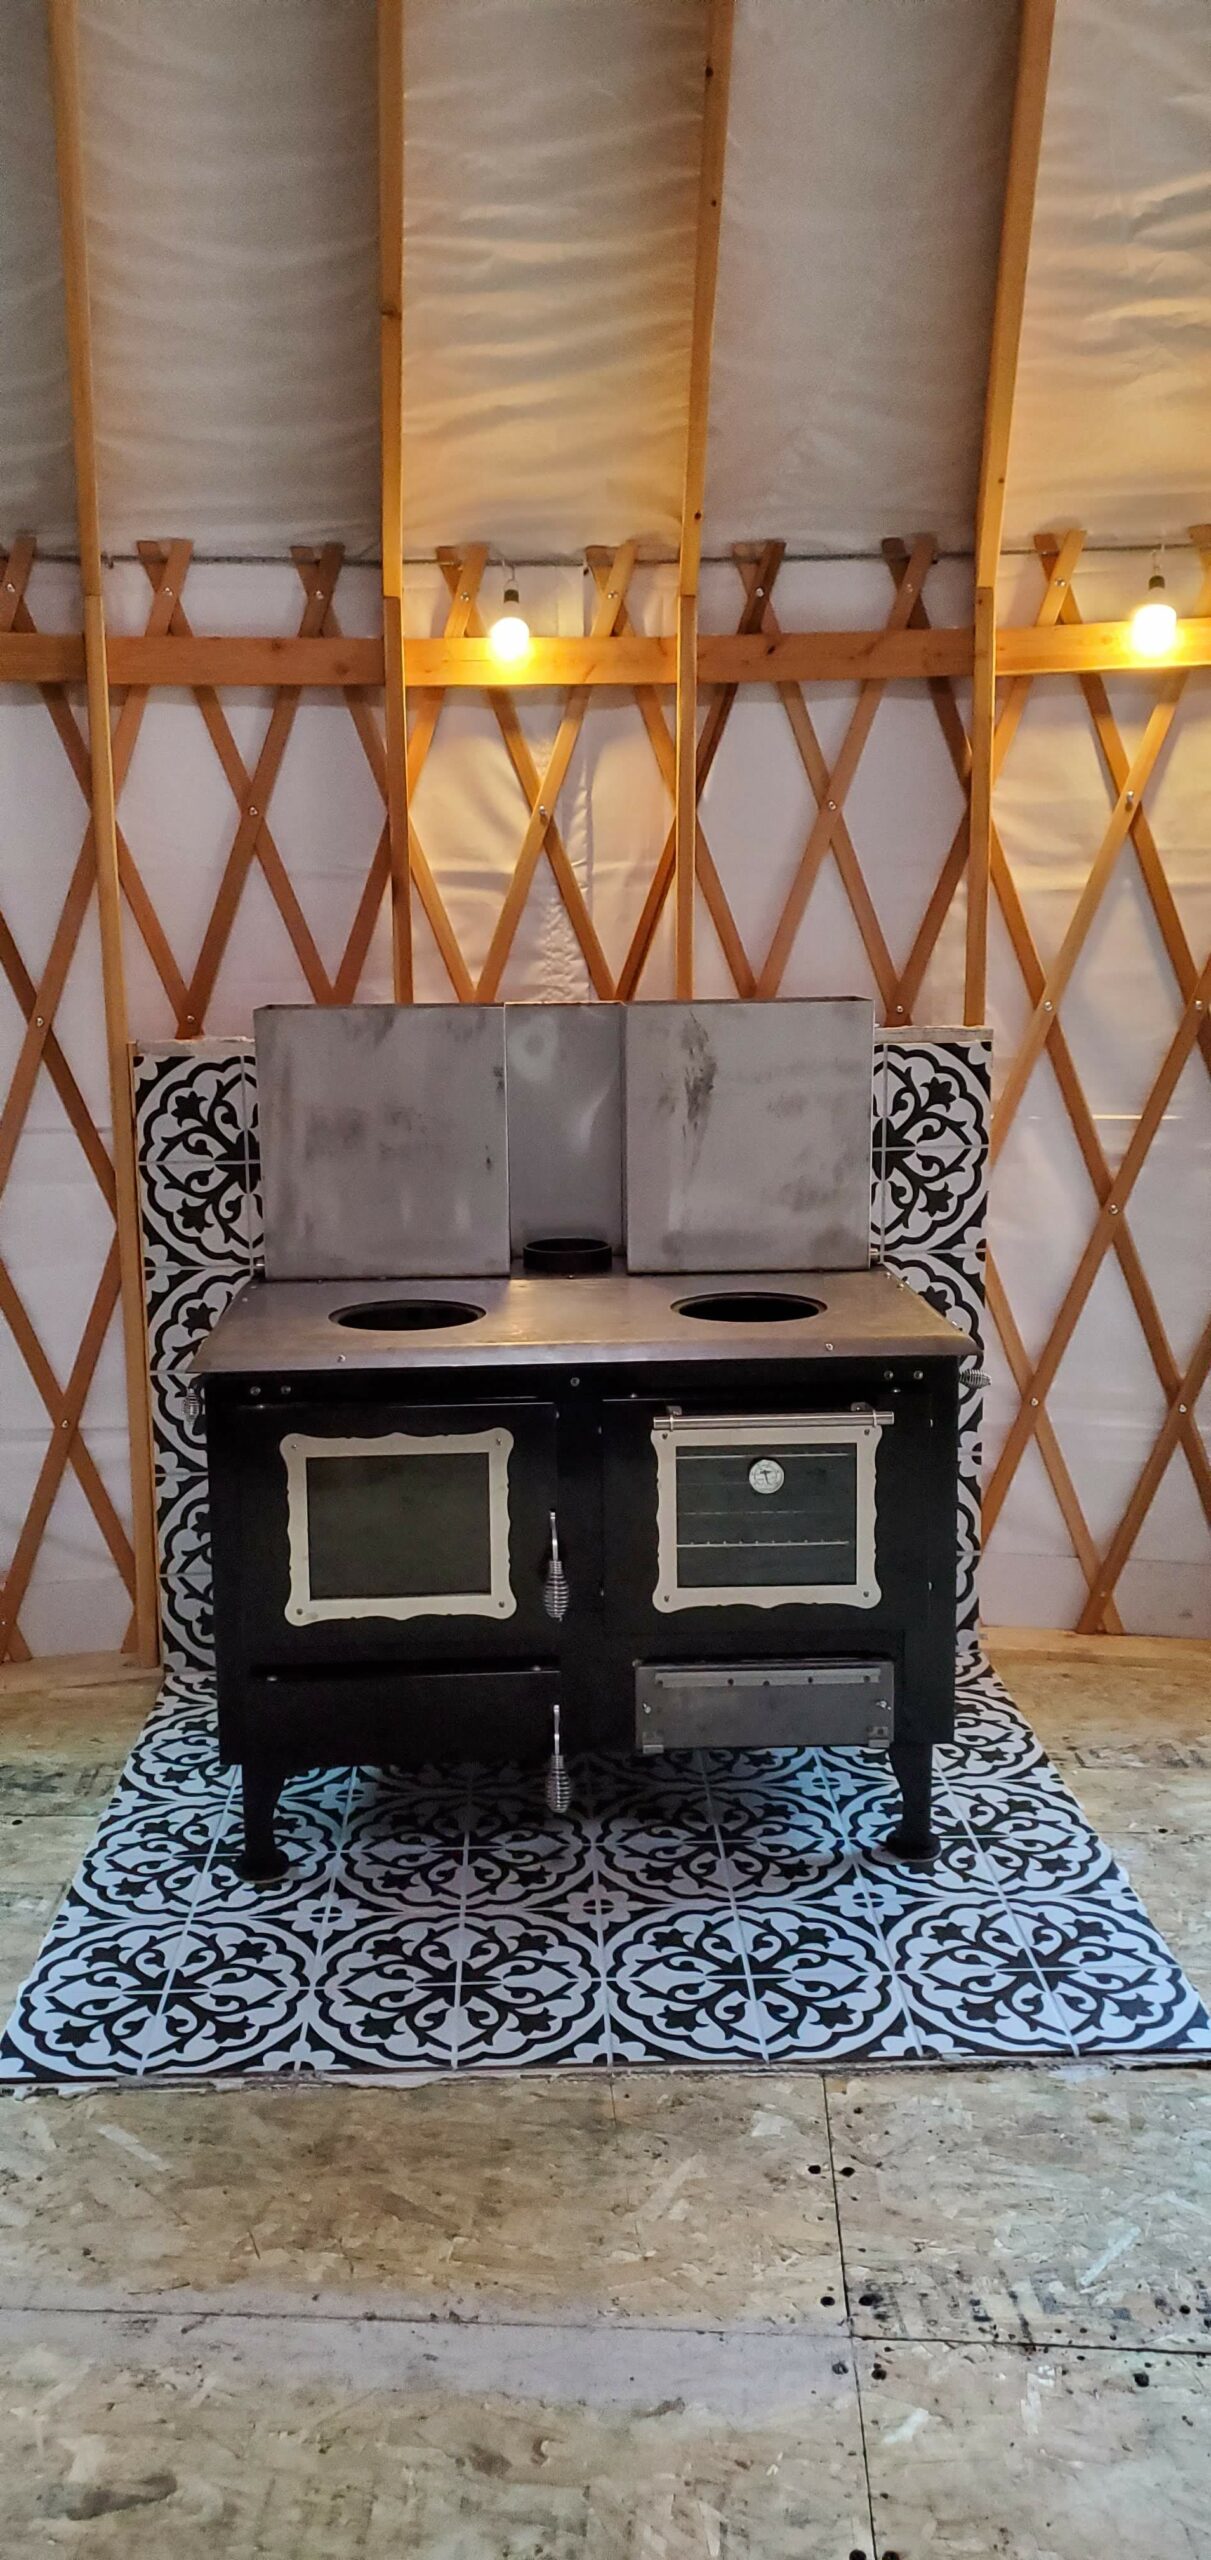
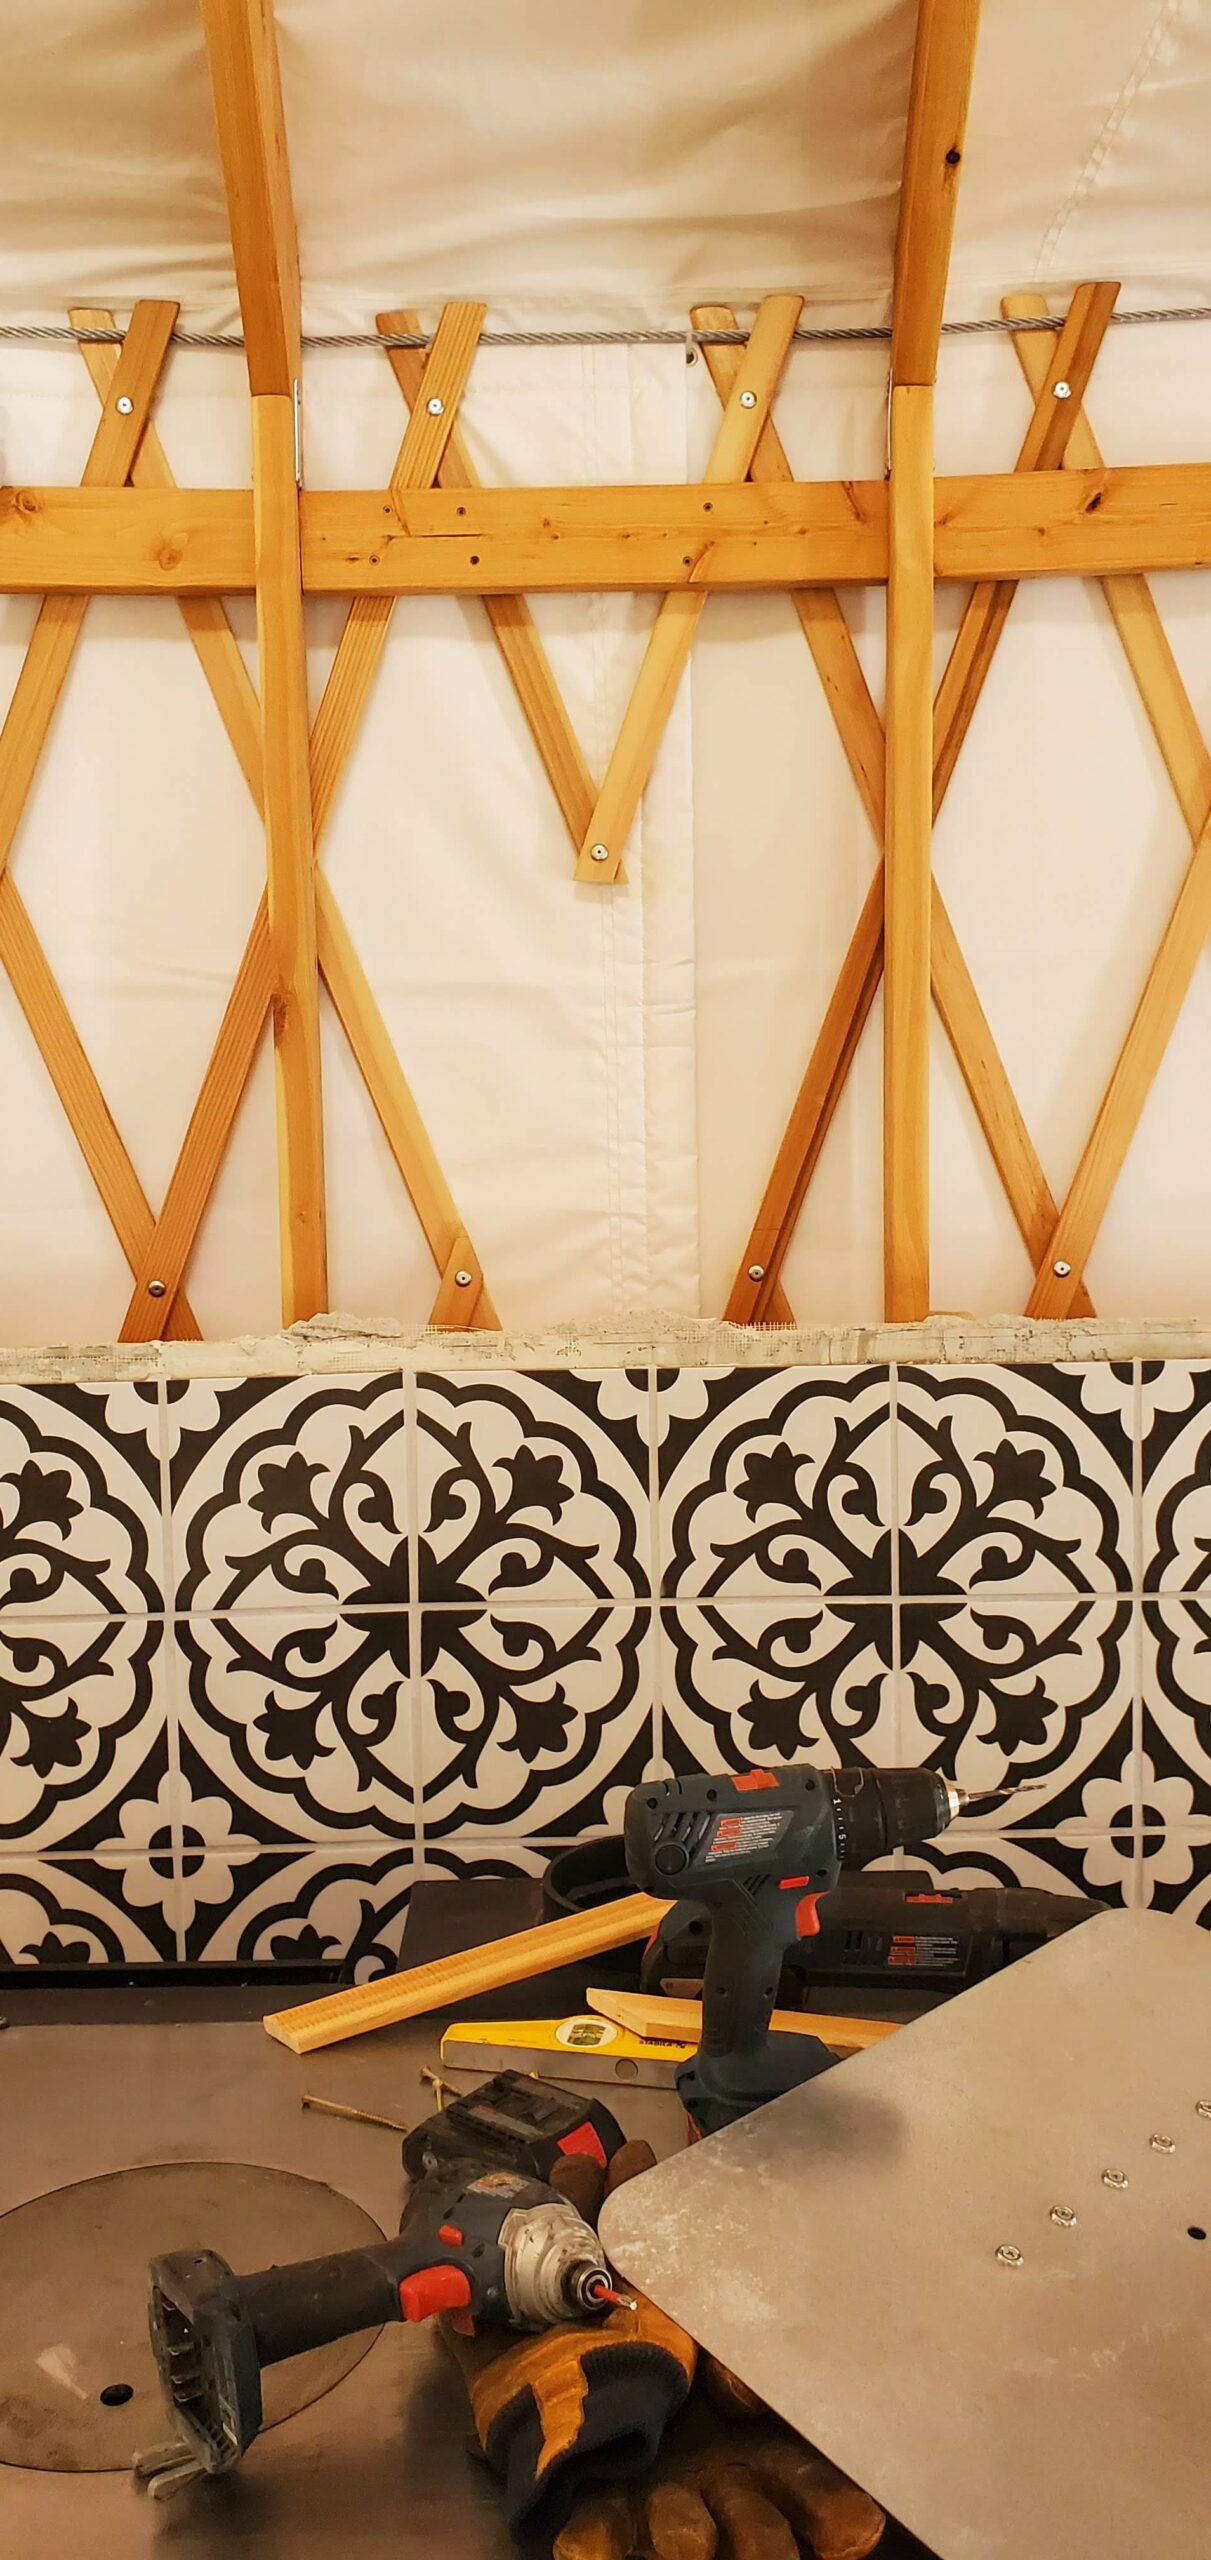
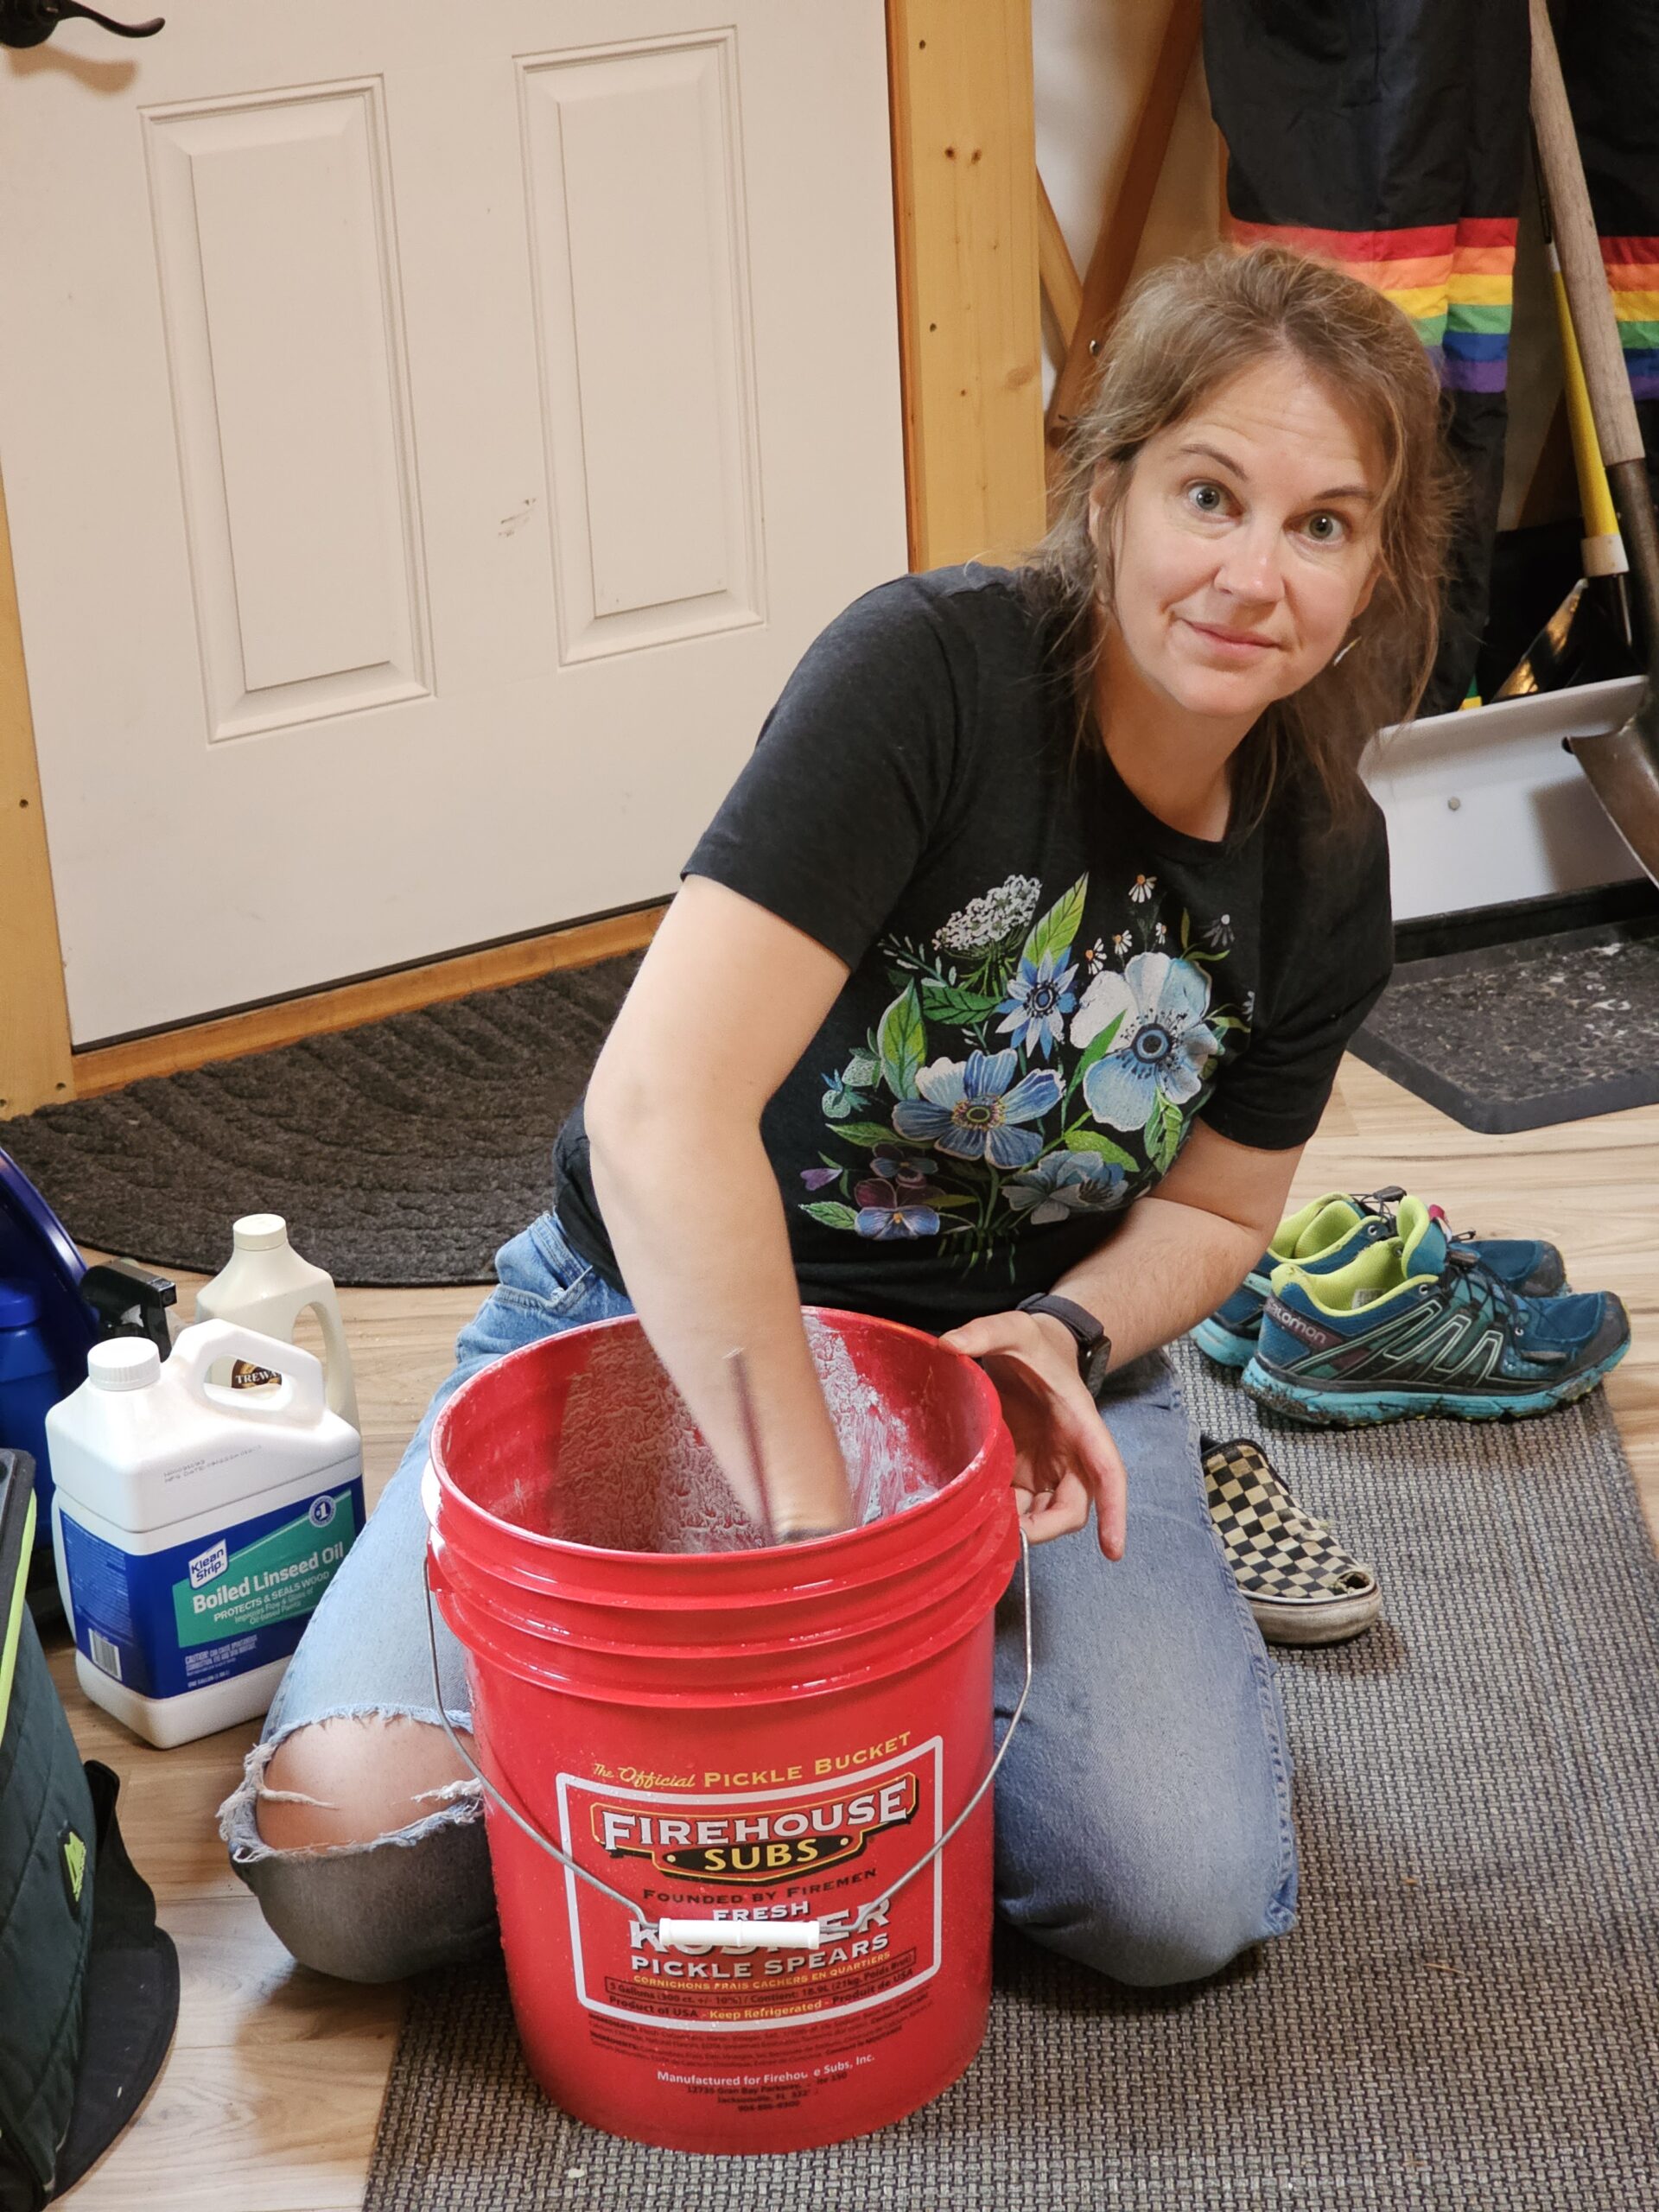
The first thing she needed was a heat safe pad to reside. We put a fireboard against the wall of the yurt and on the SIPs floor where she would be placed. The next step was tile. This was my very first tile experience. I had a couple of great mentors: YouTube and JW.

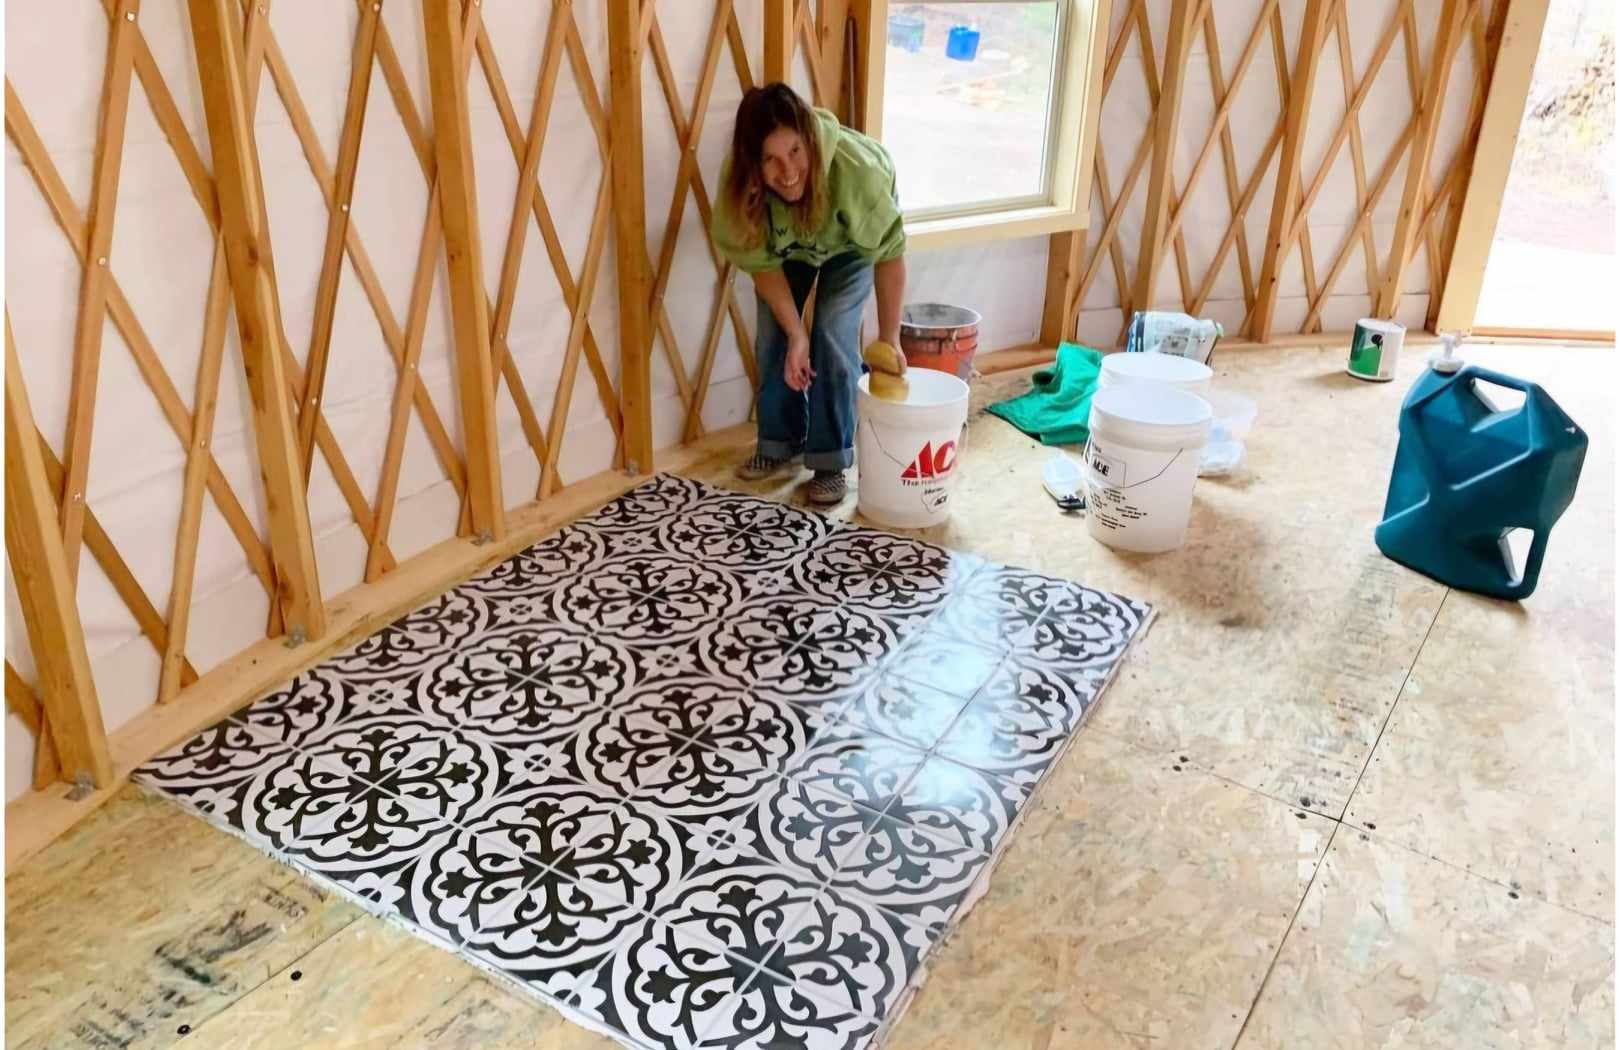
For some reason, we only thought to put the backdrop fireboard a portion of the way up the wall. Our stove gets hot, and it is tall. In the end, we added to the wall for functionality and esthetic. The problem, for me, was that I ran out of tile and couldn’t find this pretty tile anymore. I had to get crafty.
Before the final tile puzzle, we needed to get that heavy stove moved across the yurt onto her beautiful pad. And, we needed to get the stovepipe in place so we could warm the yurt.
Moving the Queen to her Pad
Moving her was a challenge, to say the least. We constantly talk about how each step of yurt construction is/was a puzzle. The insides of the Queen were yet another. The firebrick was in disarray. I spent a couple of hours solving this puzzle. She was finally all pieced together, and after the move pieced together, again.
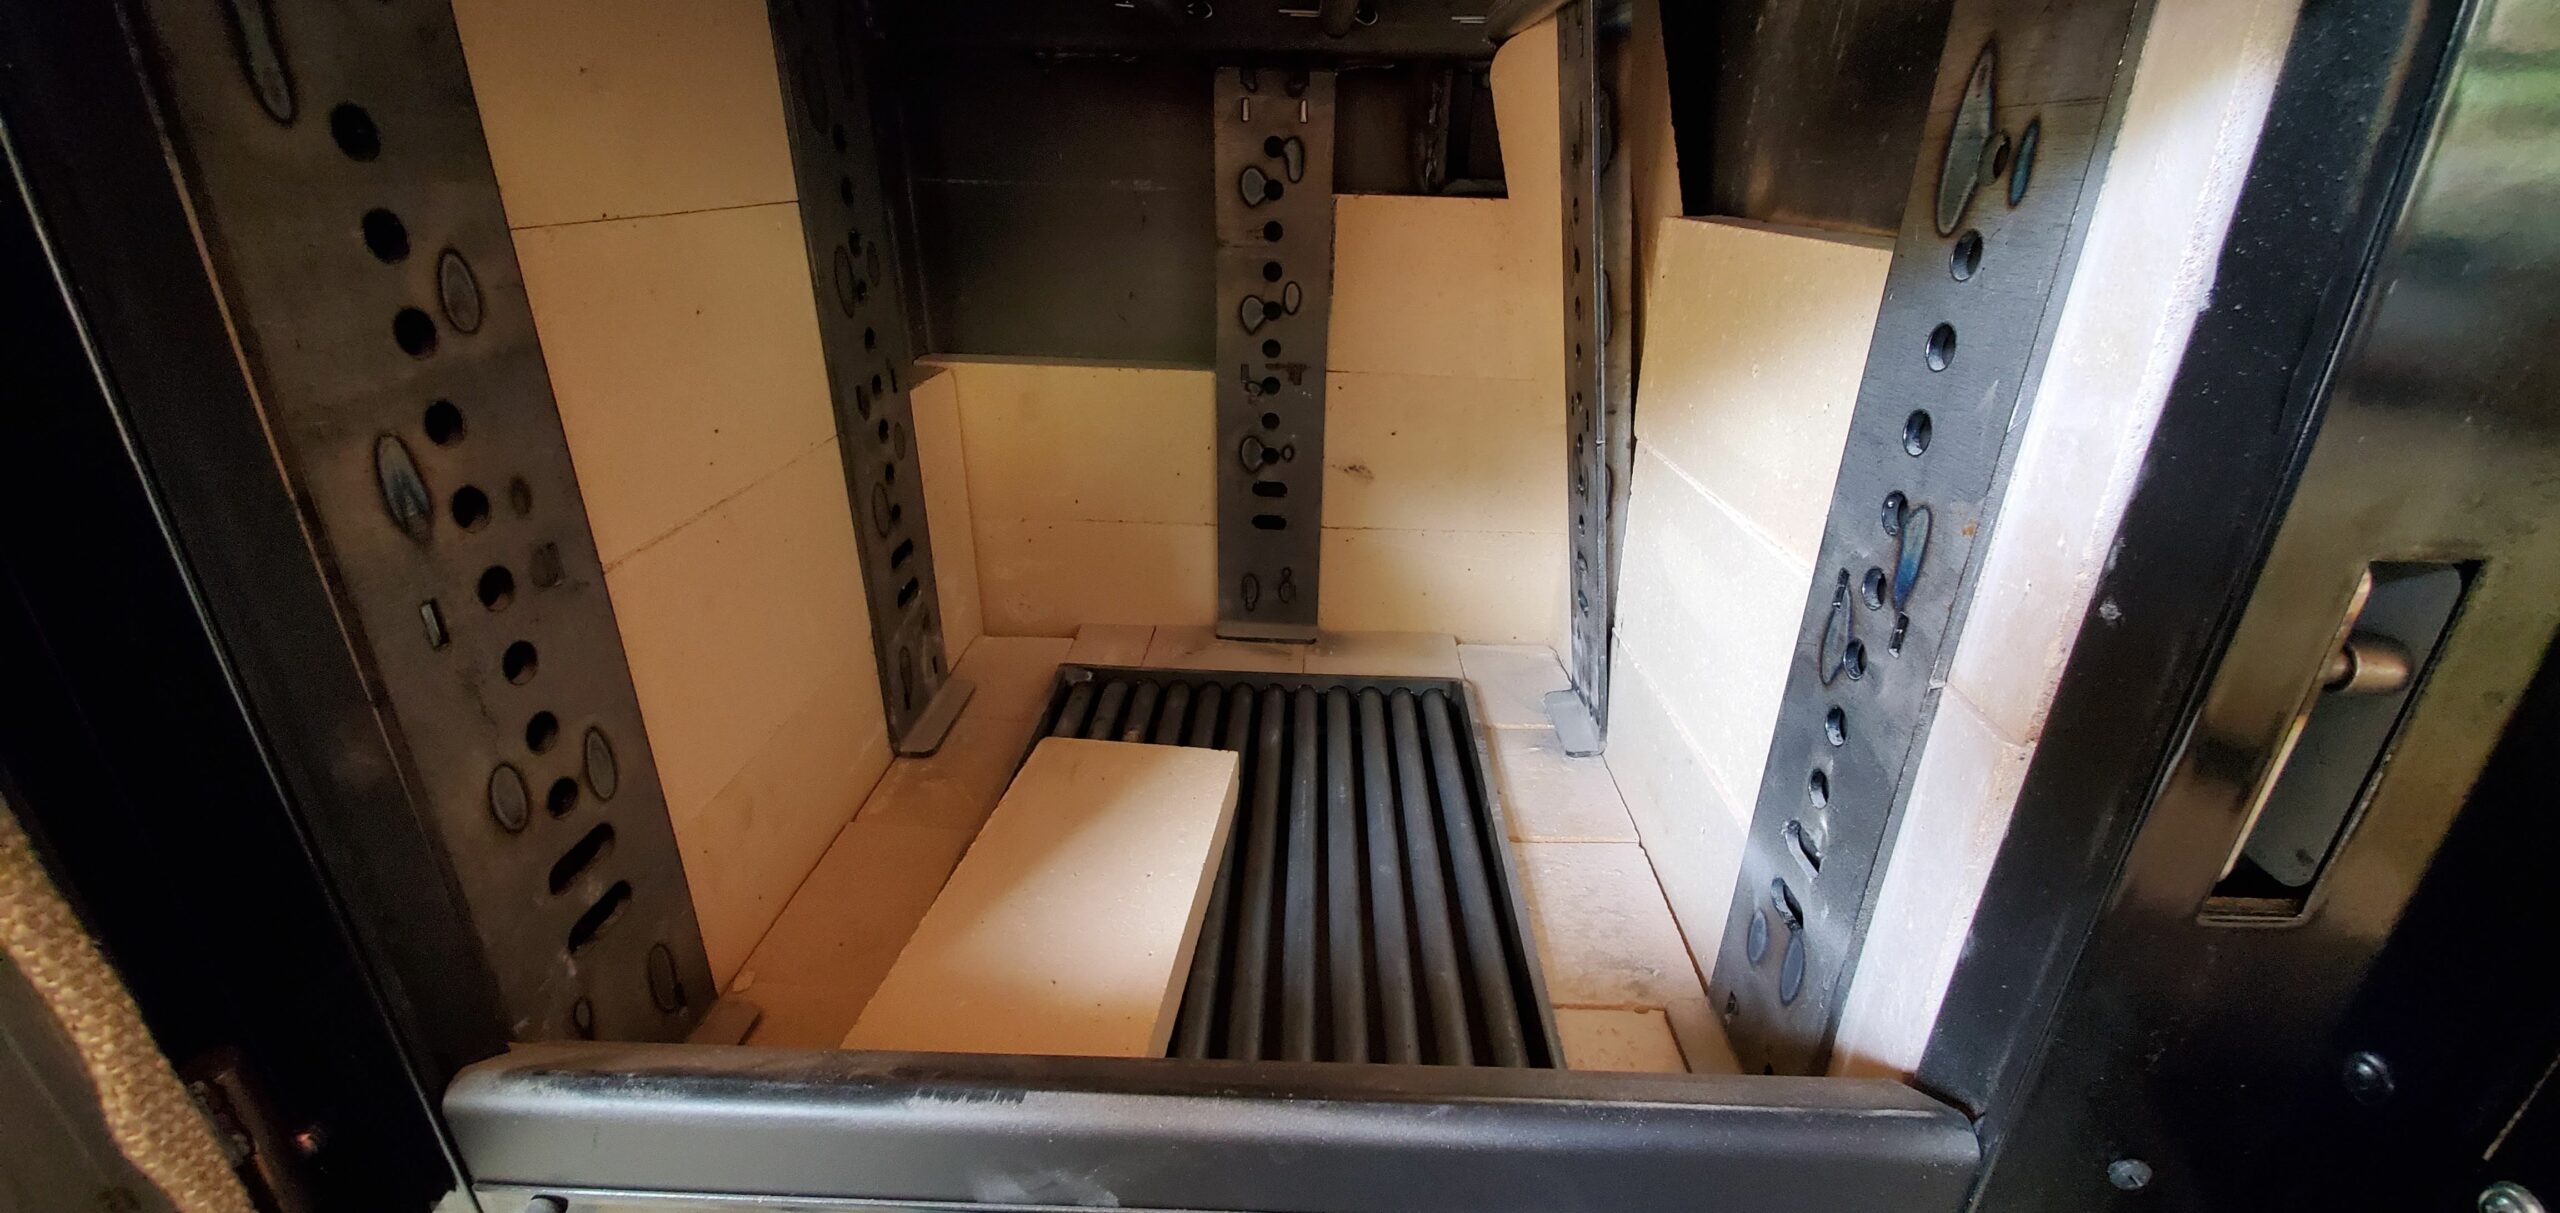
It took 5 strapping gentlemen and an industrial sized dolly to move her approximately 20 feet. I did not make a video because it was stressful and I was worried that someone was going to lose a toe. She will never be moving from her landing pad. She’s found her forever home.
The Stovepipe
This was the MOST complicated puzzle of the process. I made good pals with Bert at the Axmen, he’s referred to as “the resident venting guru”. He knows what is up when you’re looking for a stovepipe. Ours had to bend, and be really tall. The rule is that you want it to tower about 10 feet above your yurt, so the smoke doesn’t come back inside the dome. We broke that rule, but we got close.
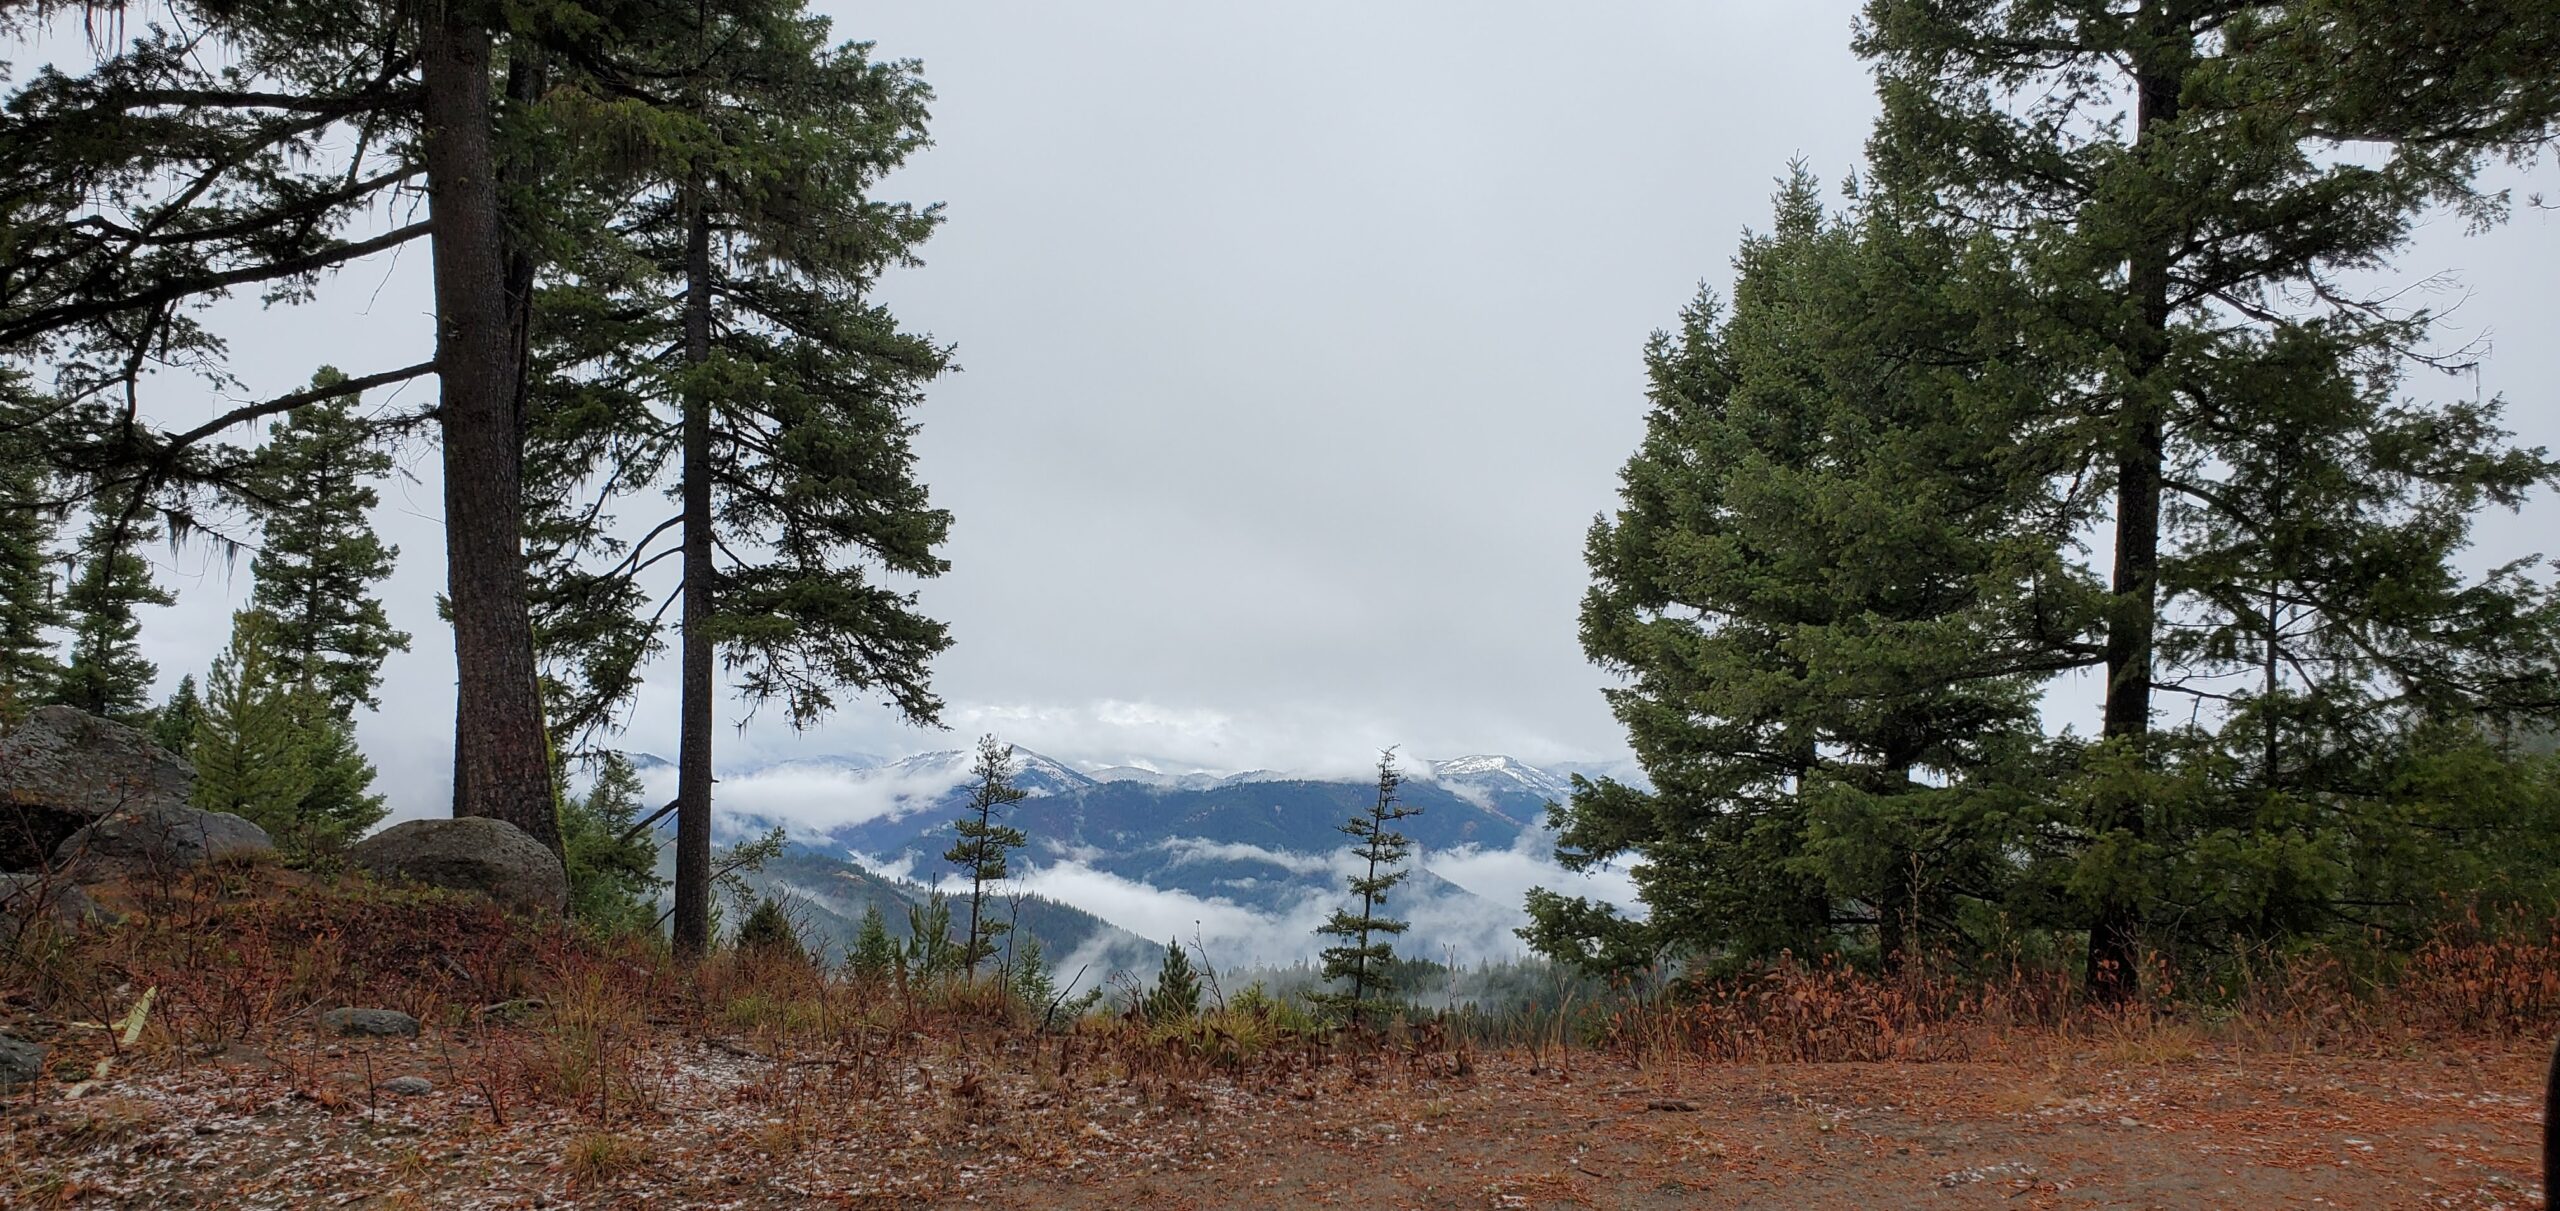
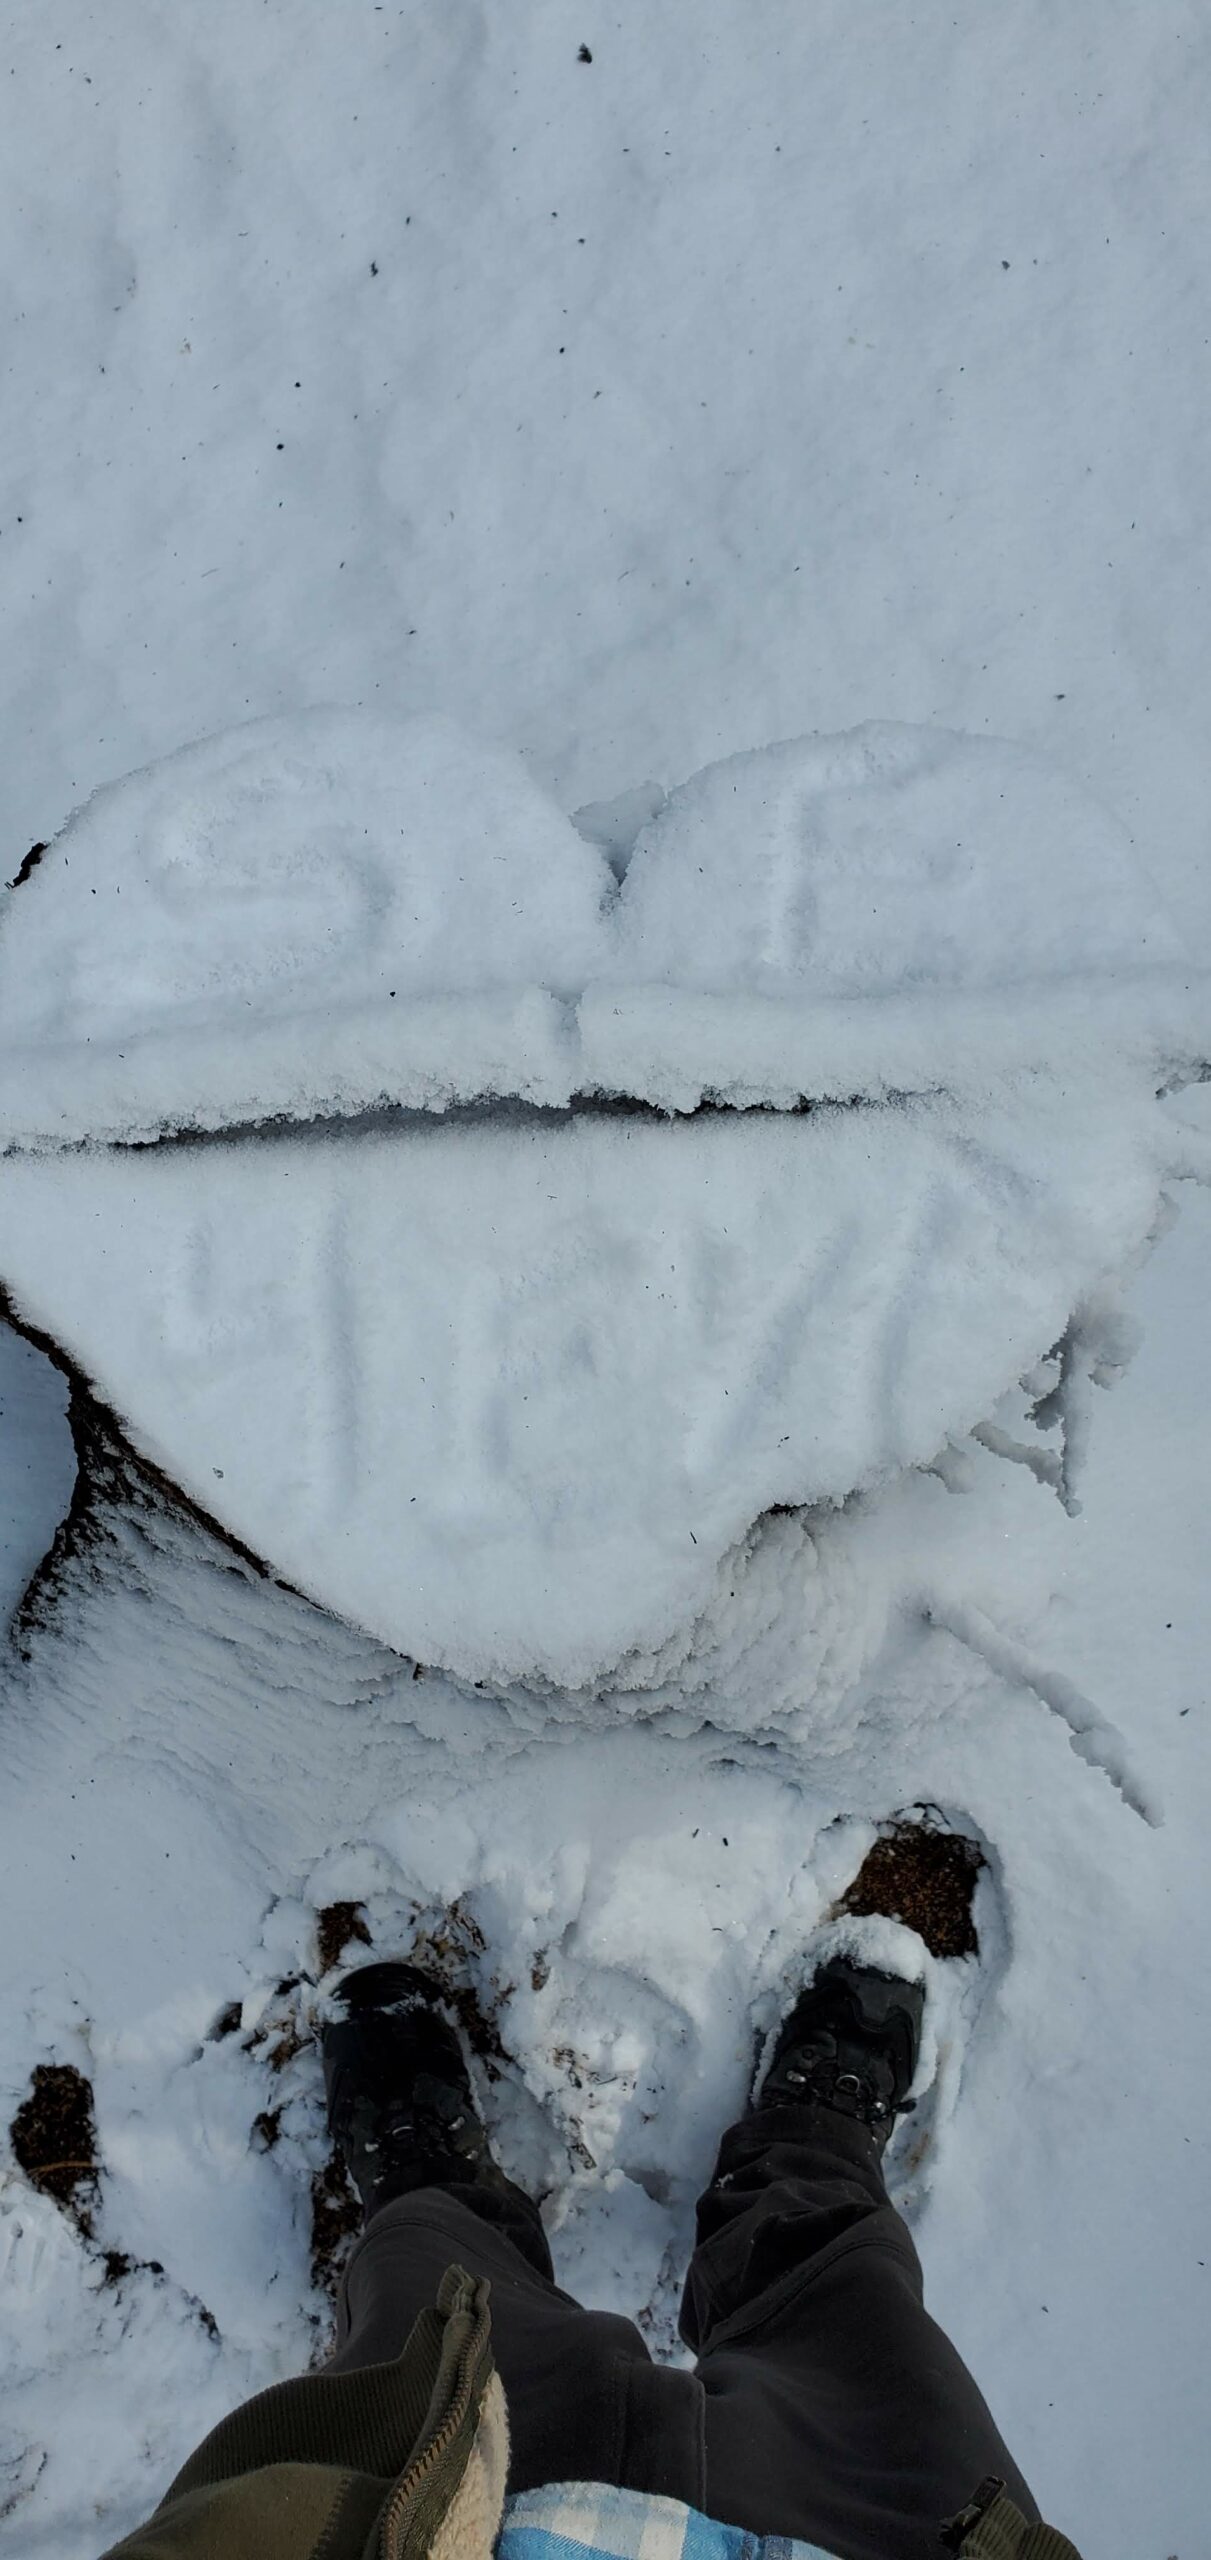
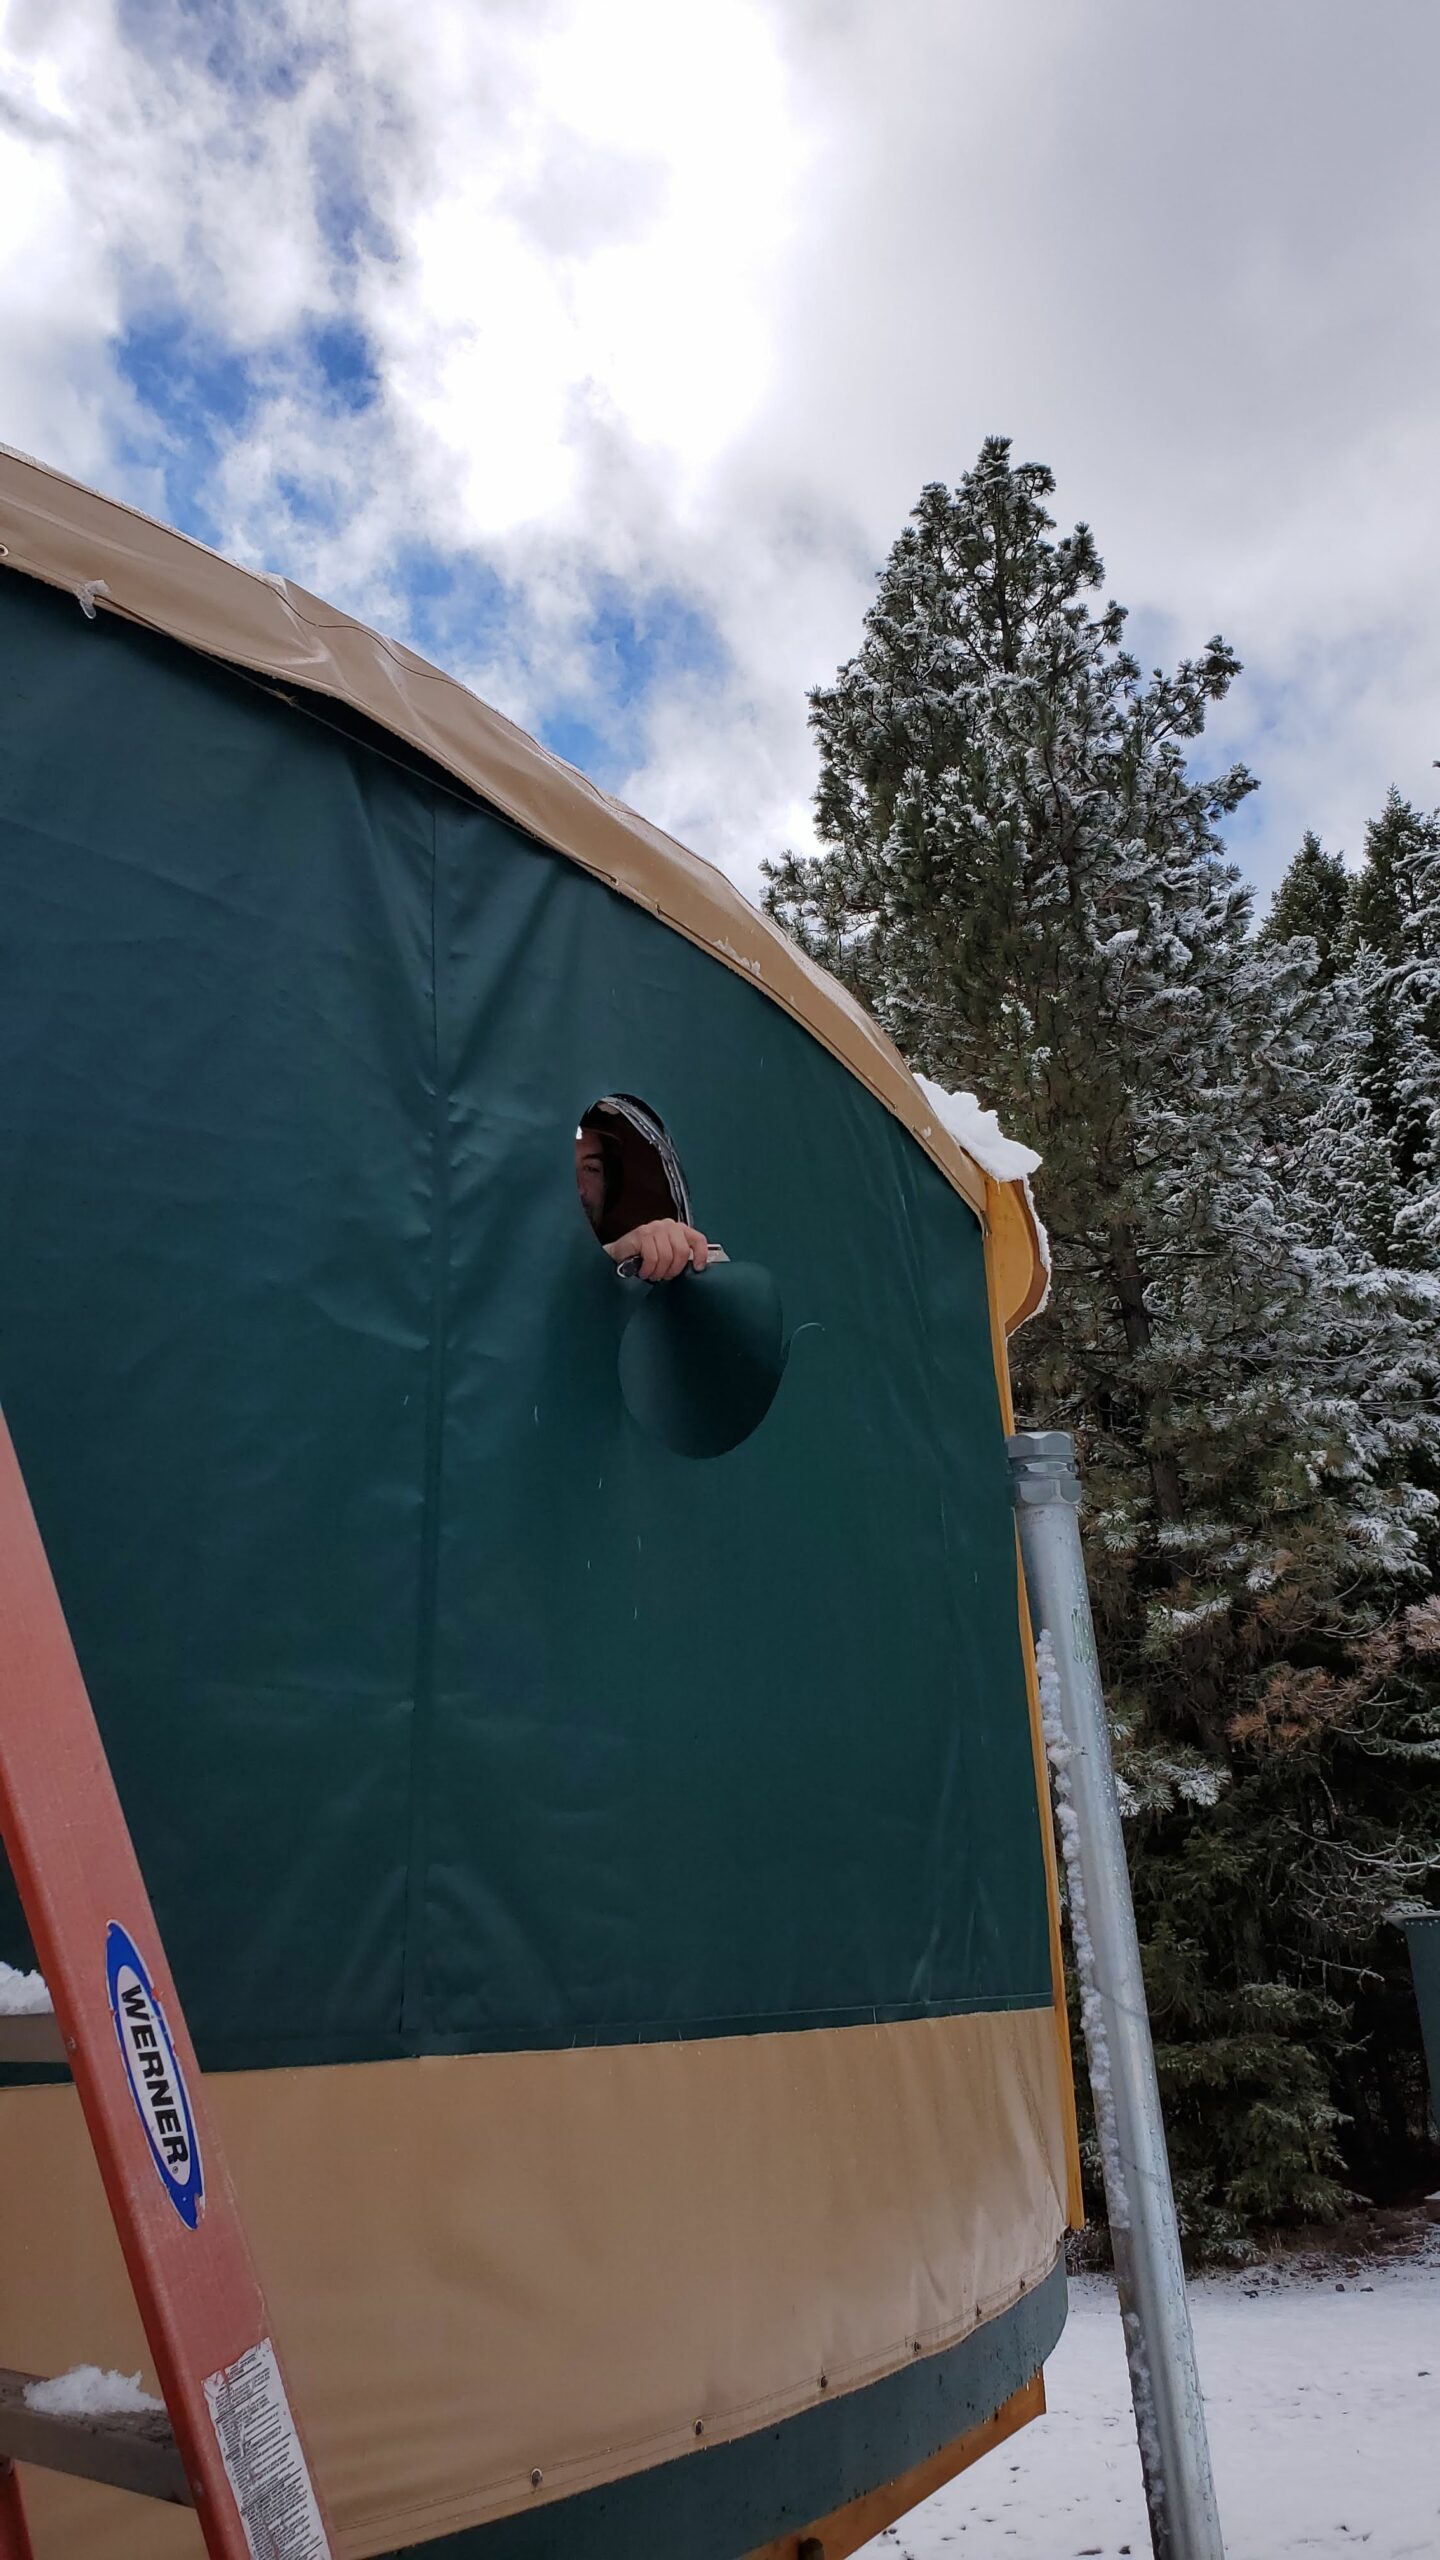
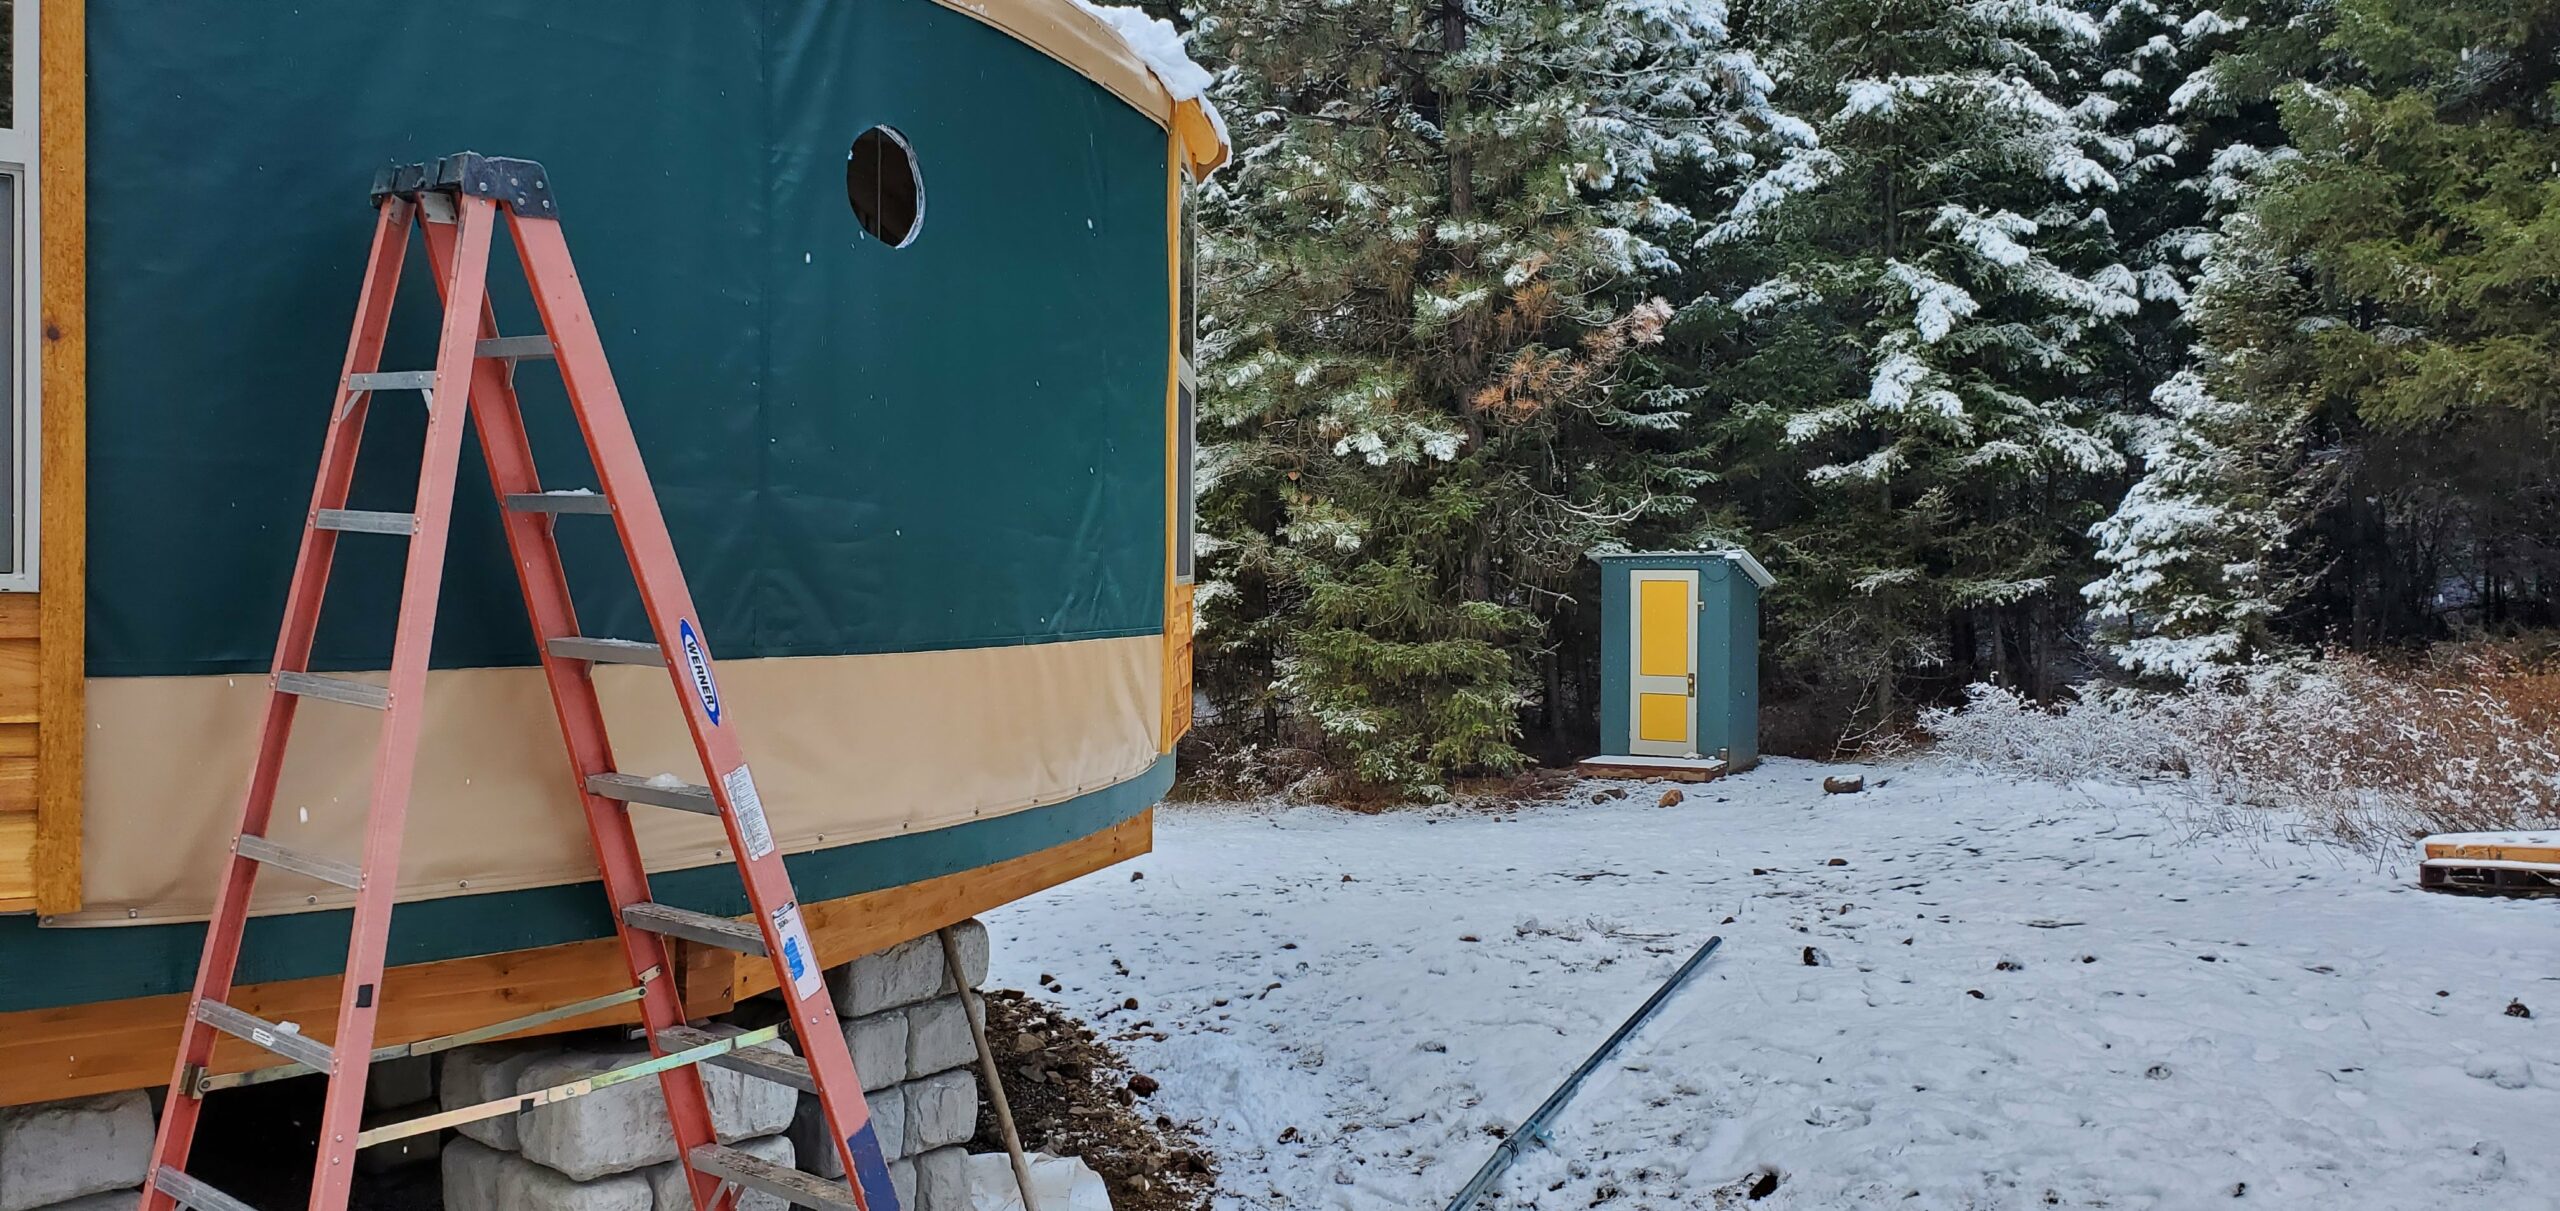
We had to cut a hole in the side of our circus tent for the stovepipe to exit. It looks like a heart. Please make note of how winter was visibly en route.

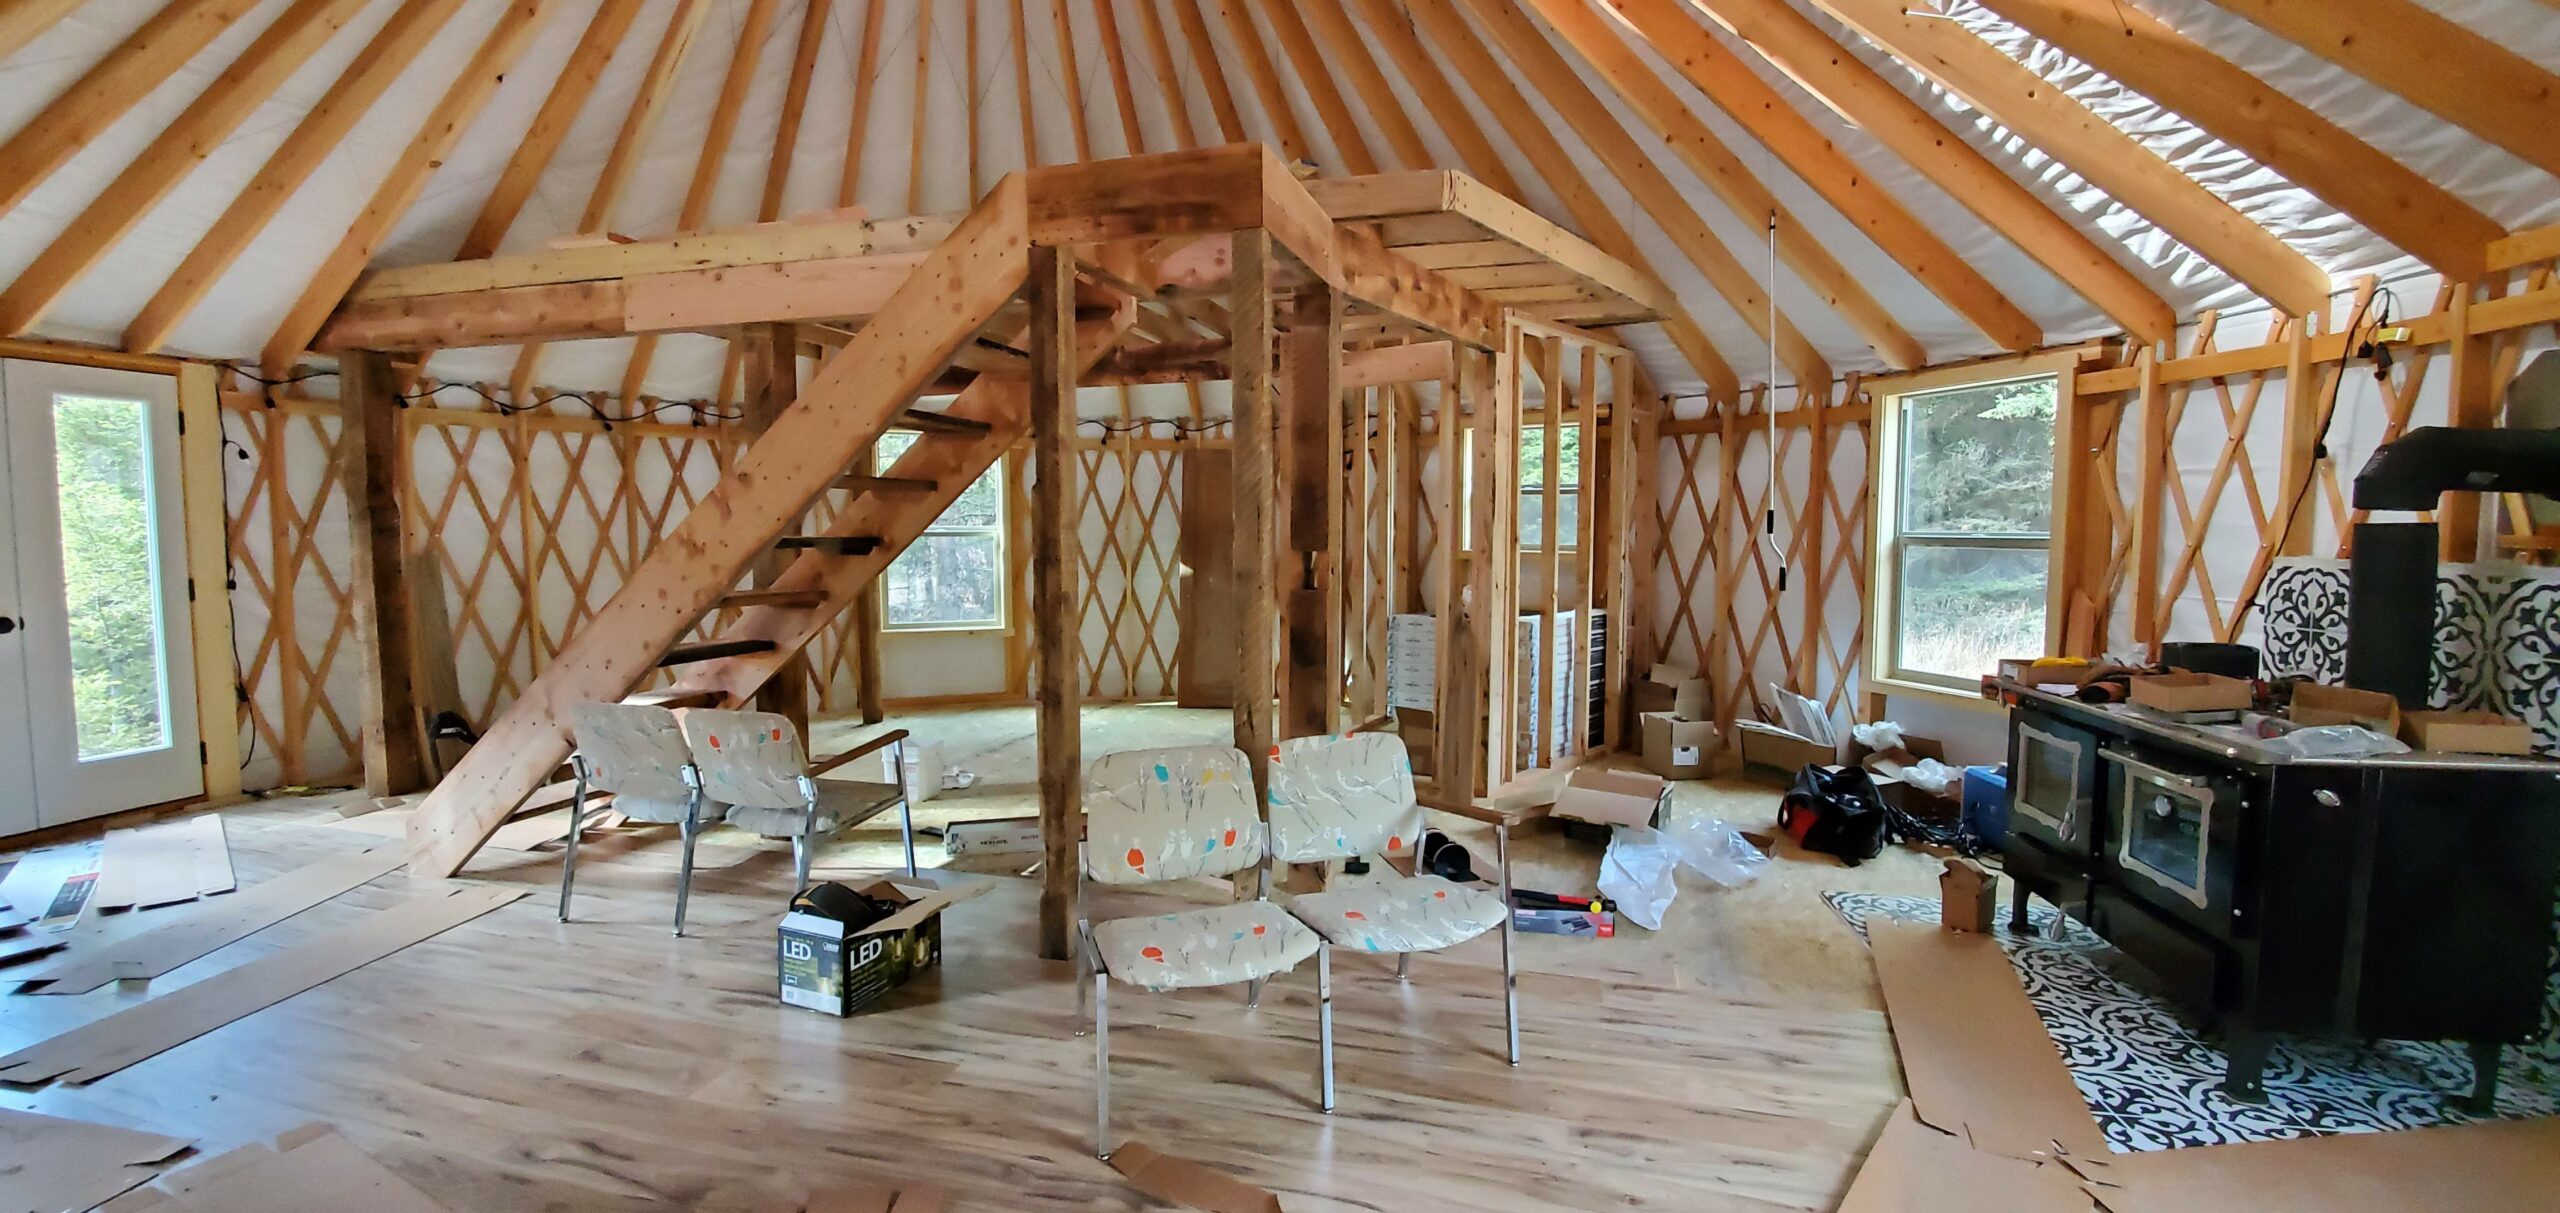
Post-hole, I am not entirely sure how many trips I made to the Axmen. We had other projects going simultaneously – laying the flooring and building the stairs and loft – so that made the Queen Puzzle feel less frustrating. We were always accomplishing something. However, the yurt was chilly, so the desire to have the stove operate was high, while we completed other projects.
The pipe inside the yurt is double-walled so it doesn’t get too hot. Outside, that isn’t the case. All parts of the pipe had self-tapping screws, that I grew to hate. I drove up and down the mountain one day 3 times to replace mother effing self-tapping screws that we dropped, lost or stripped.
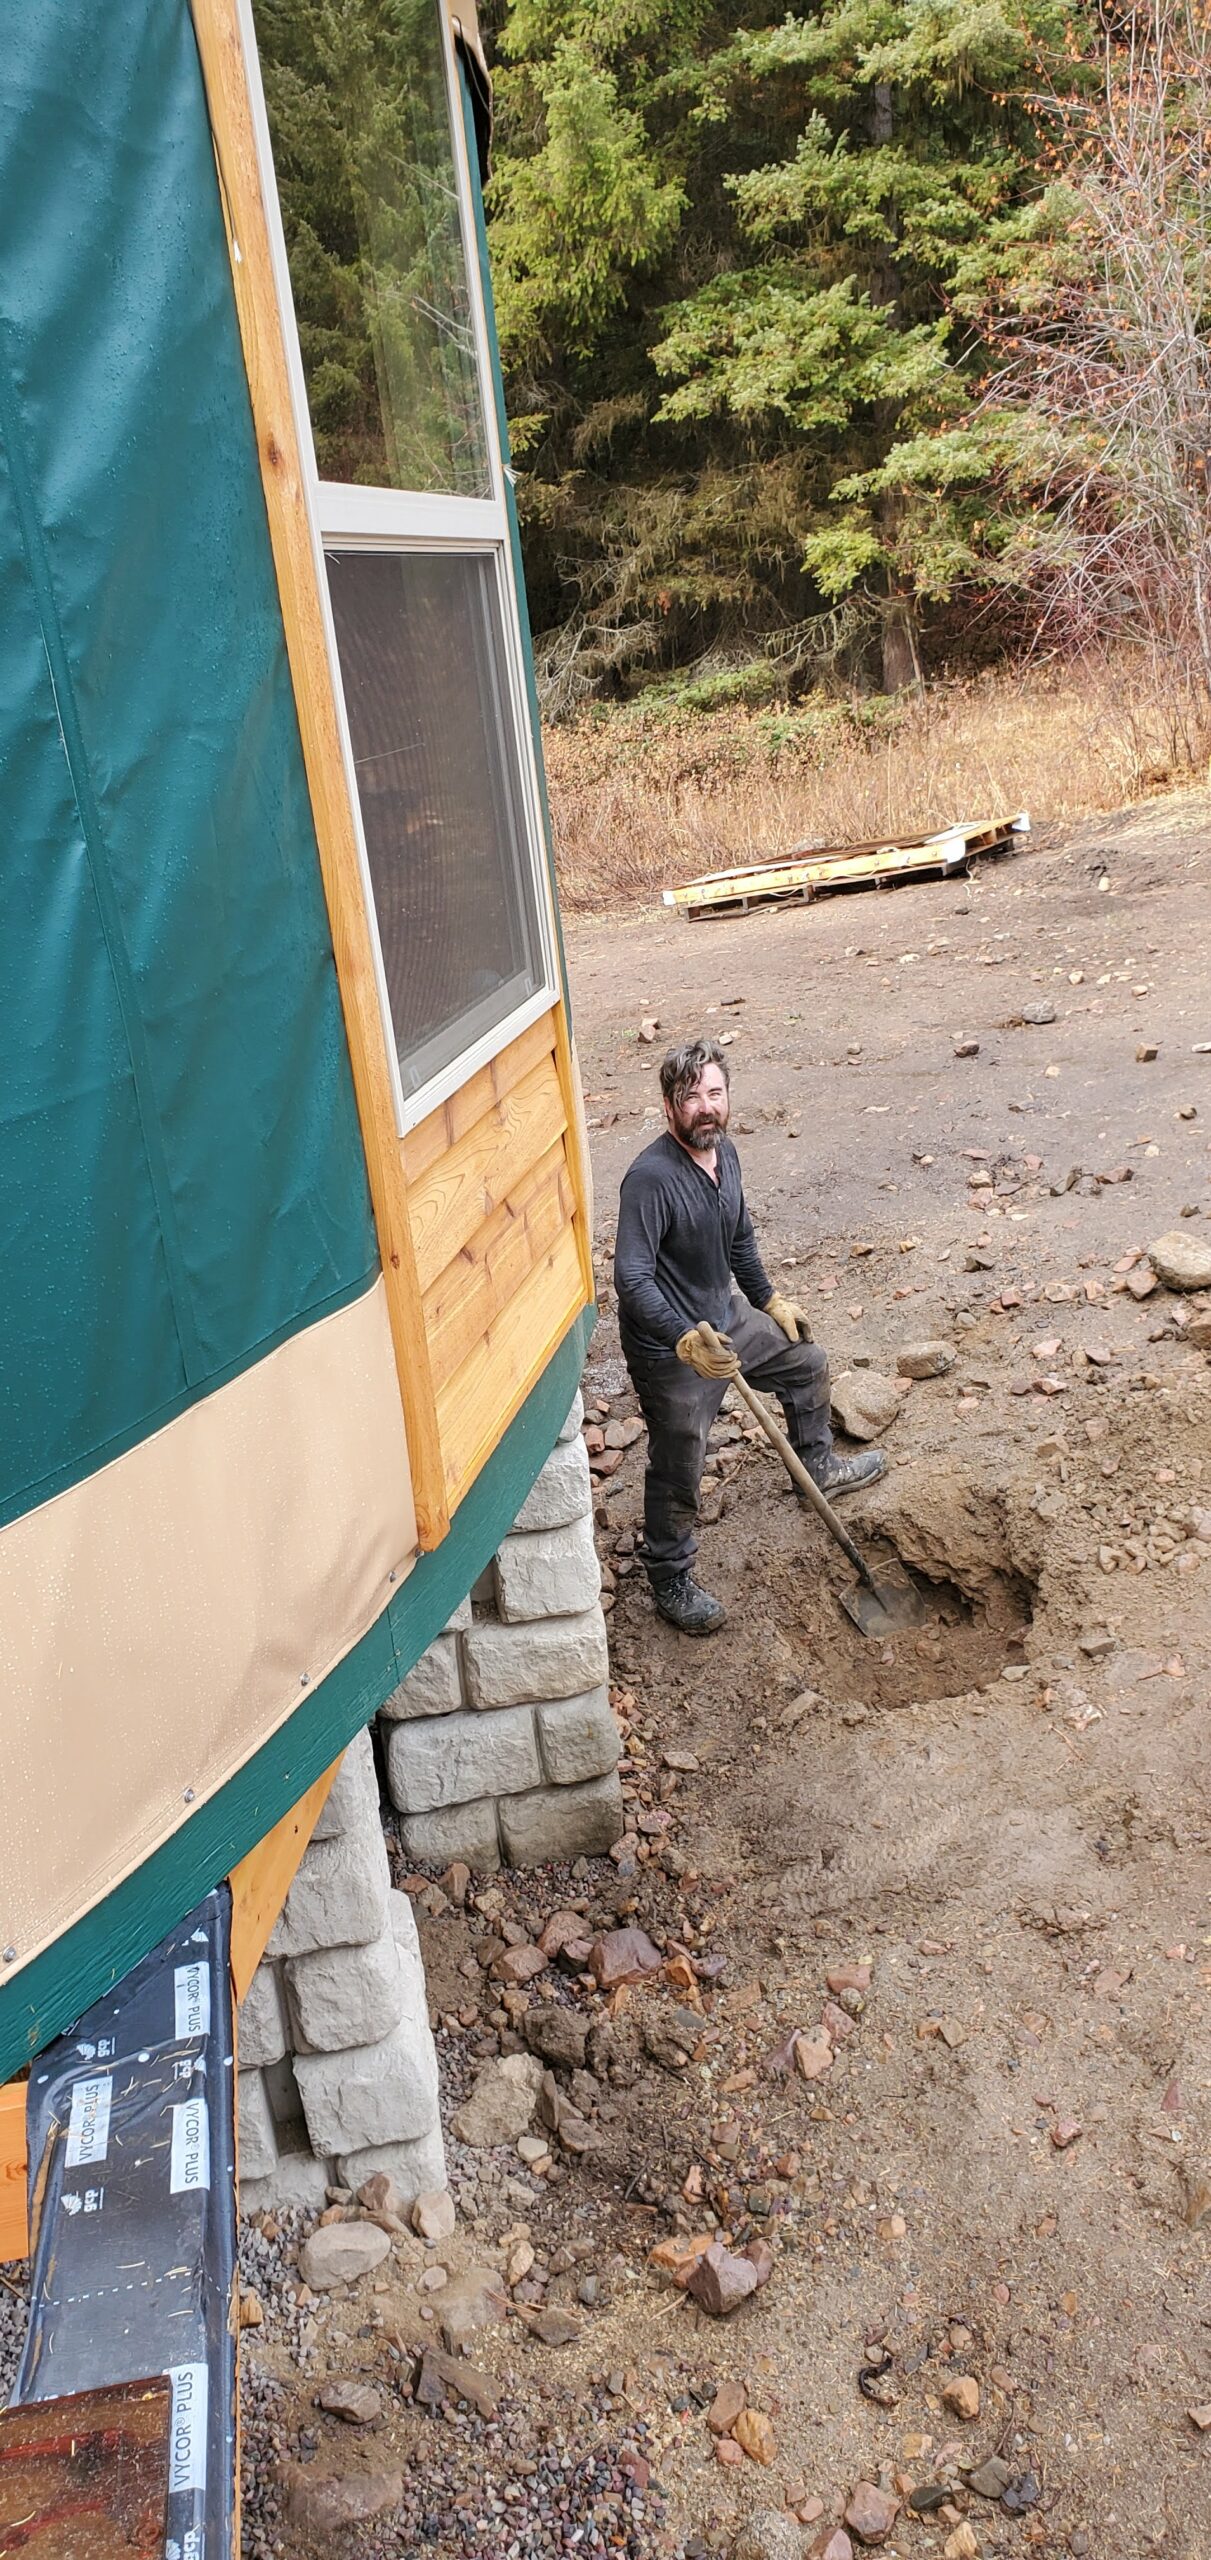
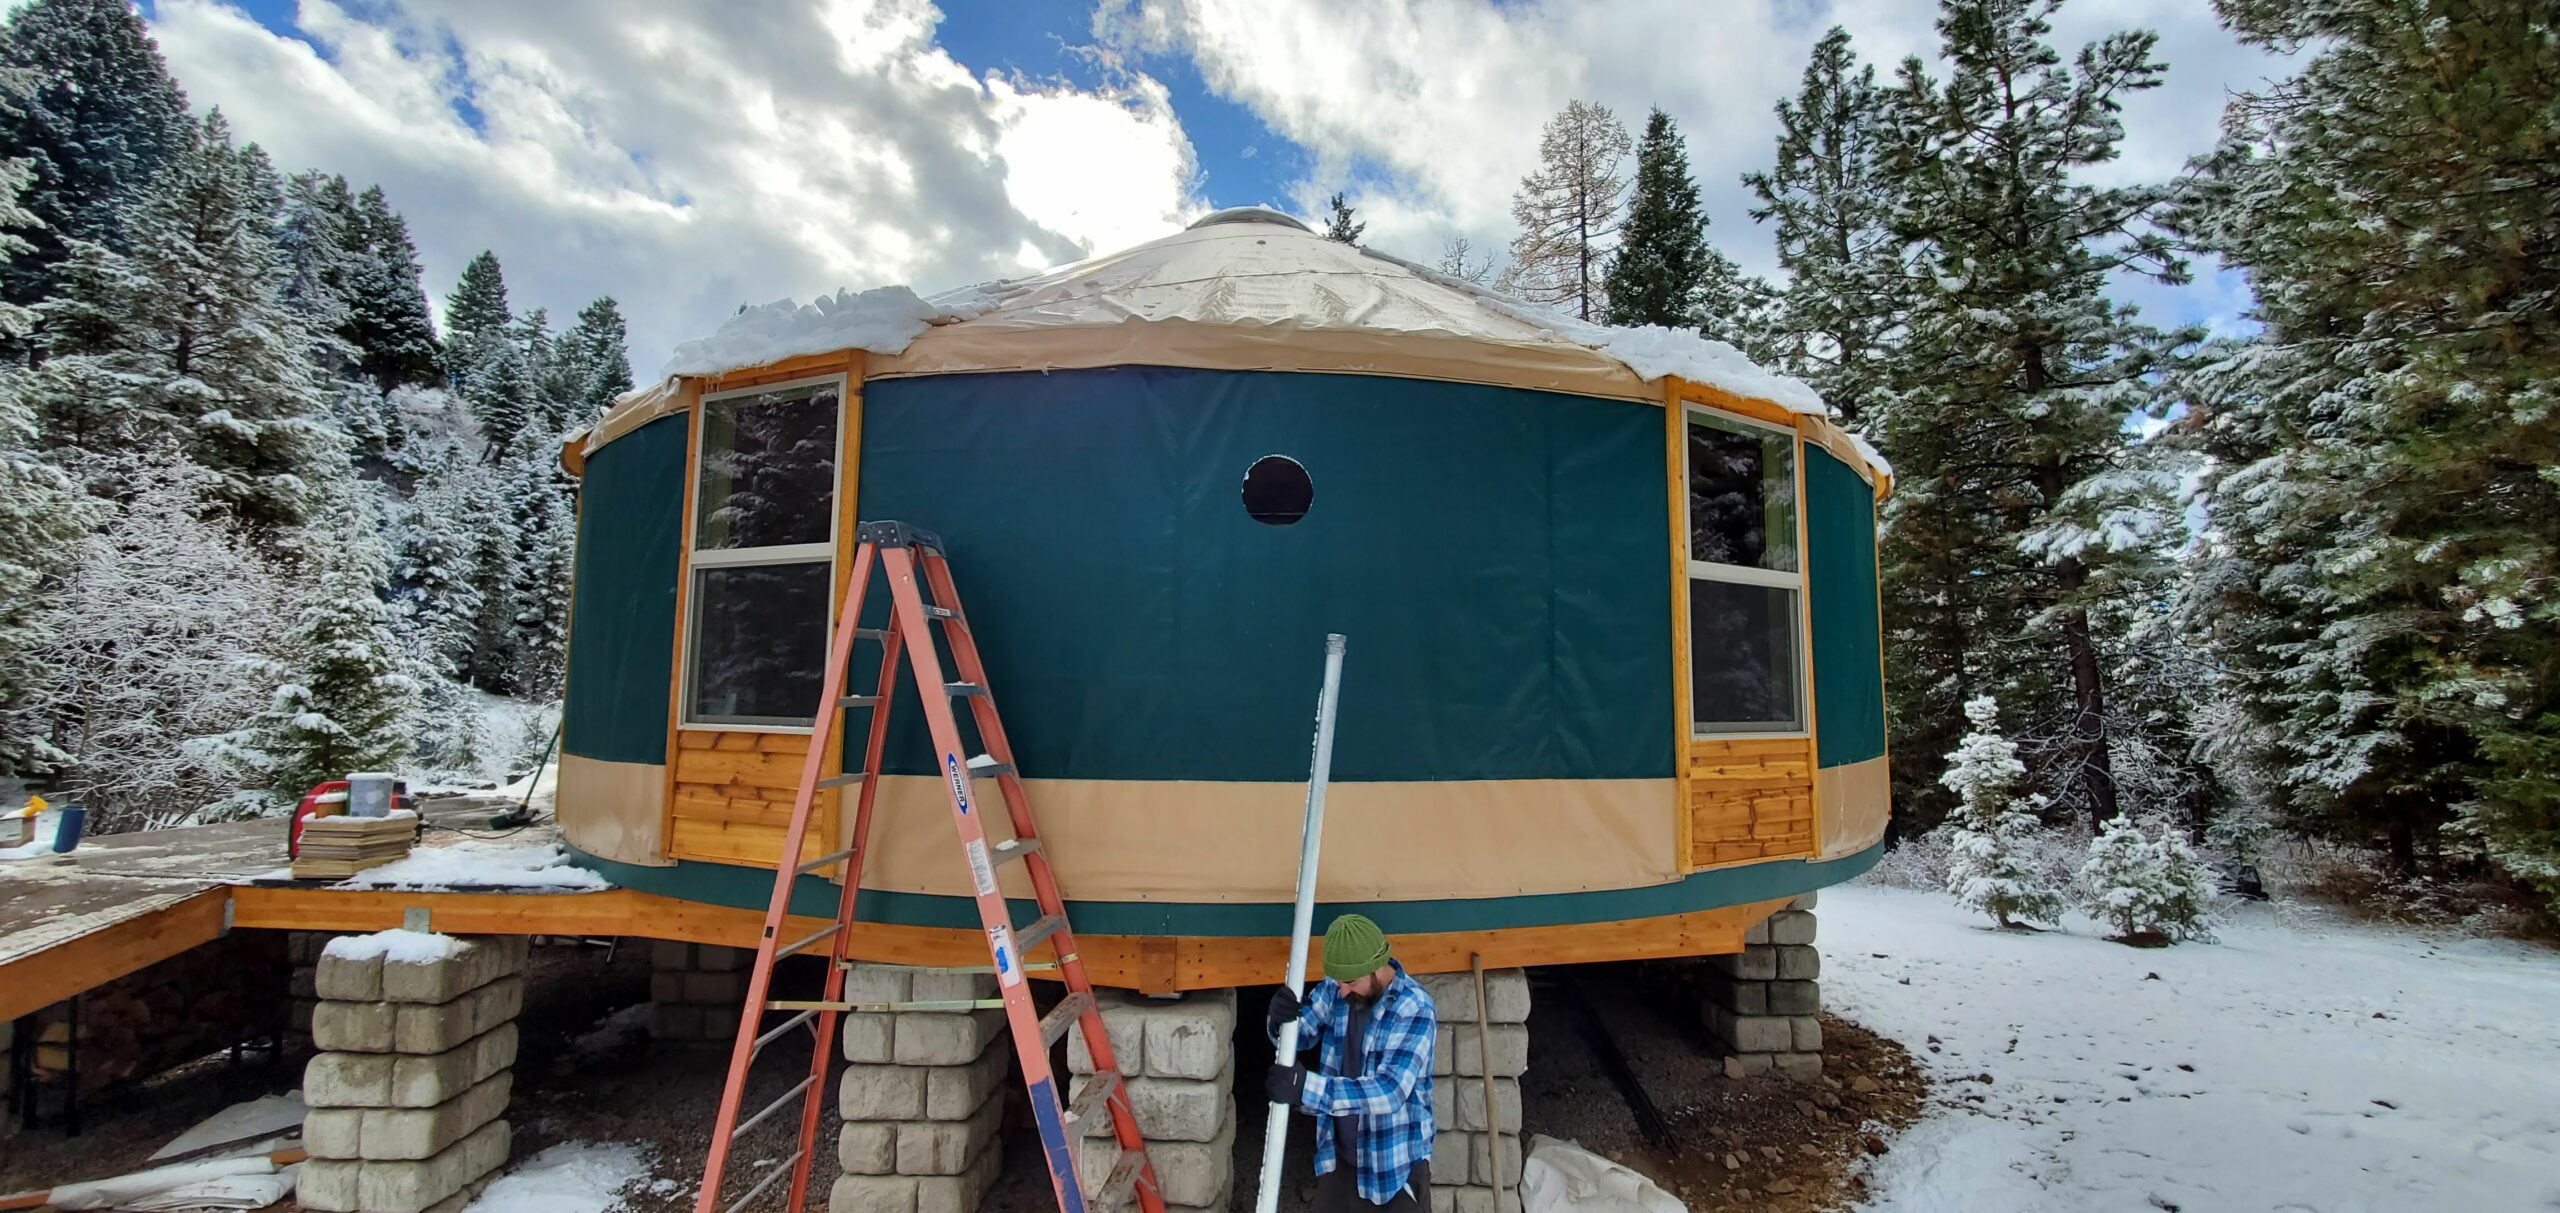
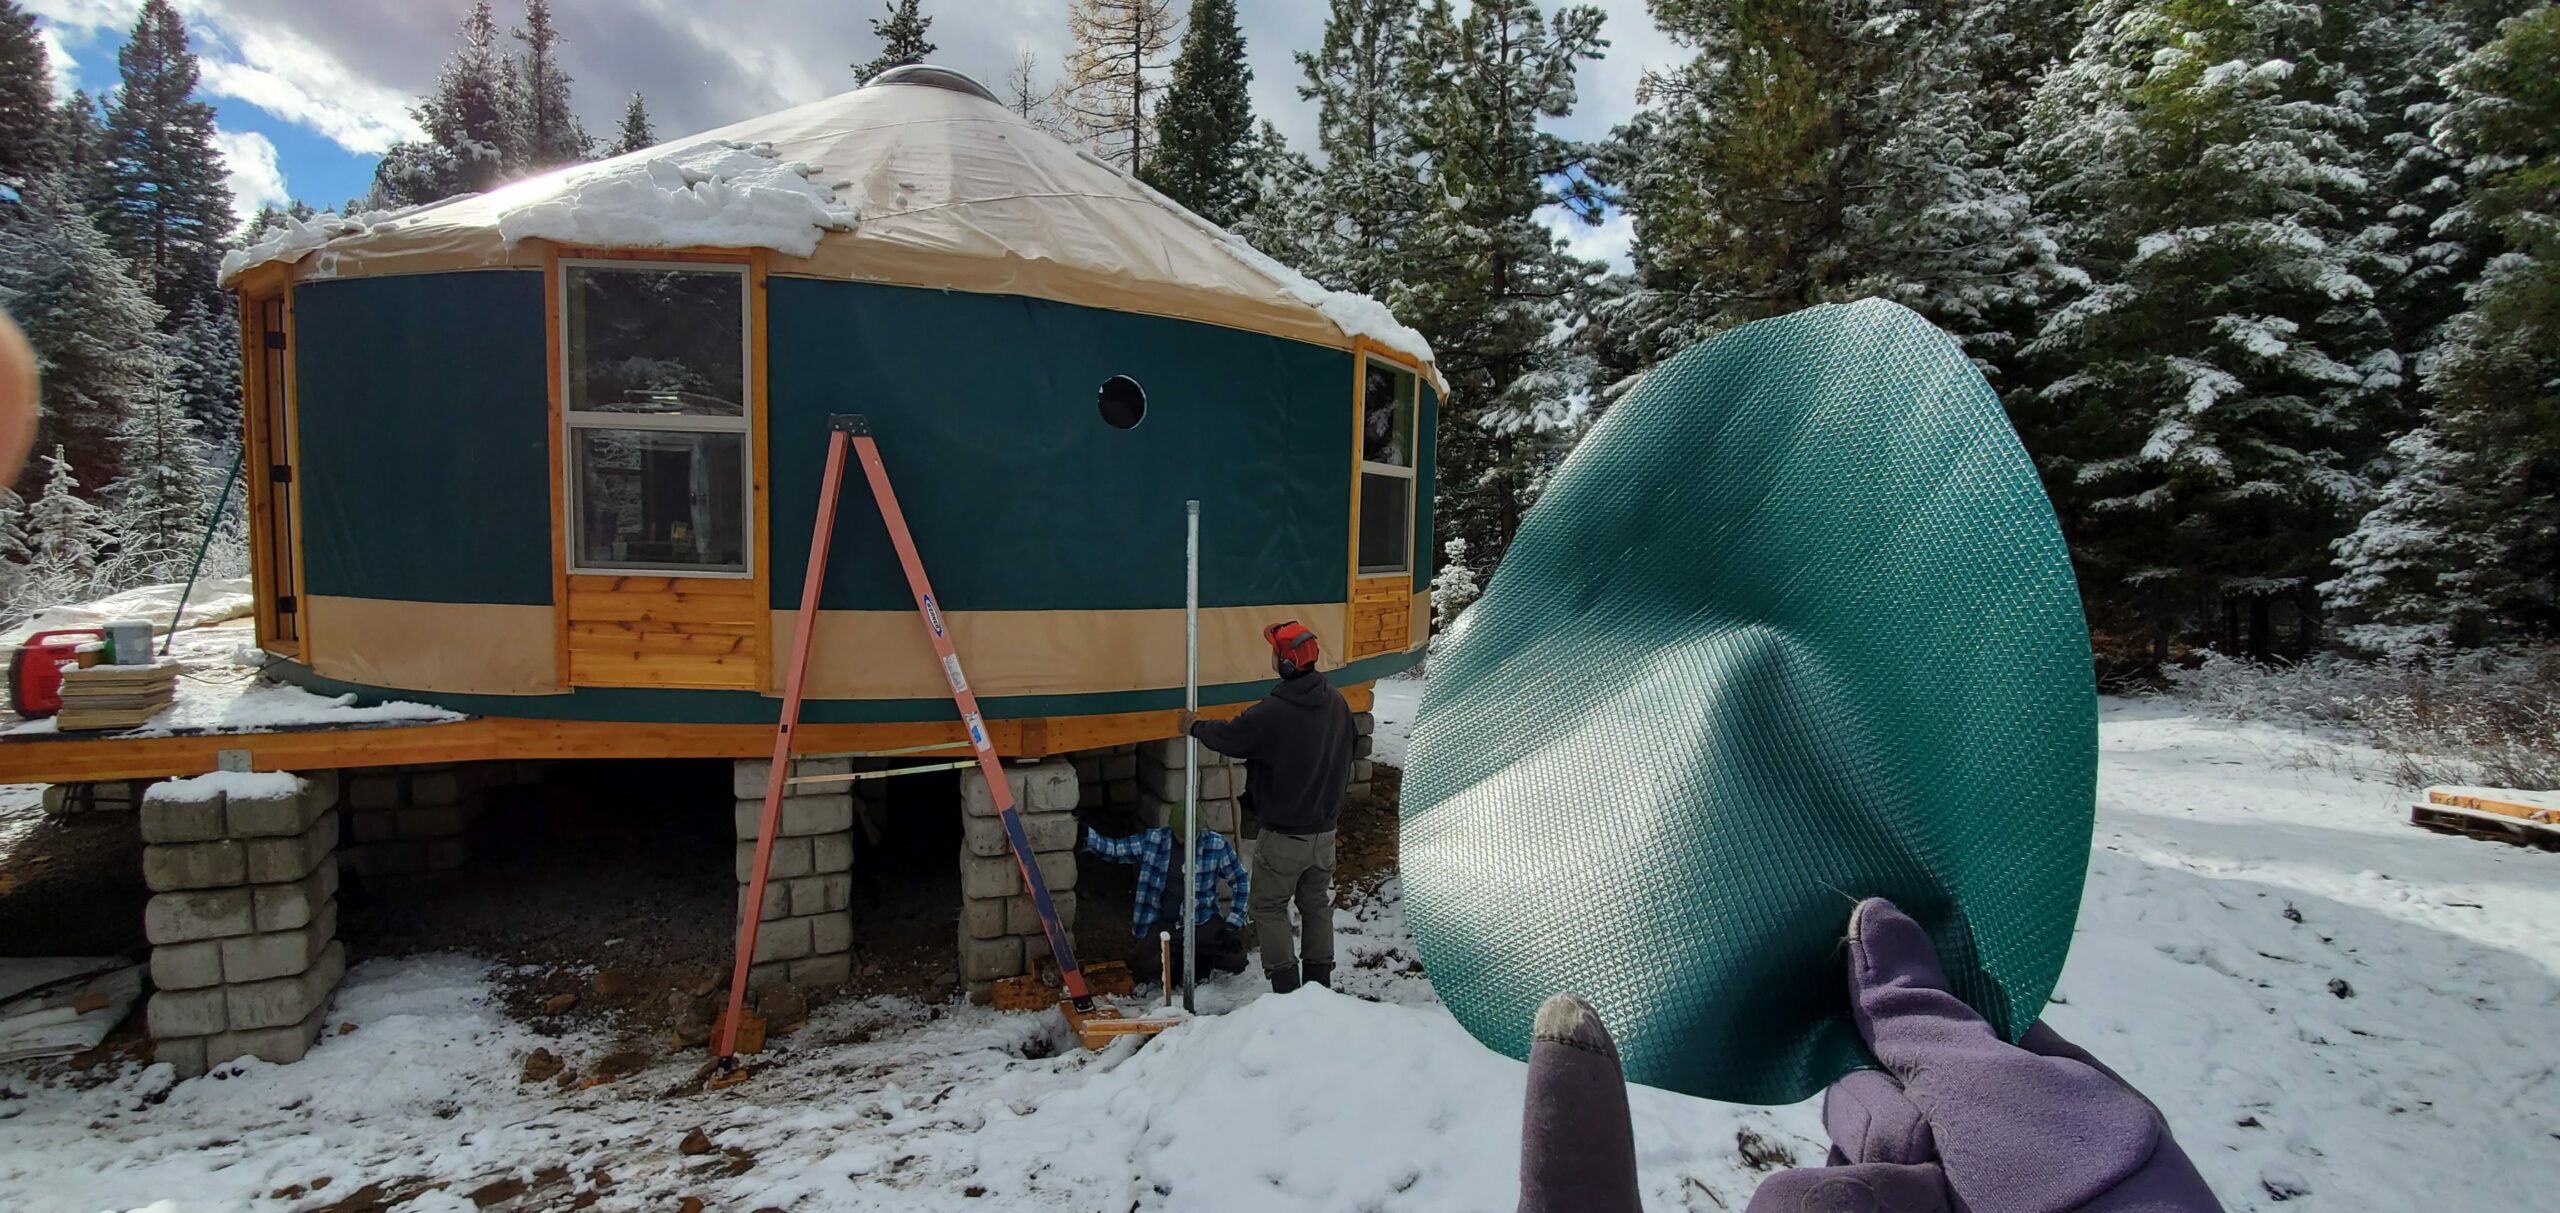
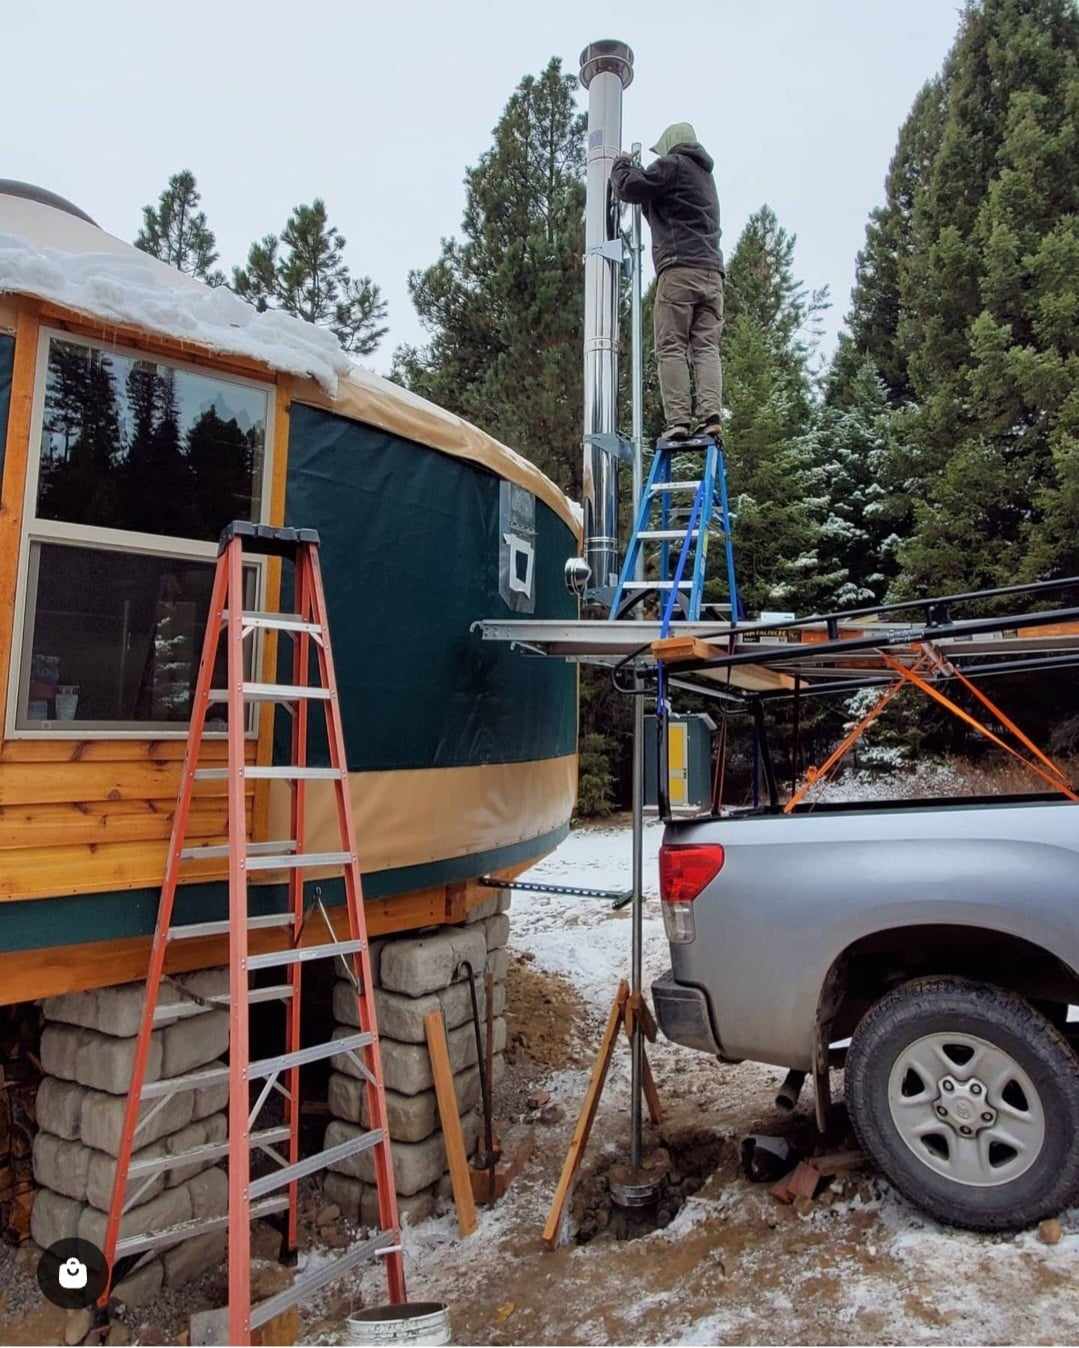
We needed a support to put up against the outside pipe, hence the hole Shane dug (above). This outdoor pipe was going to be ridiculously high in the sky. We filled a 5 gallon bucket with concrete, put the support pipe inside it, and buried the whole thing in that hole. That support pipe was also full of concrete, so it was really heavy. I attempted to hoist it with JW, but I couldn’t. He had to find a stronger helper. Once it was standing, we affixed the outside portion of the chimney to it. We crossed our fingers that our piecemealed support system would be enough to hold the chimney up when the wind and snow arrived.
Try not to throw up when you look at the picture of JW putting the final pieces of the stovepipe together. I’m not even certain this image does justice. I was freaking out this entire time. Did I mention we don’t have cell service? My plan was to drive to service and call 911 if he fell. I guess a helicopter could maybe land in our meadow?
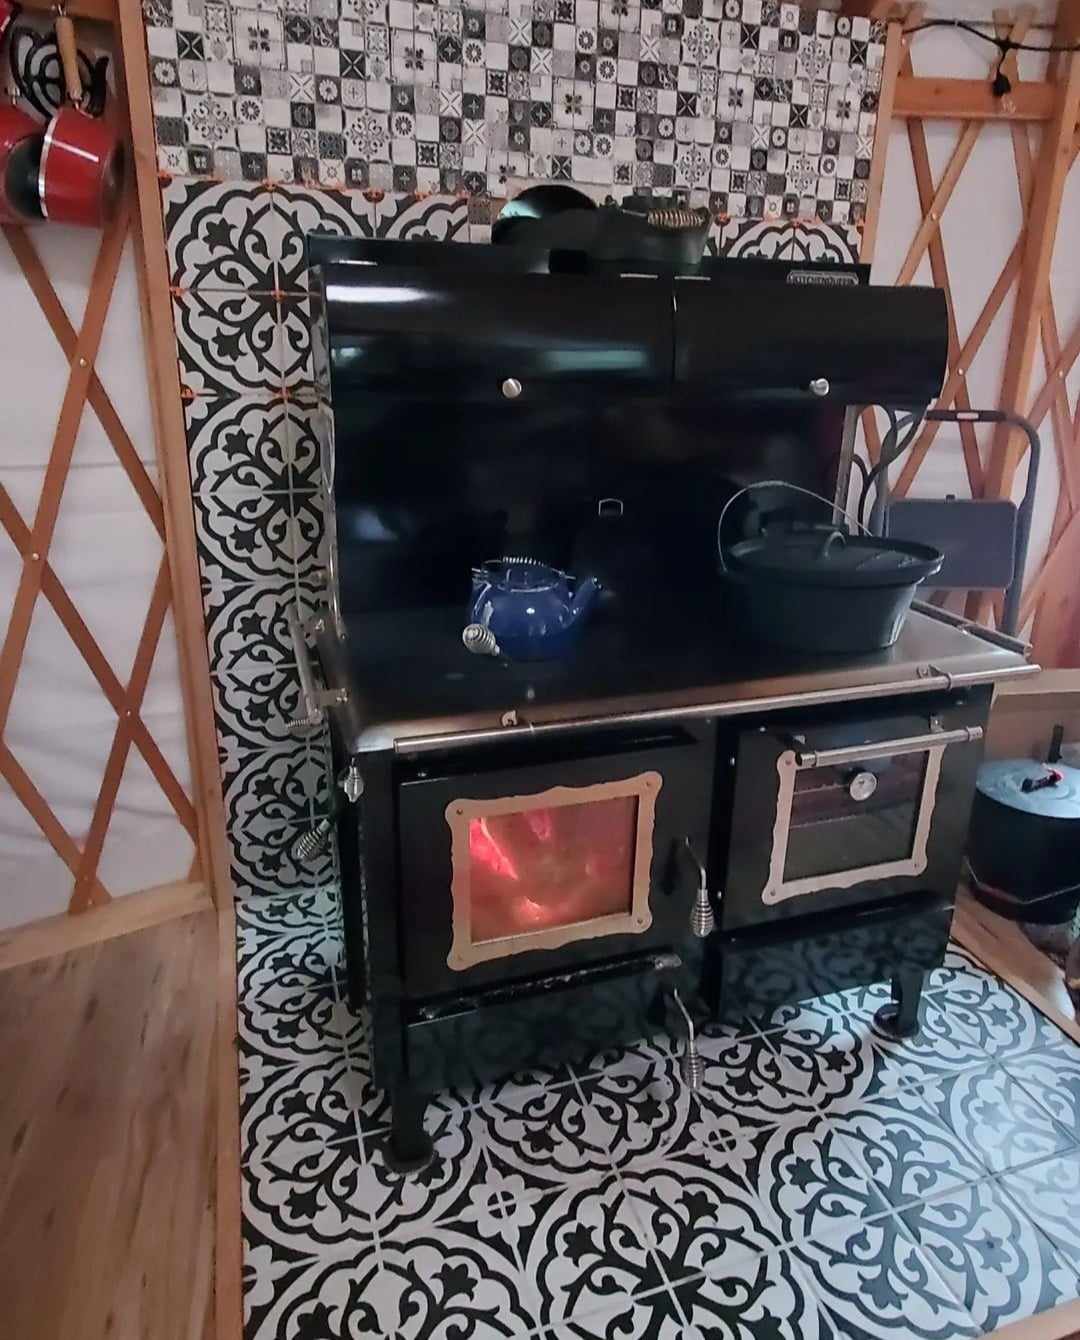
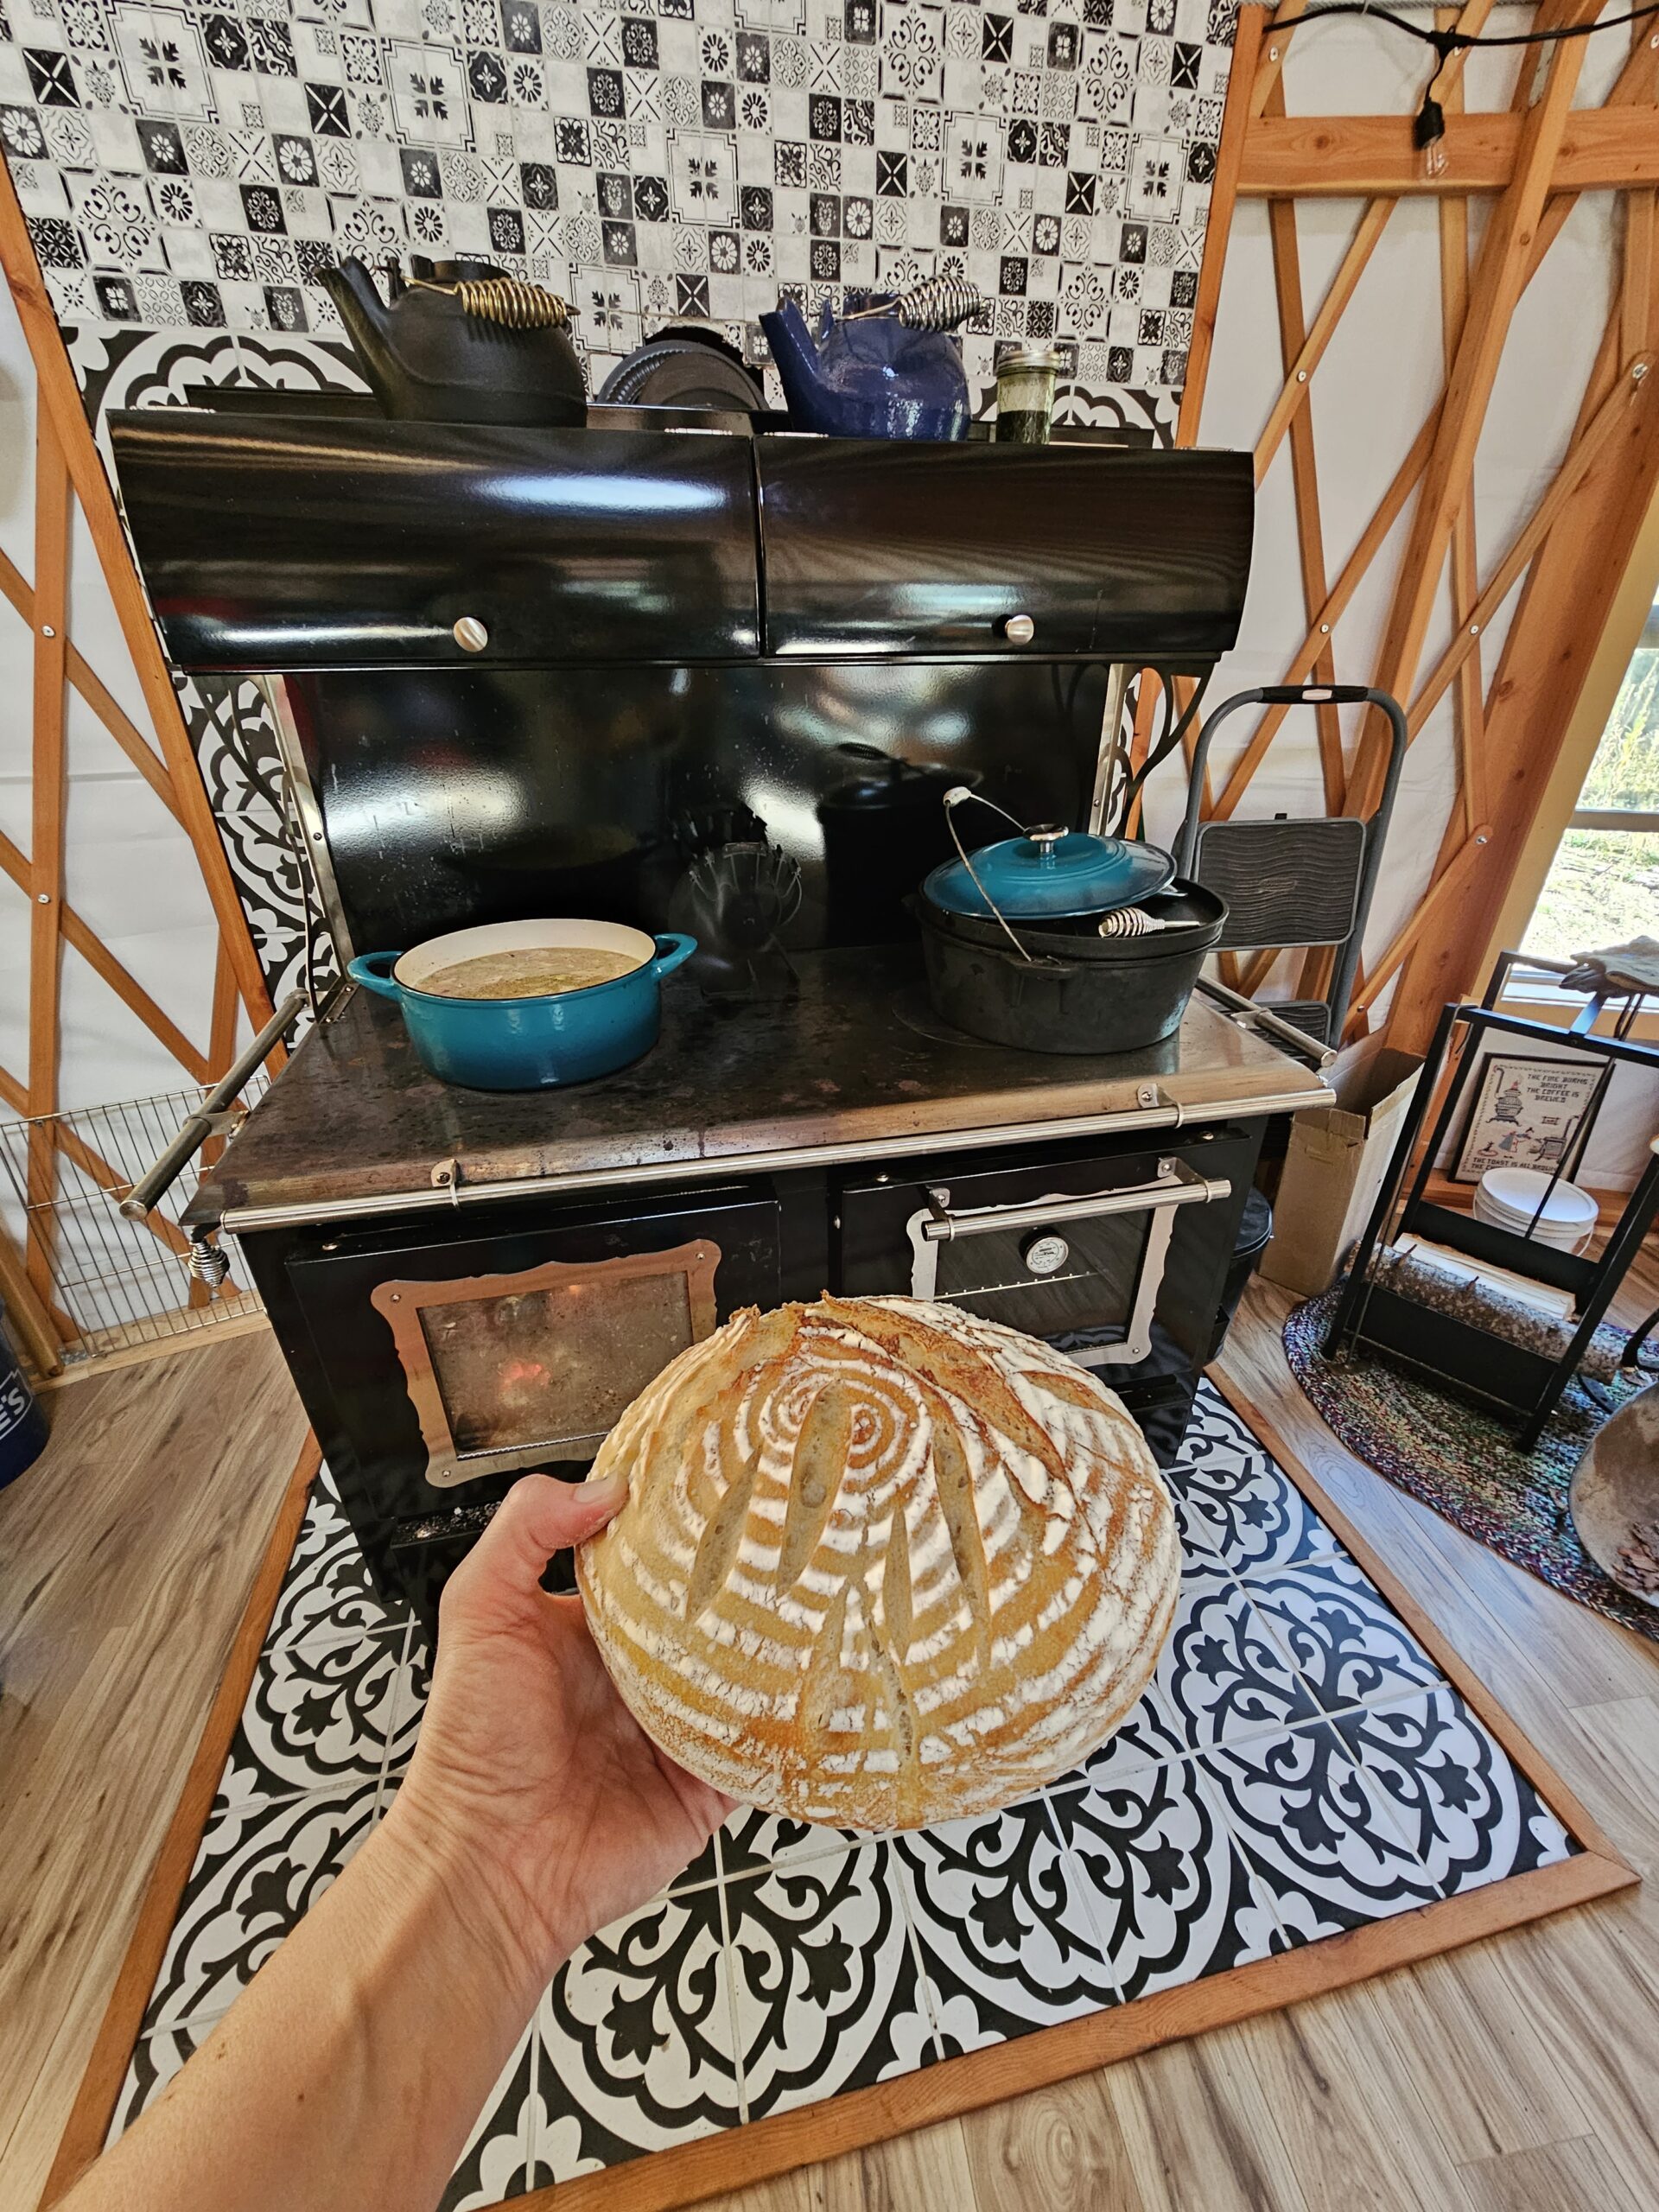
The First Fire
We’re Warm!
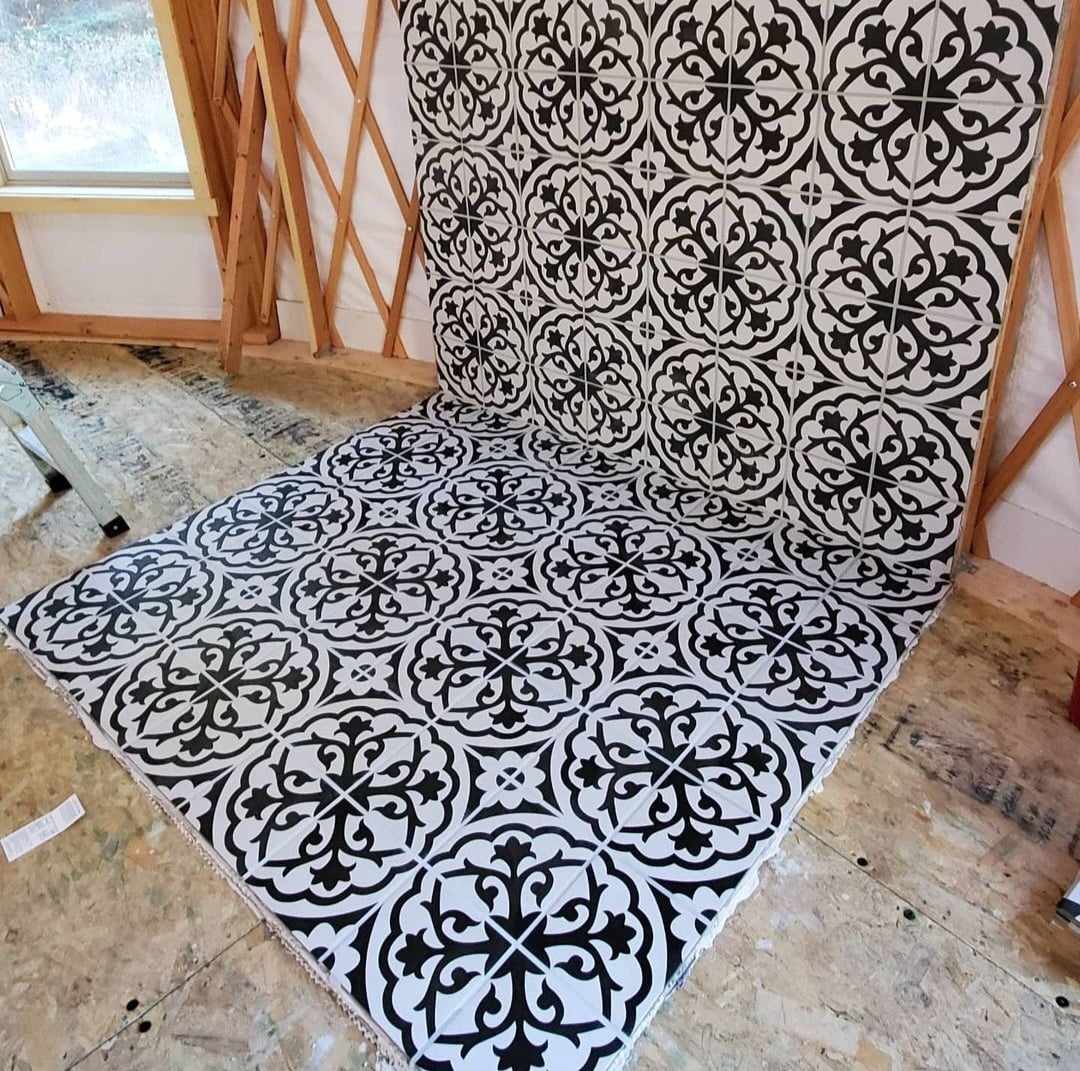
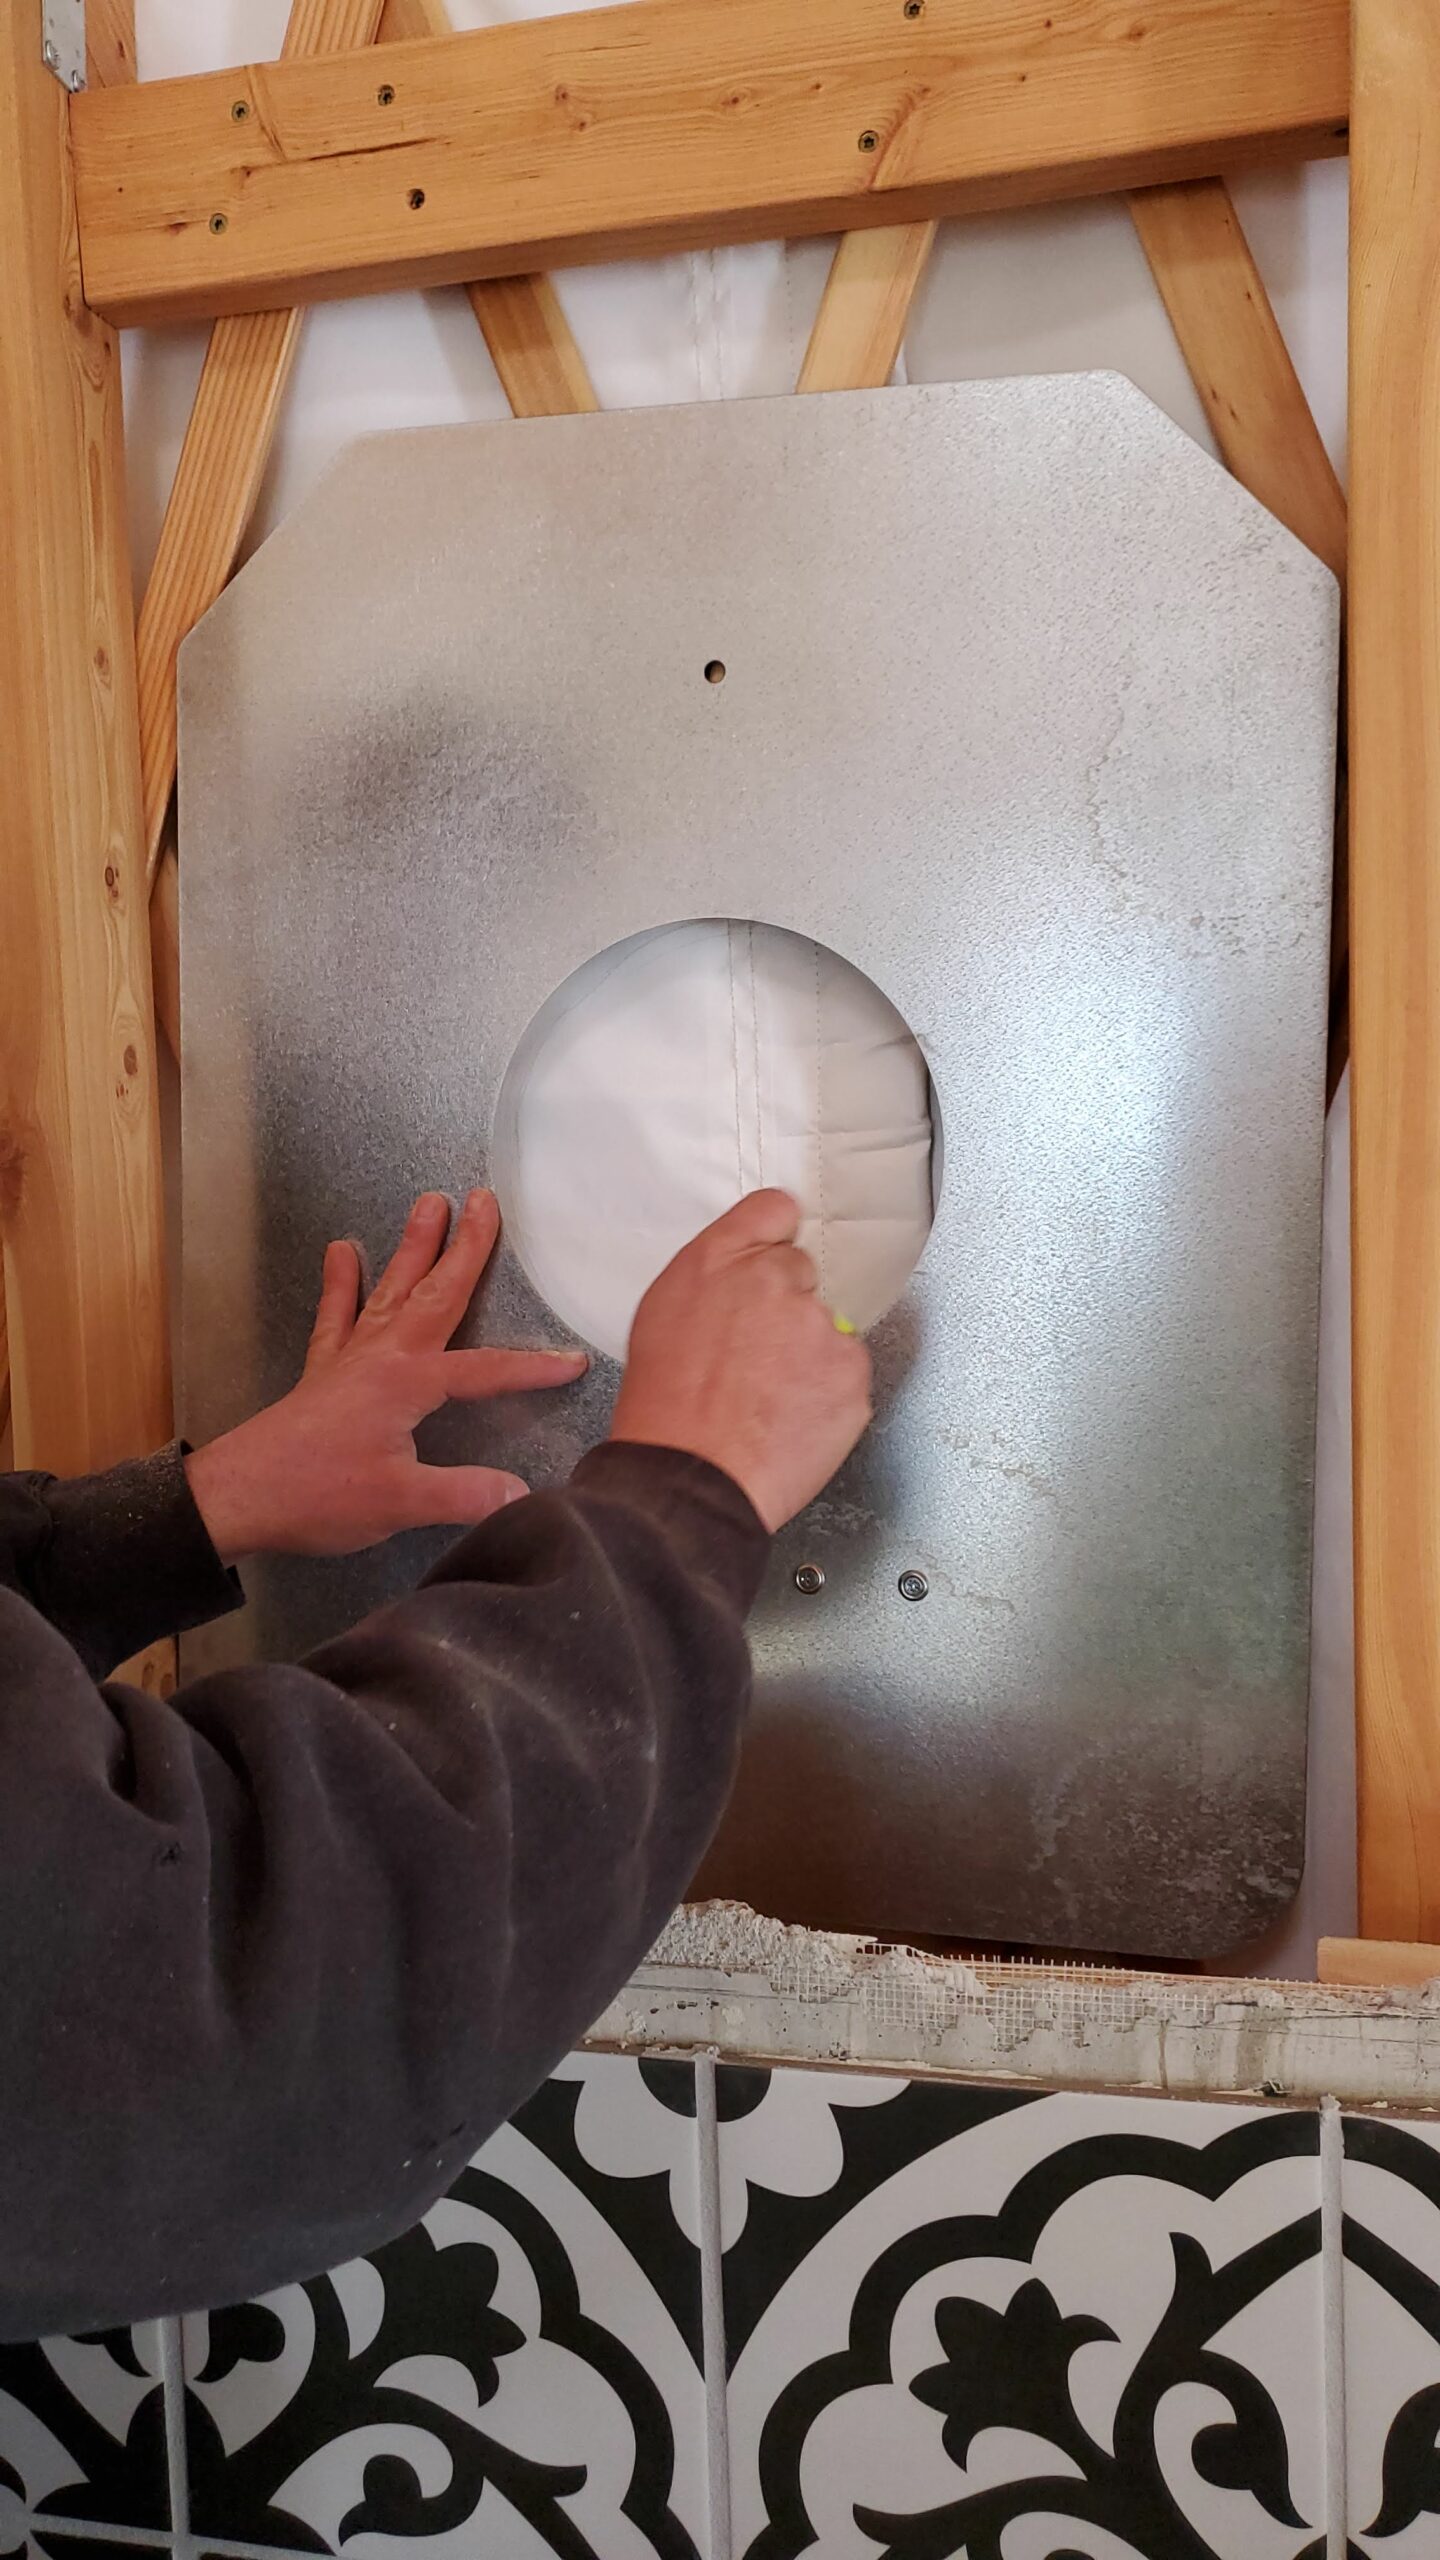
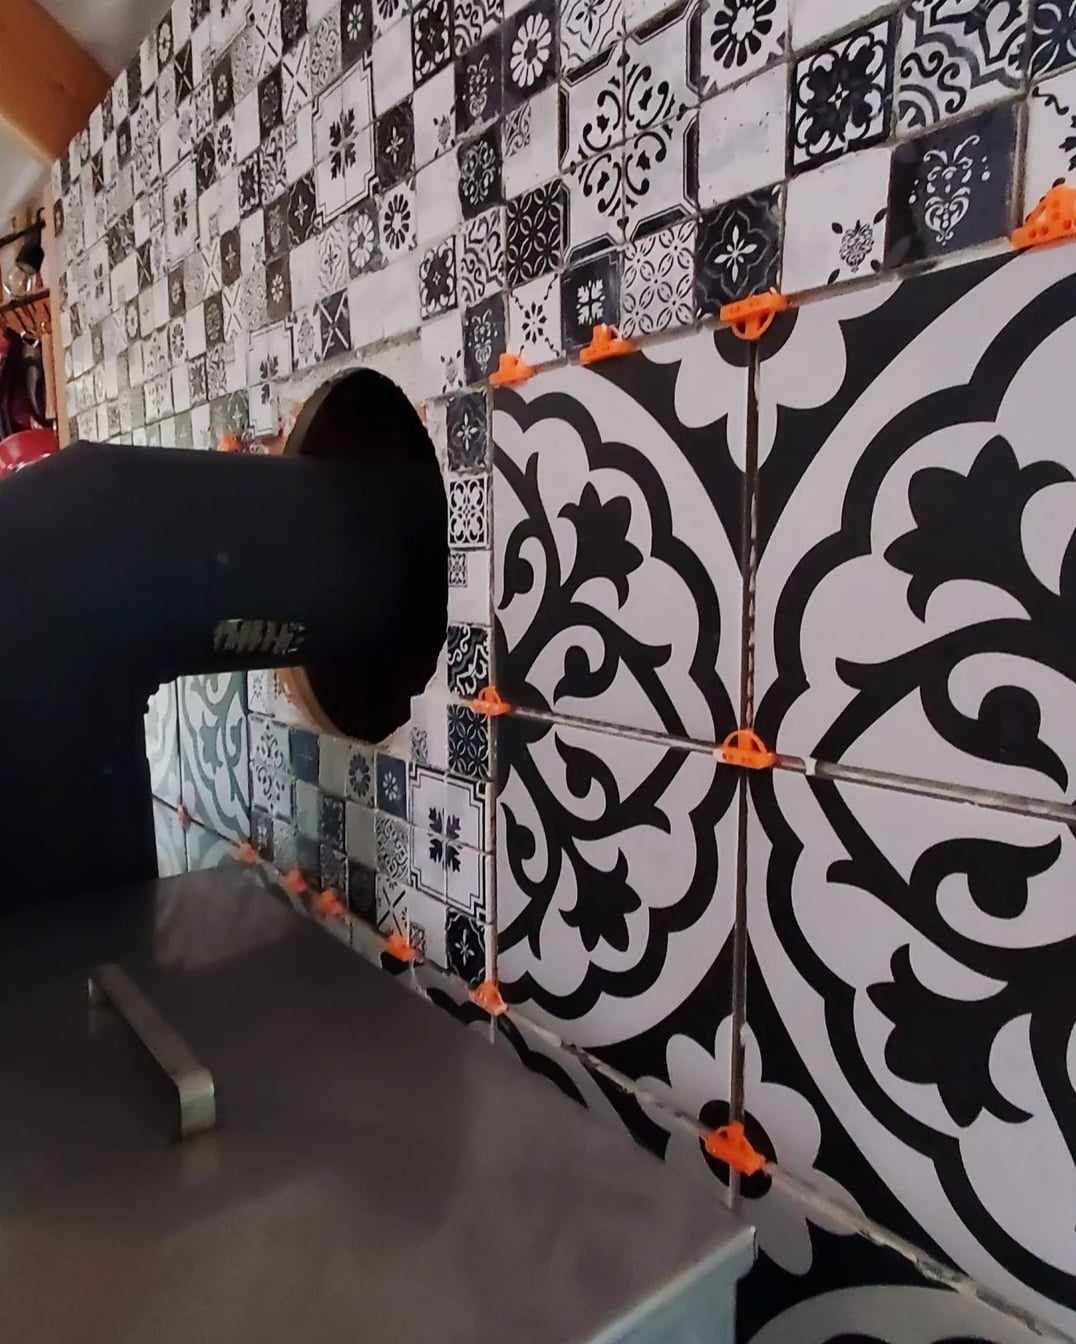
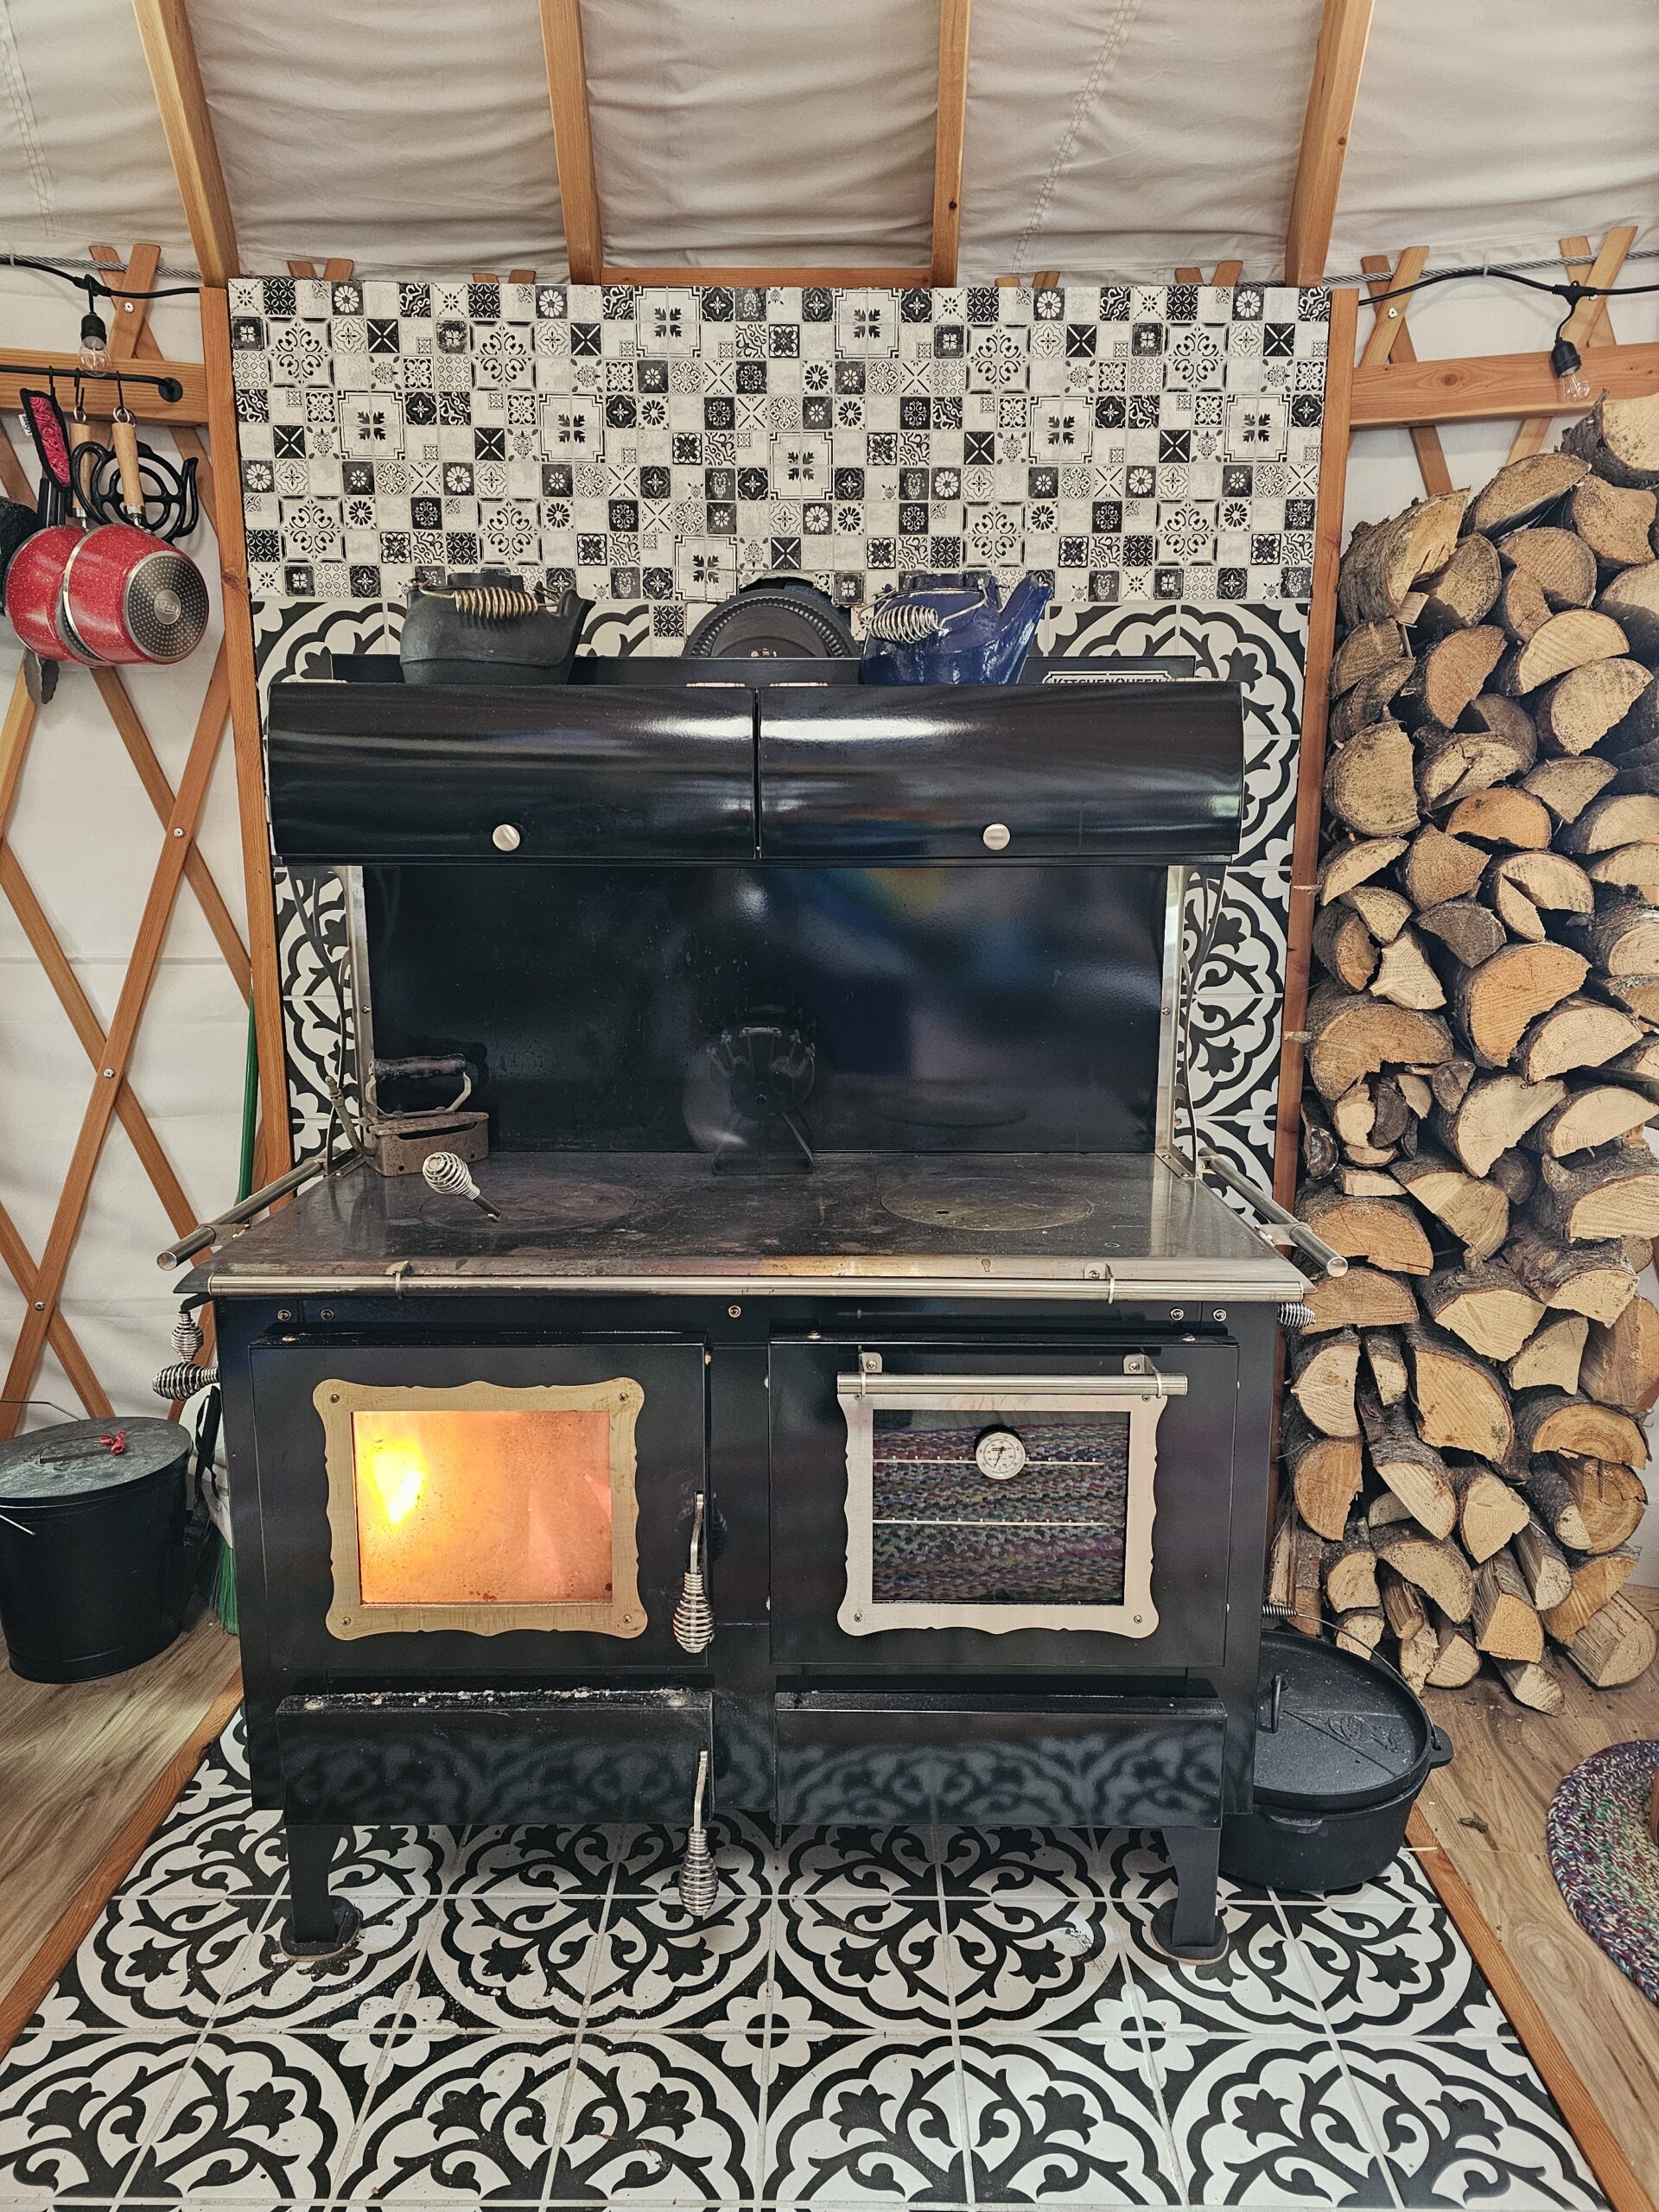
The final stretch left us with too many options and too few options all at the same time. We decided to take the wall to the ceiling and cut a hole for stovepipe to fit through and continue backdrop. Paint seemed too simple, not pretty enough. I wanted it to be easy, but in the end, it was just time for more ceramic tile. I like the way things landed.
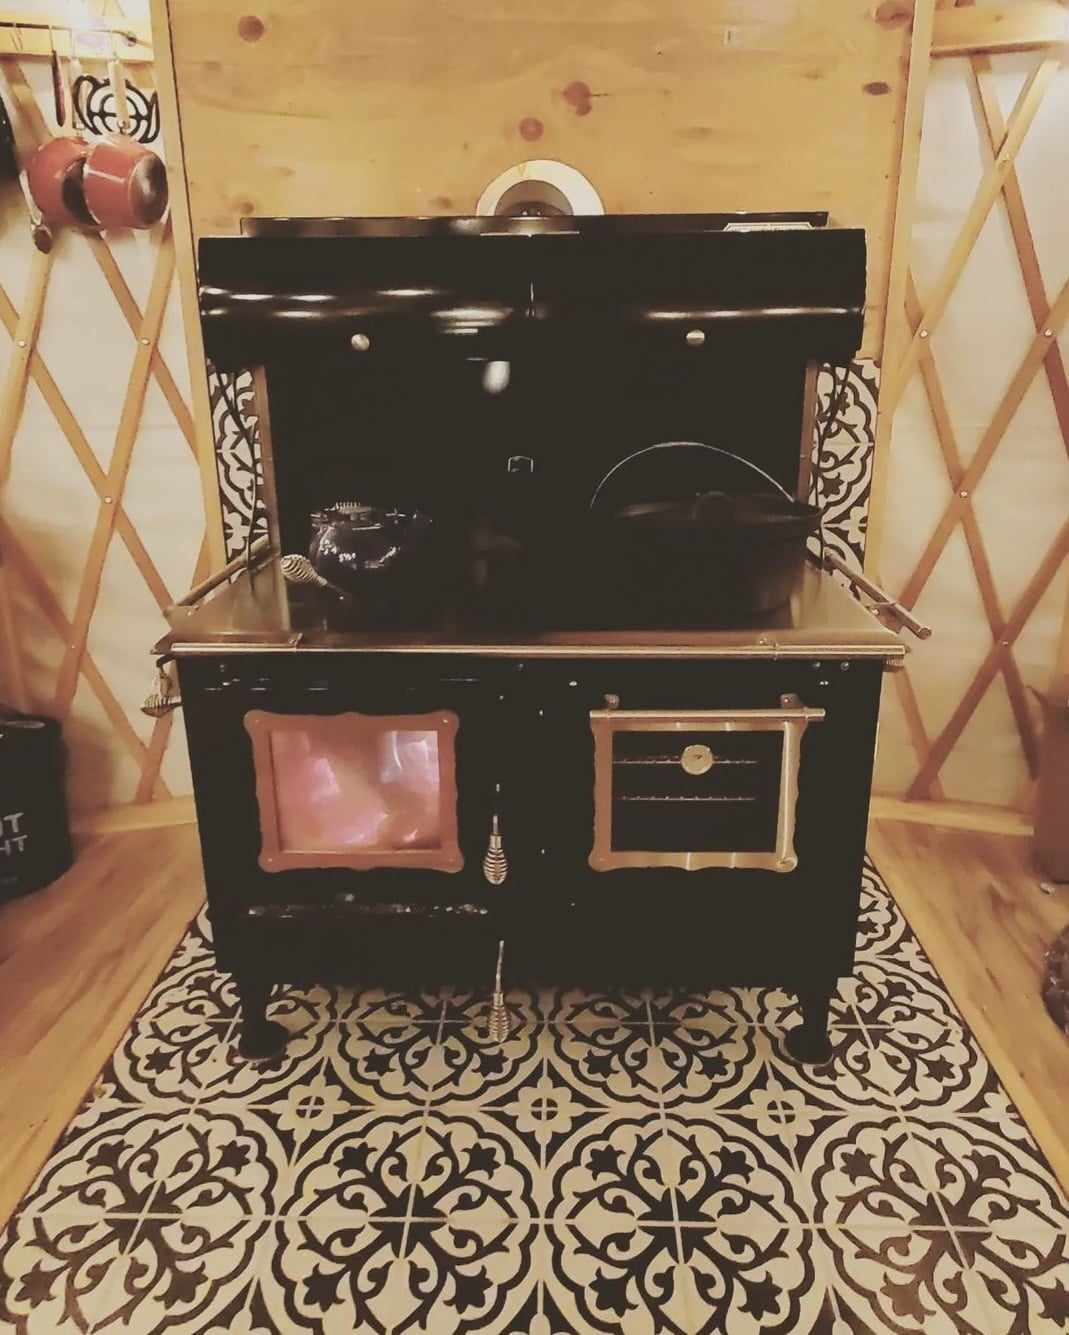
I ended up finding a complementary tile to accompany the existing tile. We didn’t have enough left of the tile we’d started with. I did have some, so I used what I had and got the rest after we were moved in. It wasn’t a rush, because we had heat, so I just had to be patient.
I went up the mountain on a crisp November eve, an entire year after the first fire, and knocked out the project.

The grout I ended up saving until May, in the spring when it was a bit warmer. My friend Leslie and I went up on my birthday eve with a bag of grout. Getting that done felt like the best birthday gift.
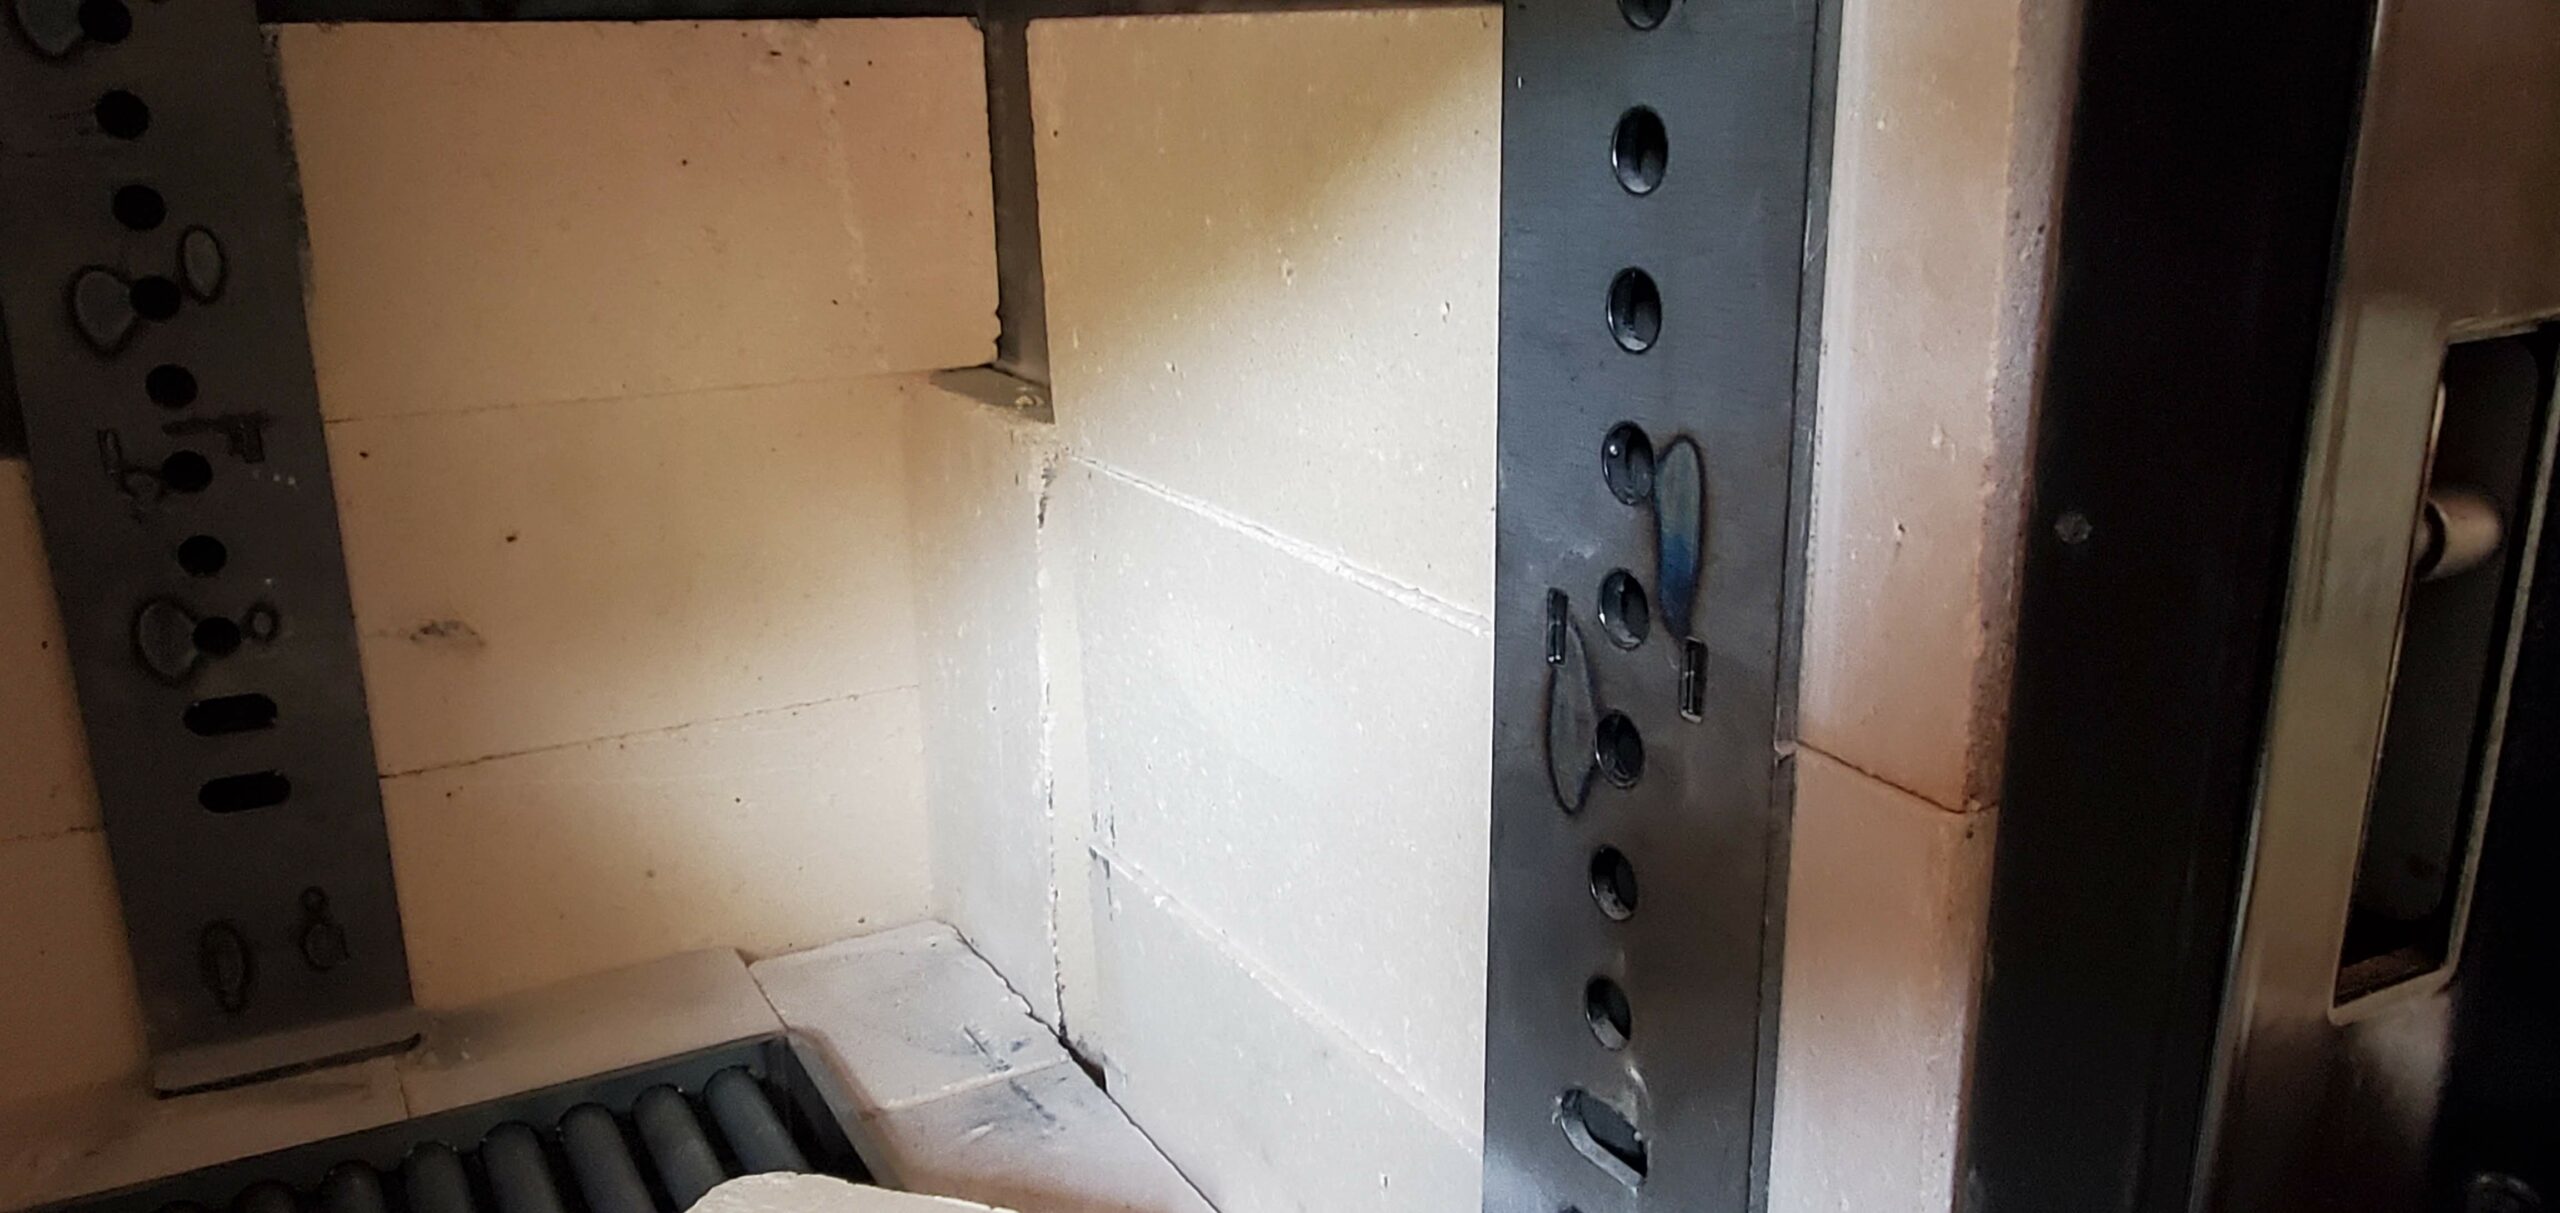
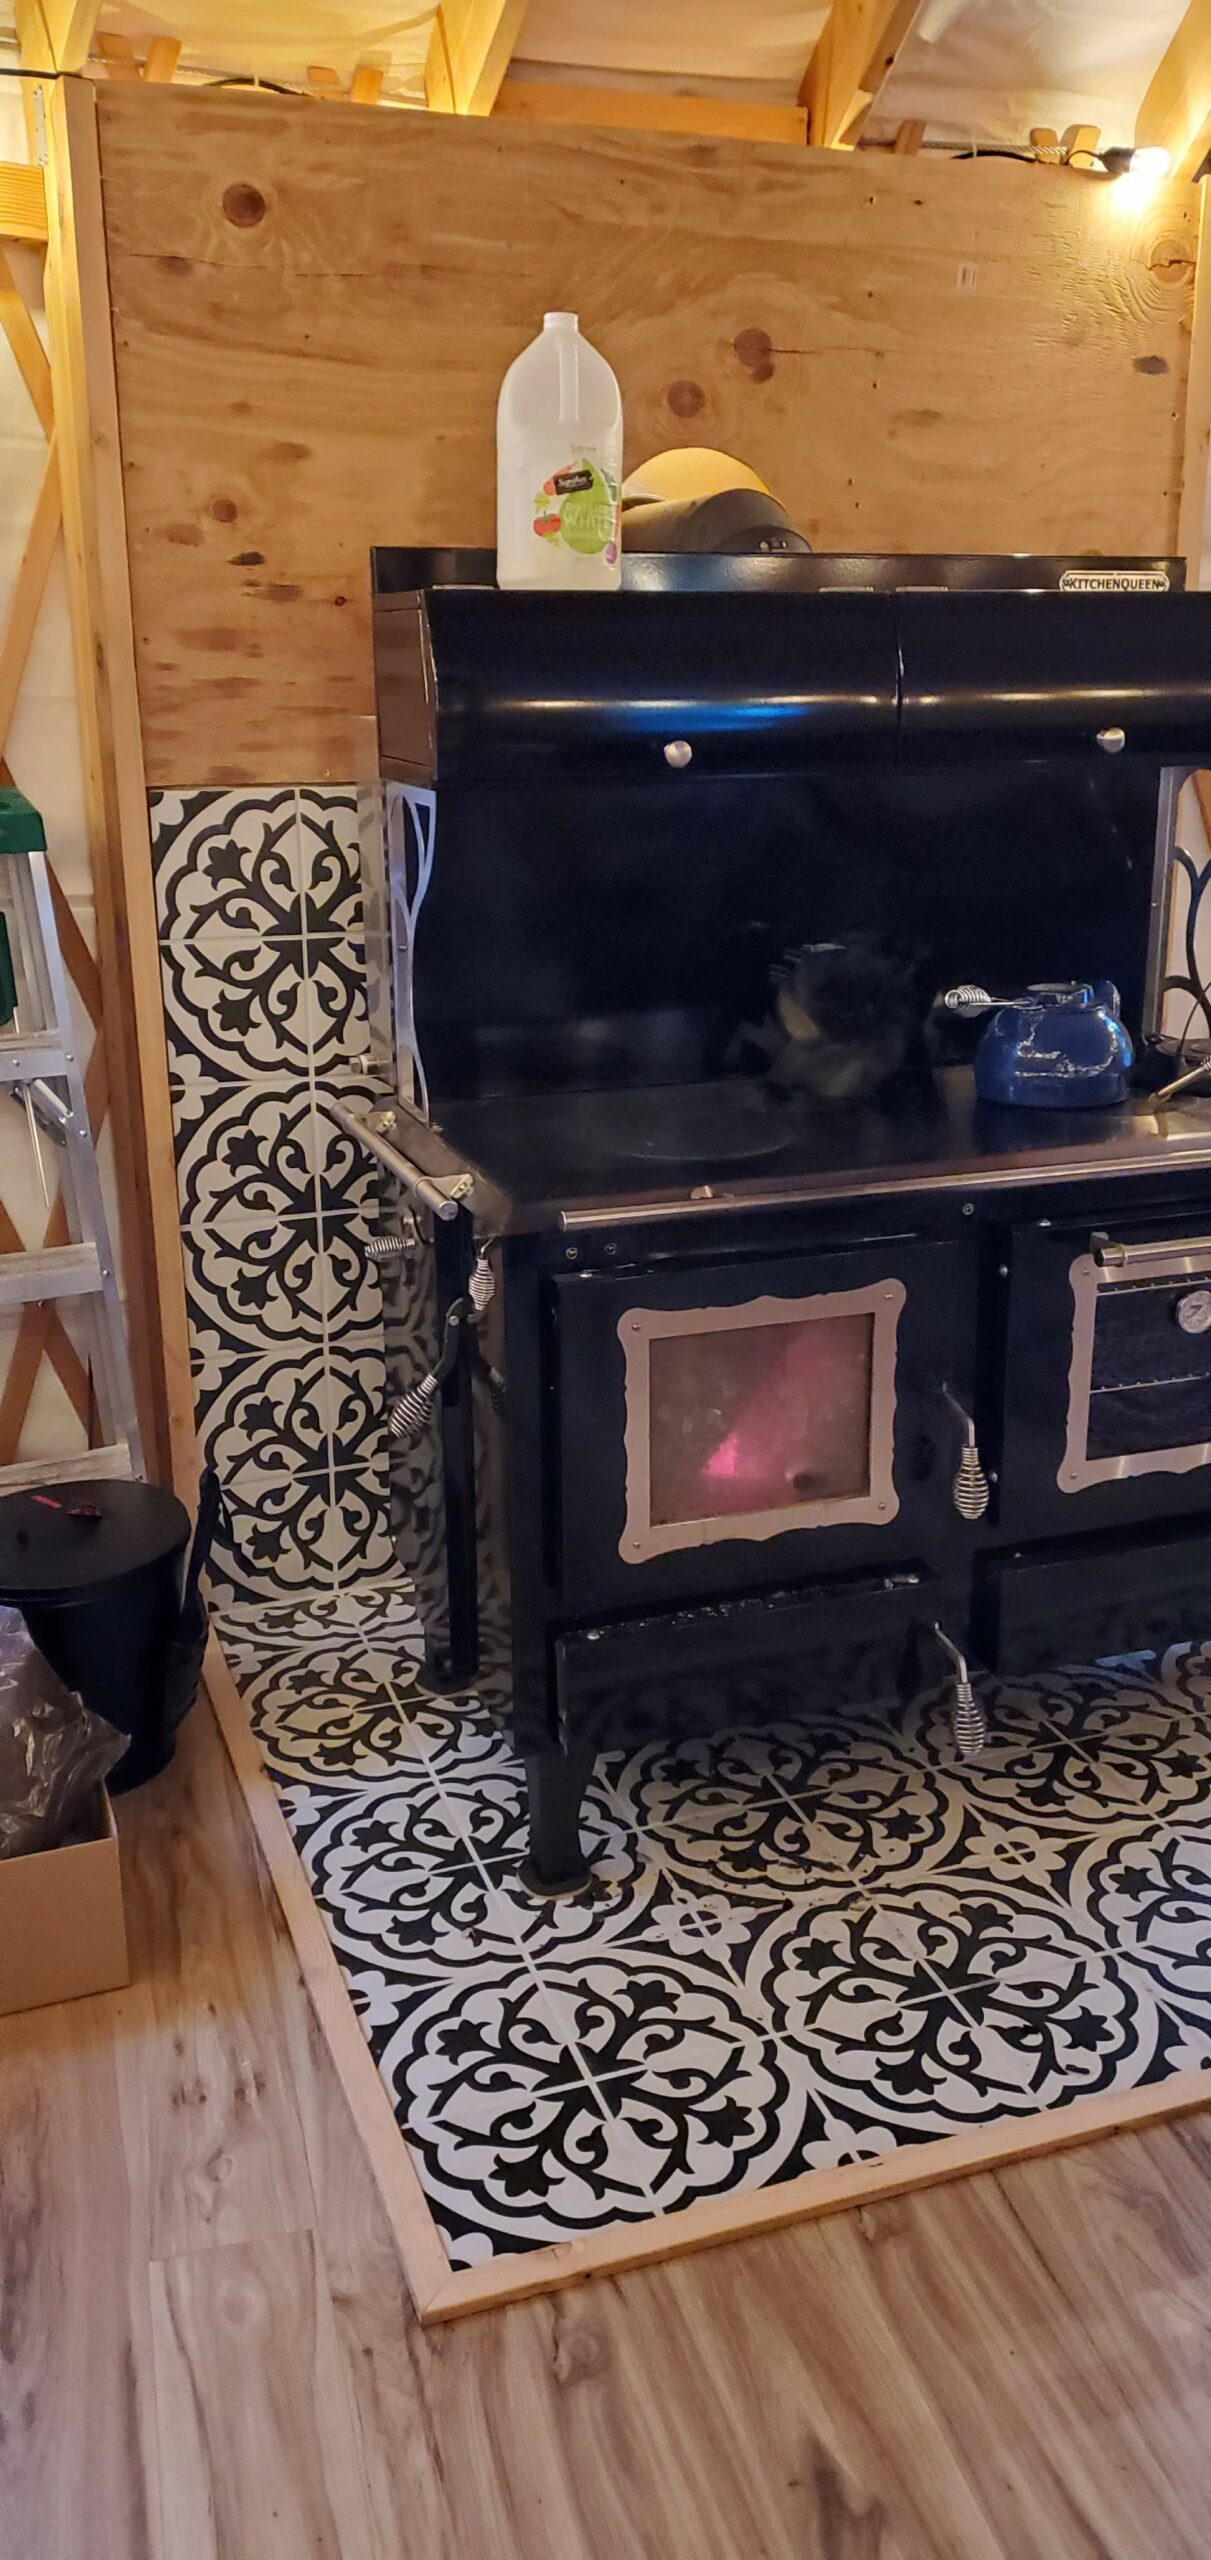
The only thorn in my side is now the portion of the backdrop where the stovepipe fits through. I haven’t been able to come up with the perfect solution, but I’m pretty sure I’m the only one who notices. Maybe you have an idea?
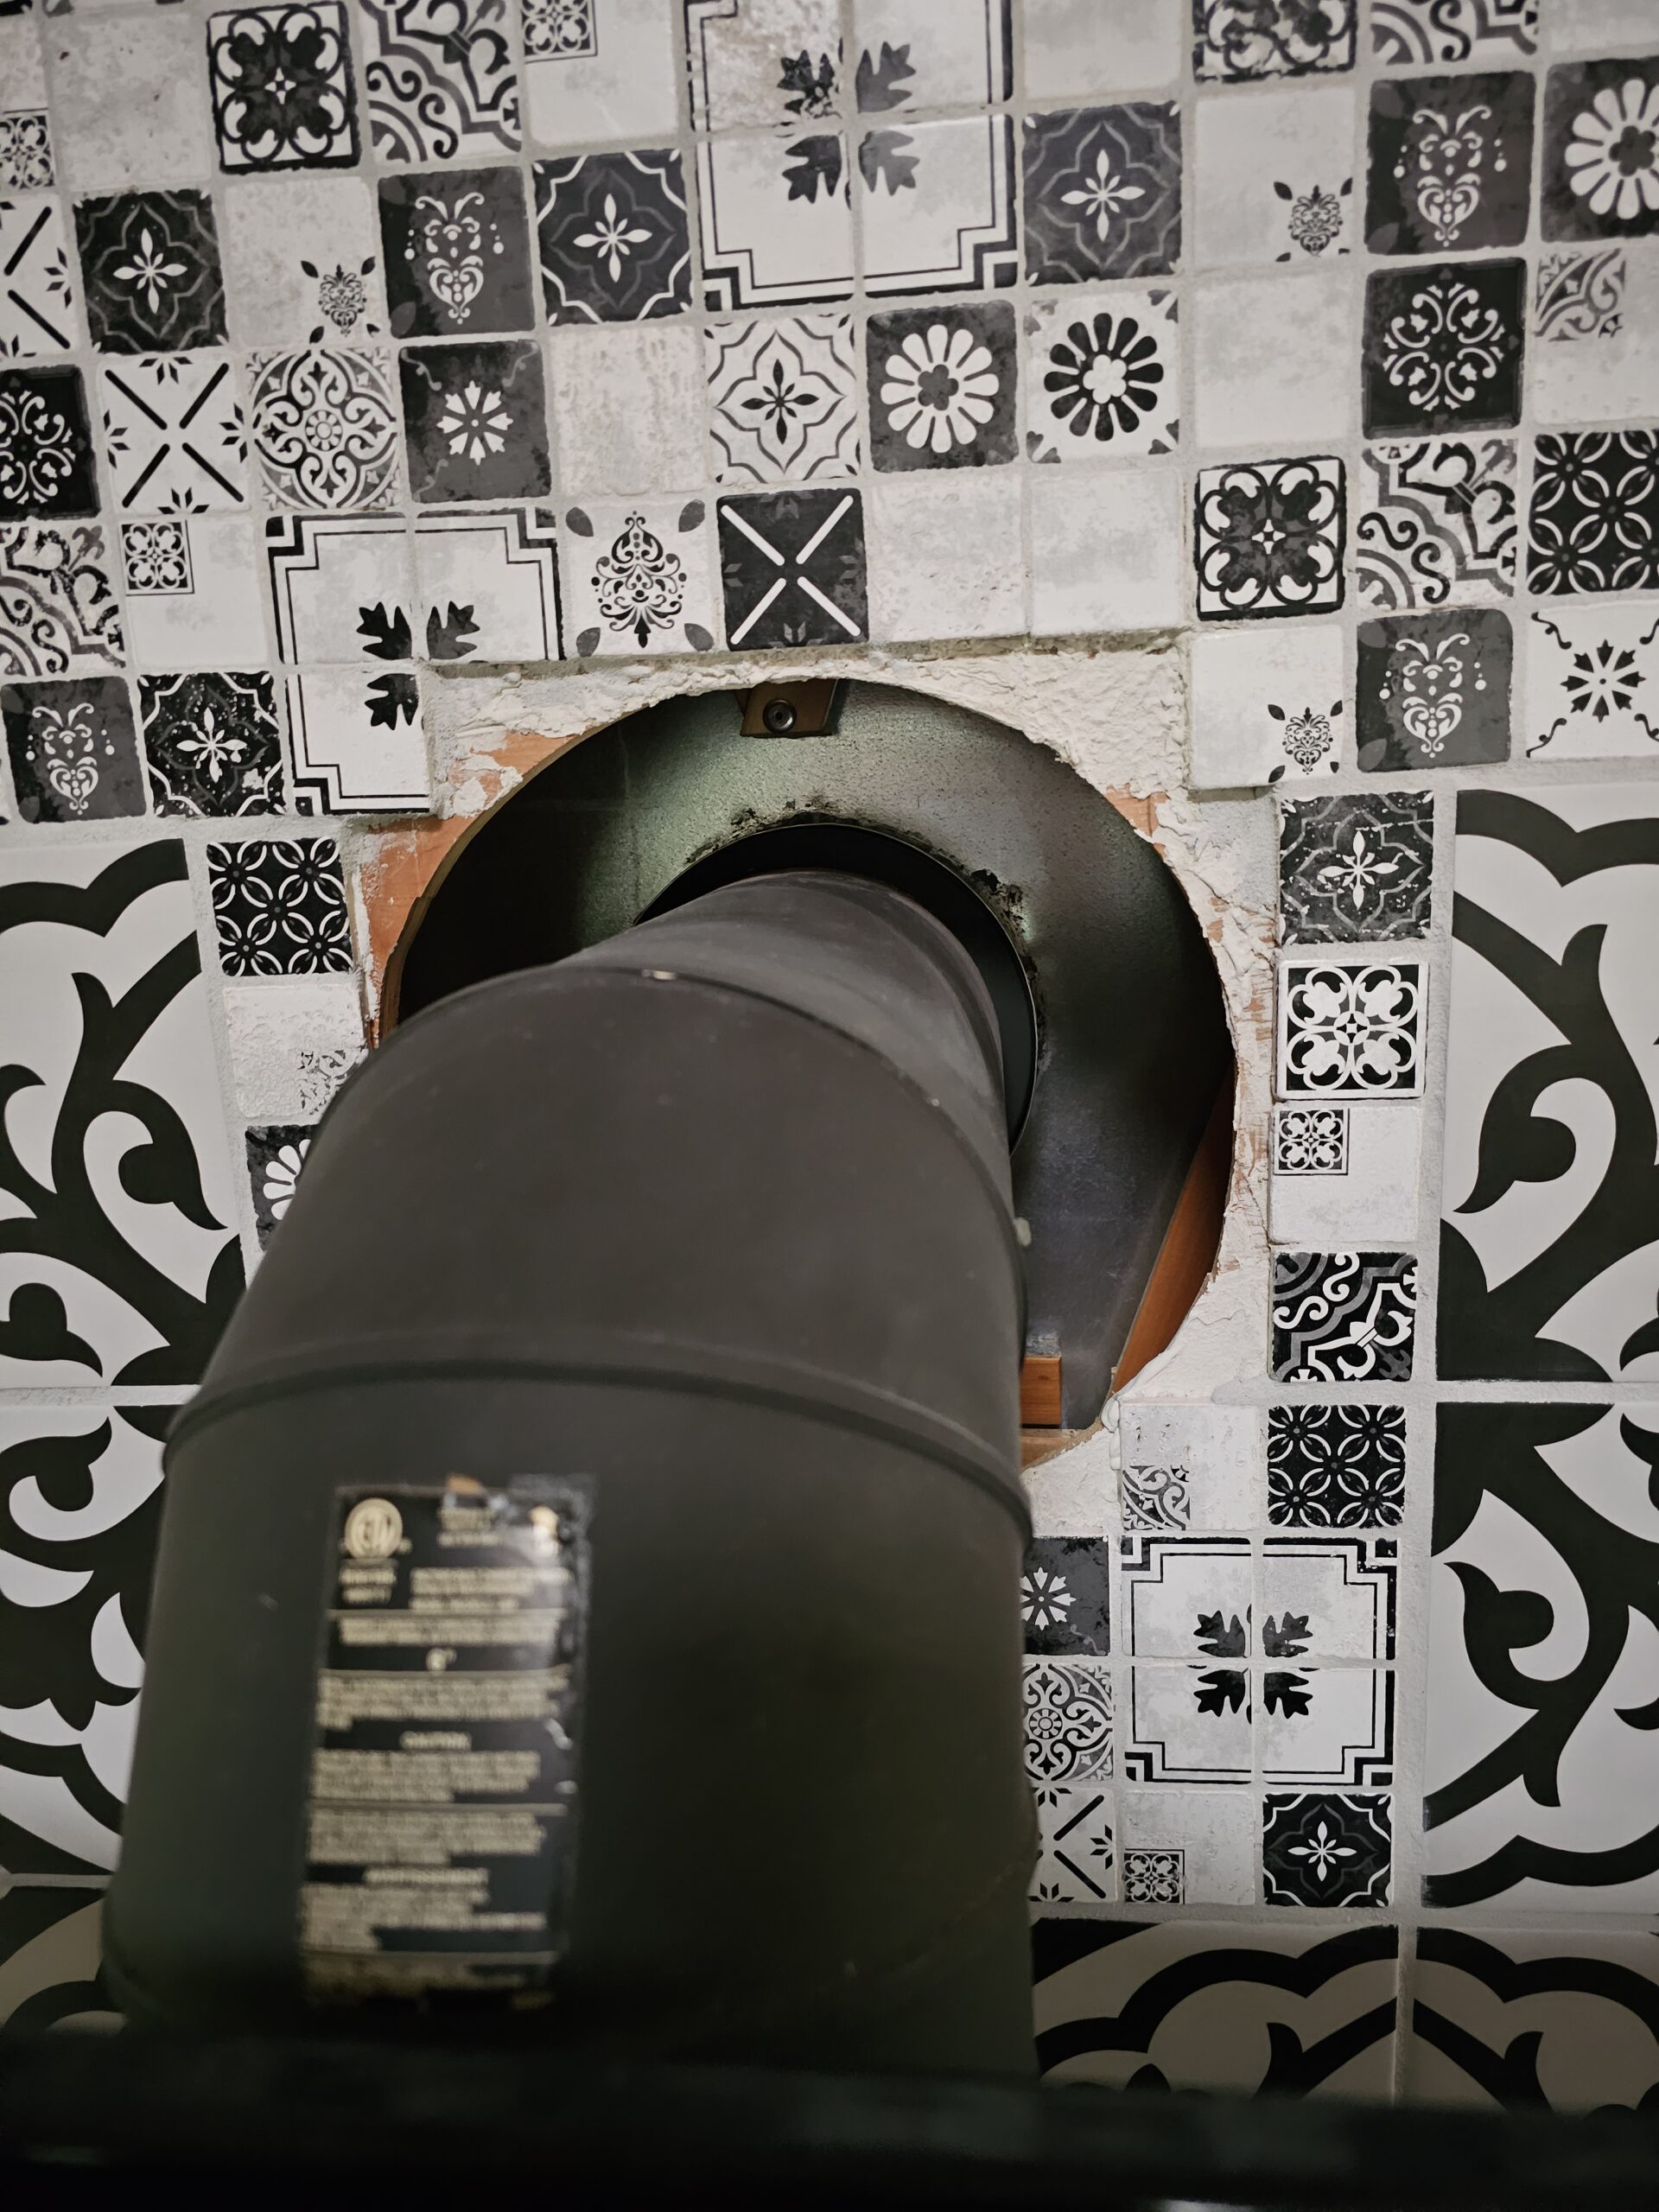
Since that image above, I have added some more small tiles to fill in gaps, and I have a black ring around the stovepipe that kind of hides things, but I haven’t permanently affixed anything yet. I’m not sold. But, like I mentioned, I am fairly certain I’m the only person on earth thinking about or noticing this “problem.”
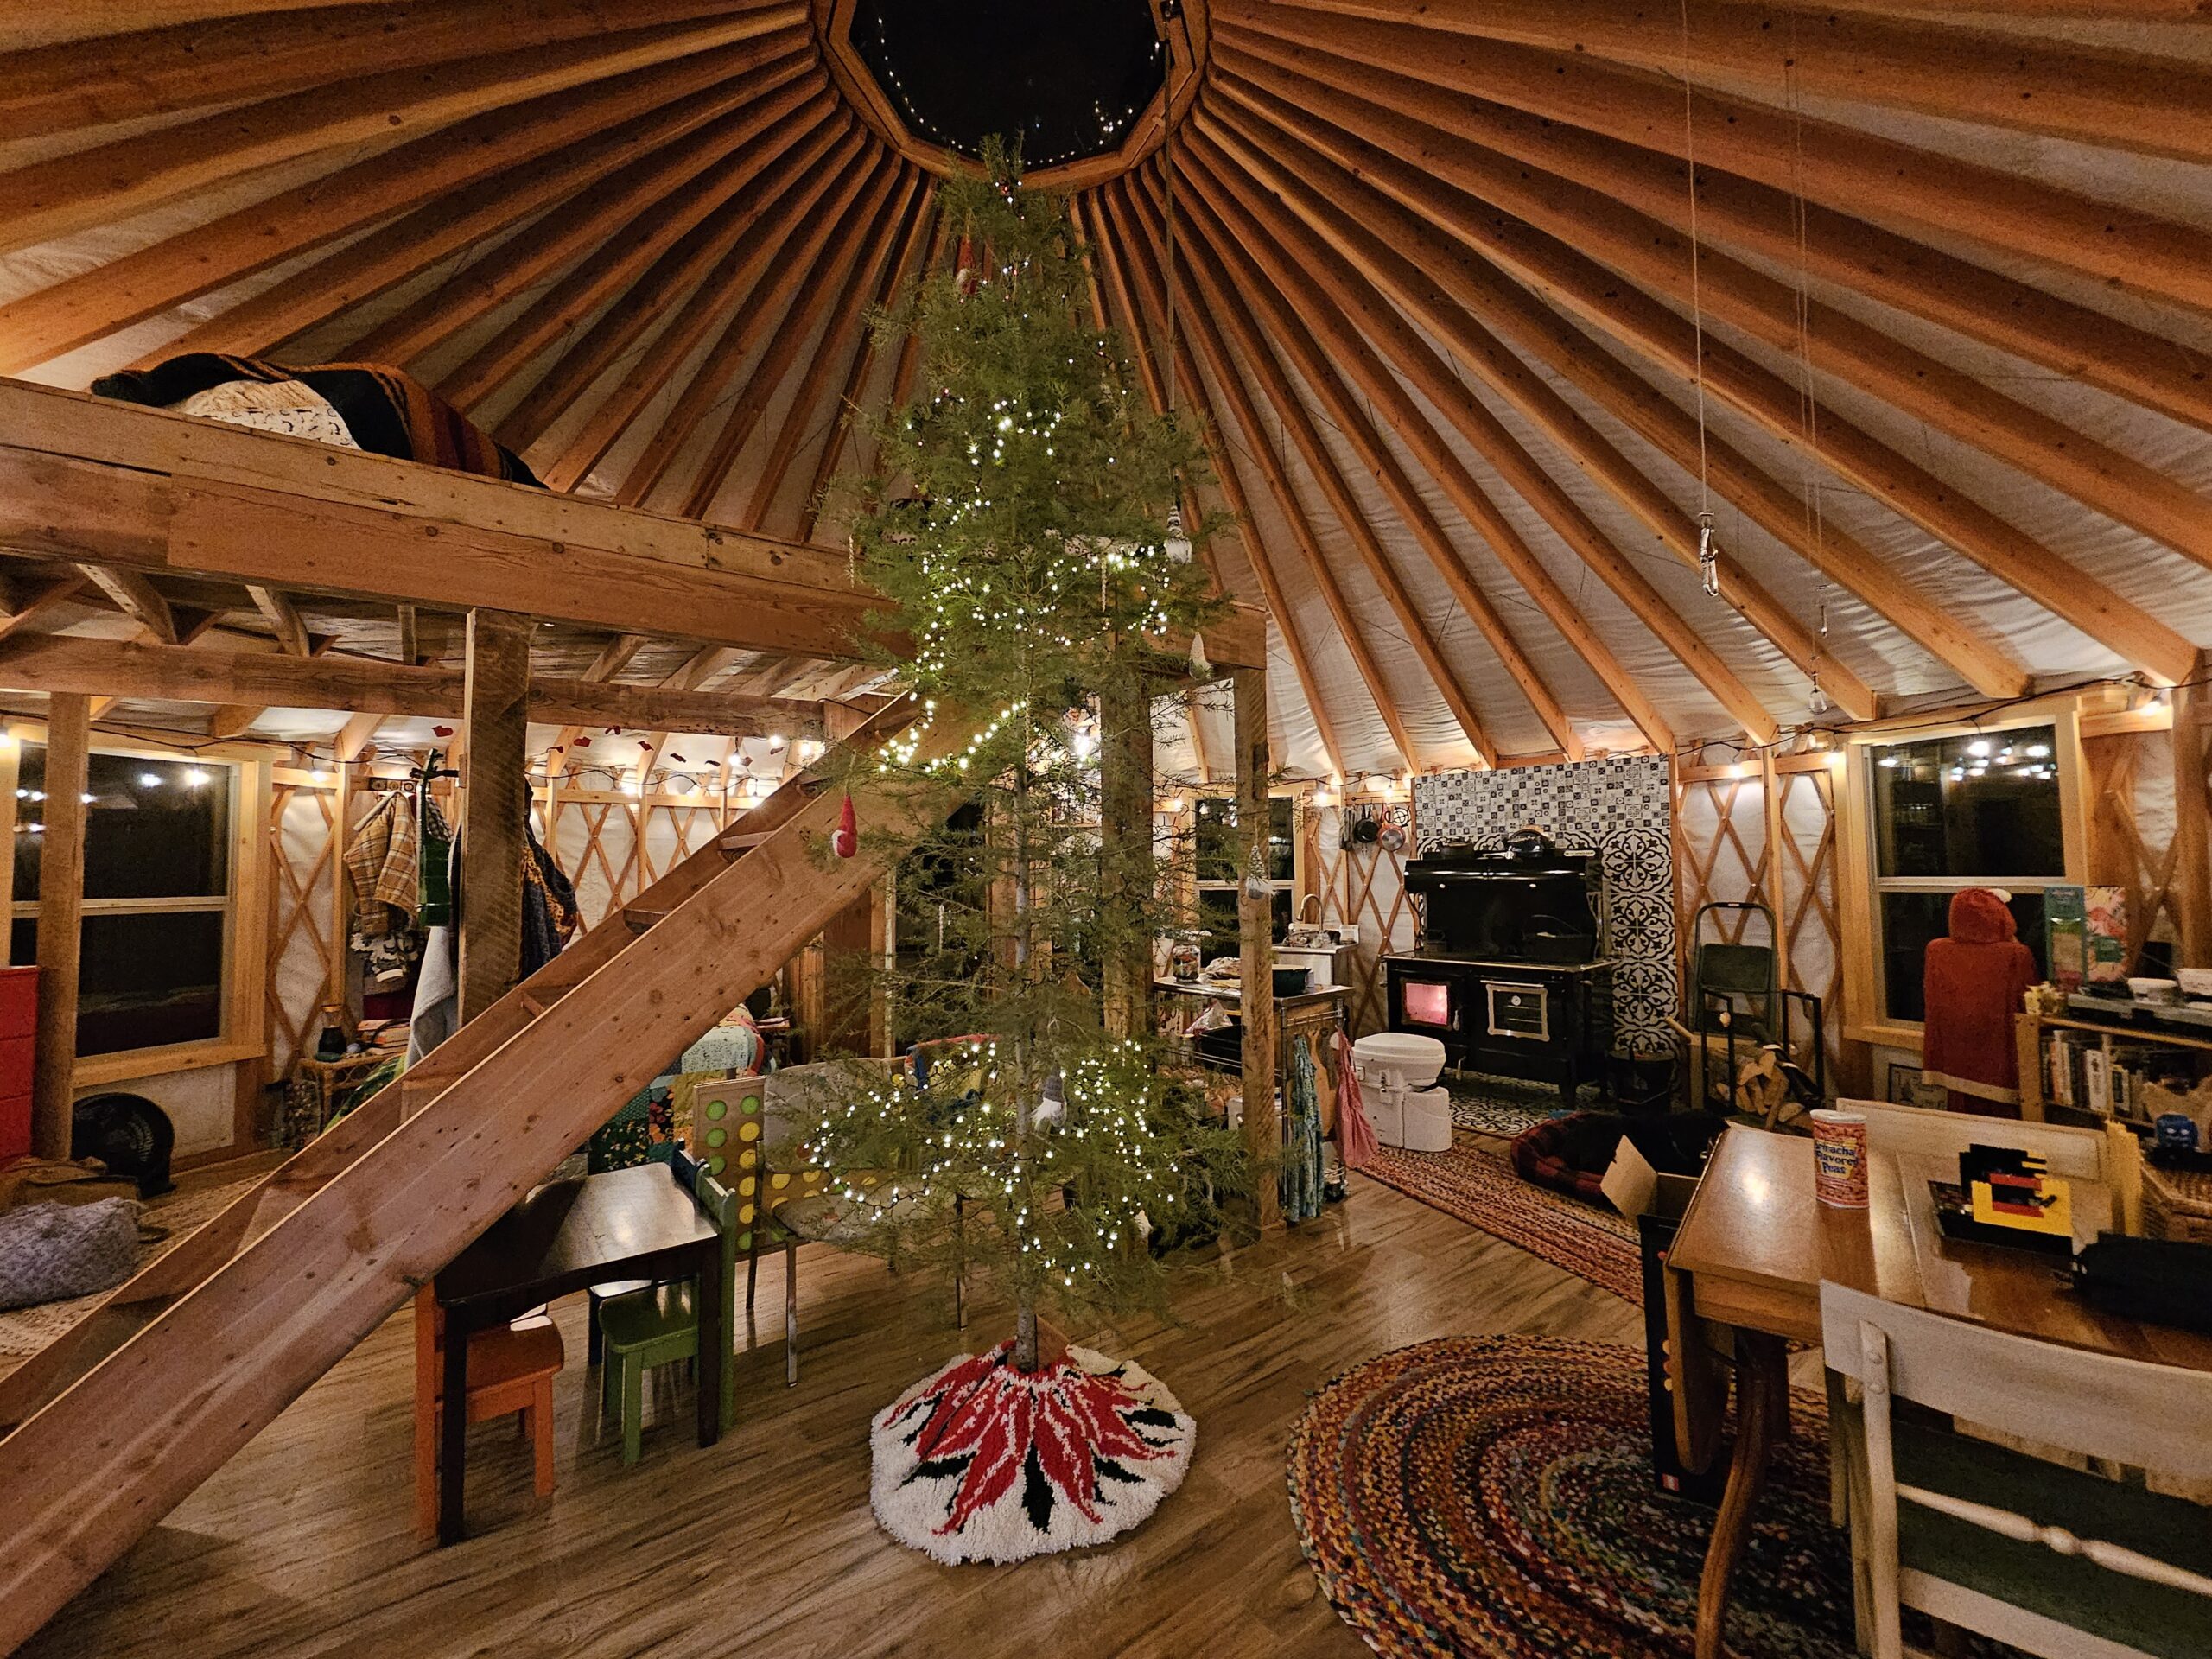

The Queen Reigns Supreme
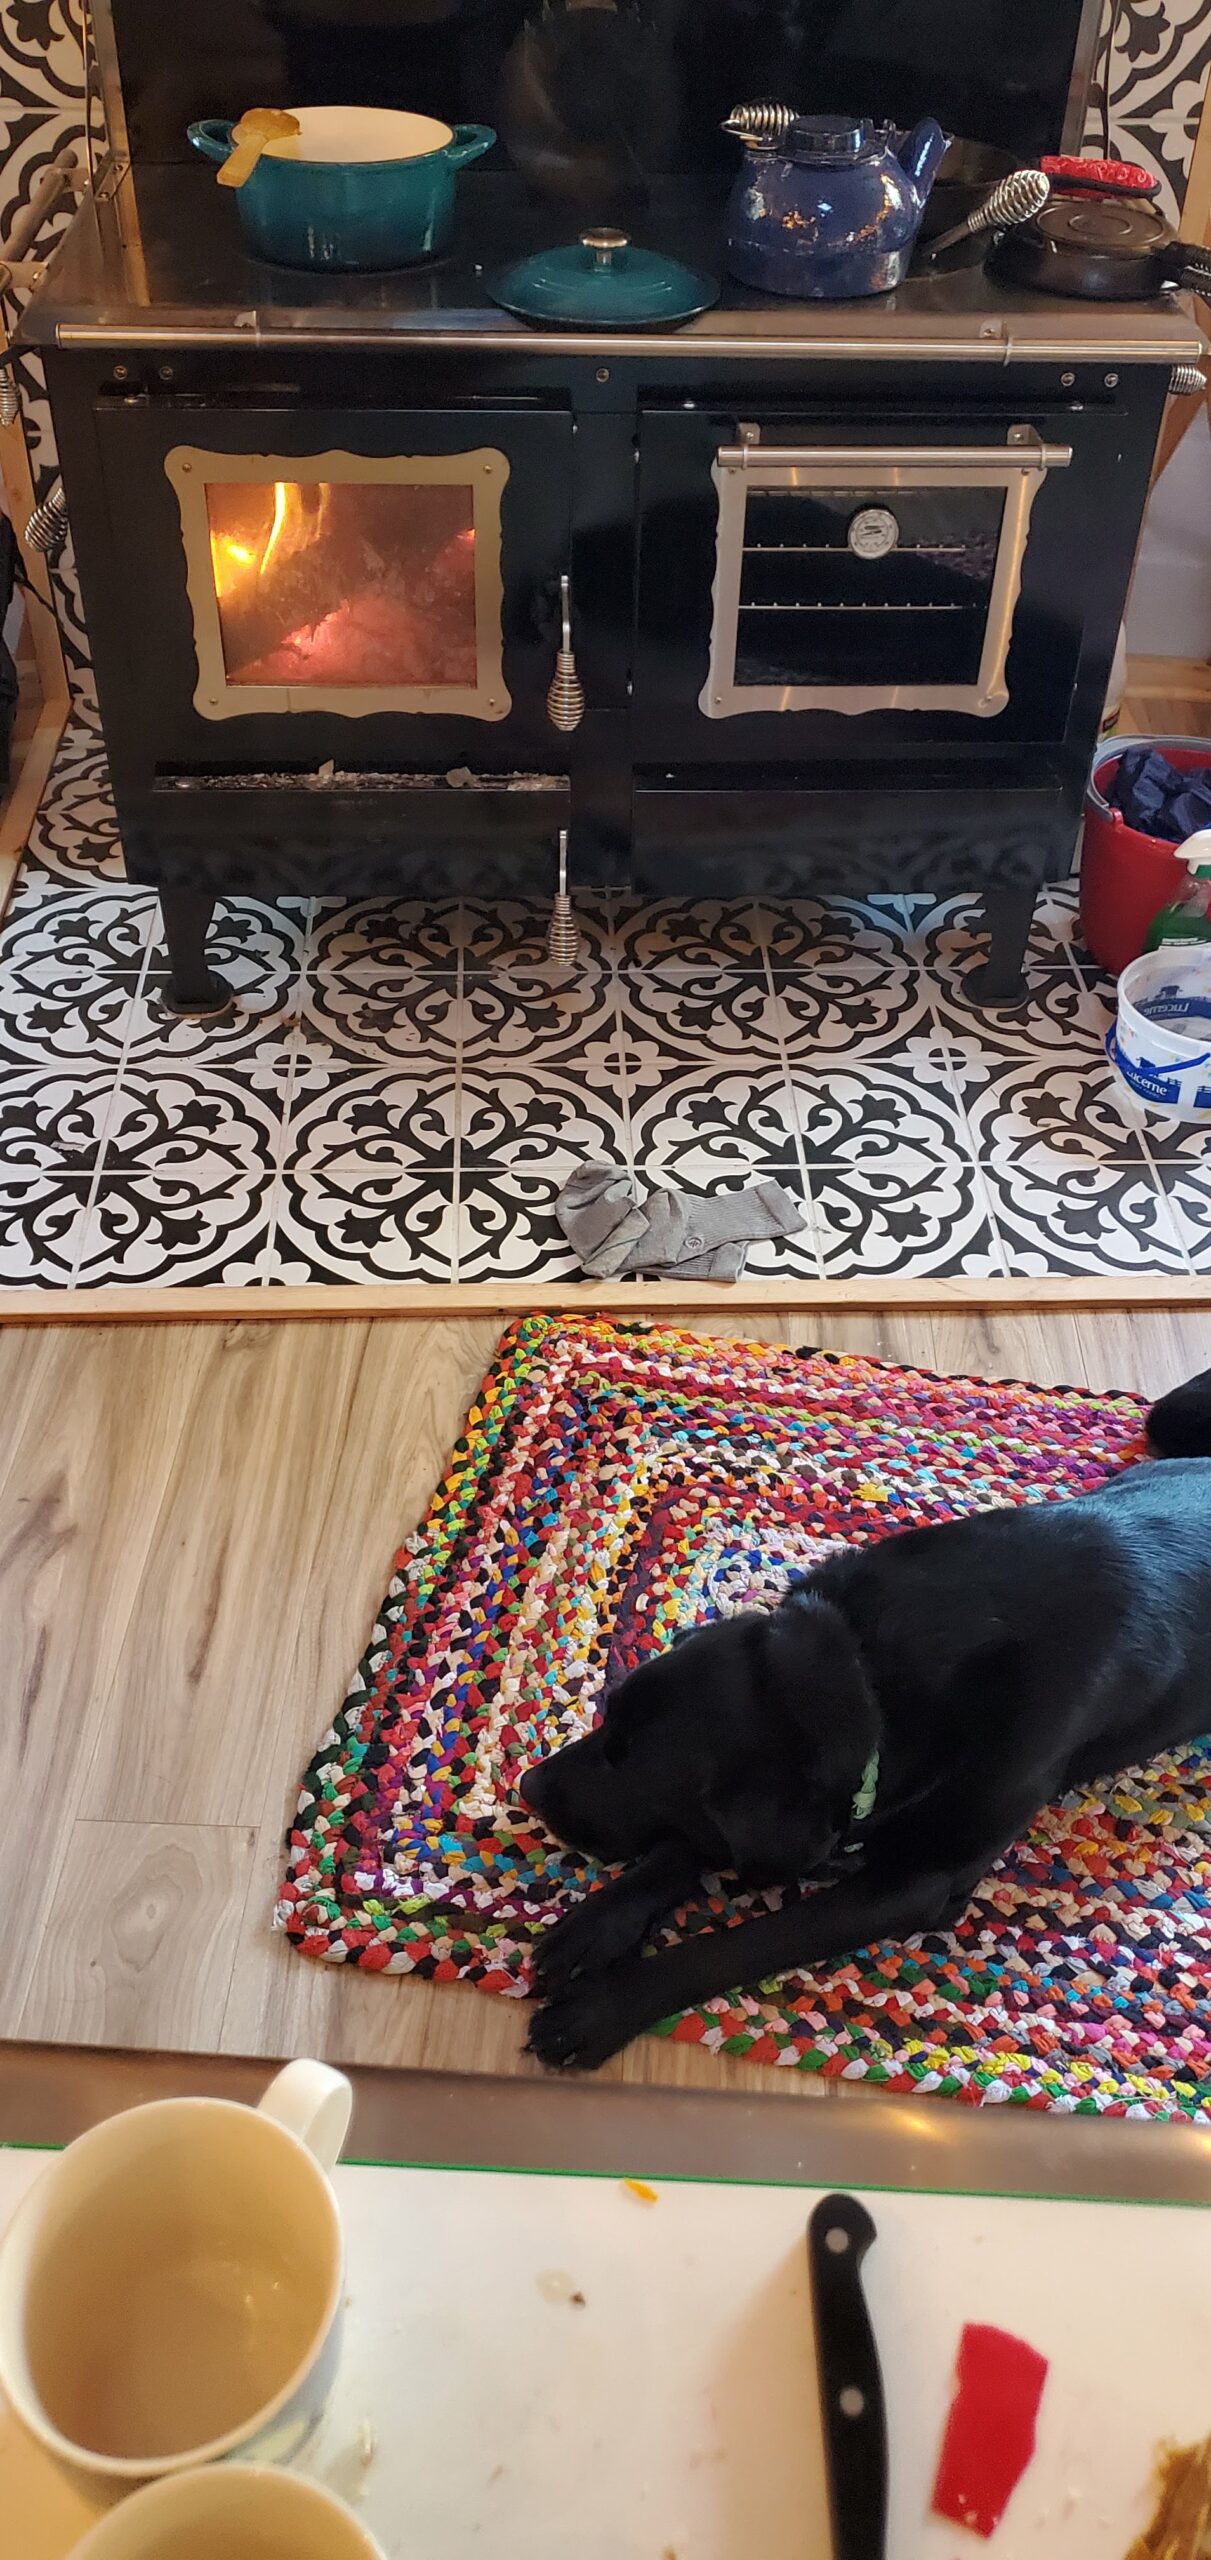
All in all, I cannot say enough good things about the Kitchen Queen. During the winter months we keep some water in the tank behind her and after we get the yurt heated there is always hot water available. That isn’t the case in the summer without turning on the camp stove. I am partial to the cold months at the yurt, over the warm, if only the road were a tad bit less scary. We don’t let that stop us from an adventure up though. Studded snow tires and 4 wheel drive for the win!
It takes about 8 hours to completely heat the yurt when it is freezing cold outside. The snow sluffs off the roof as she warms and sounds like an avalanche, so you always need to brace yourself for that. Balloon isn’t a fan. We love the Queen and have zero regrets on the splurge!