Fire Cider!
Fire Cider is a must-have during the fall and winter months. This is an easy and inexpensive way to support your immune system, DIY style.

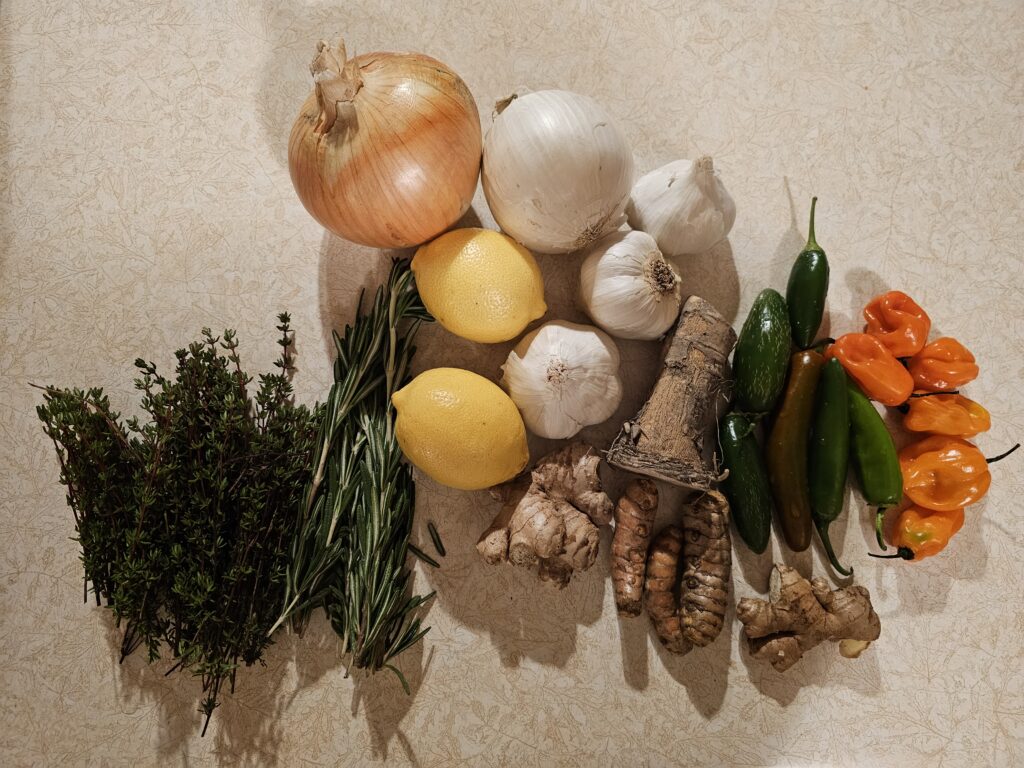
The ingredients are simple, spicy and a boost to your shot of apple cider vinegar. You certainly don’t have to use the same ingredients pictured here, but I will say that I LOVE how our Fire Cider turned out last year, so I bought the same ingredients again. The best part, is I spent about $20 total. And, this amount of groceries, makes a LOT of Fire Cider. I filled five of the BIG Ball Canning Jars and I probably could’ve made it six instead – but I crammed.
How To
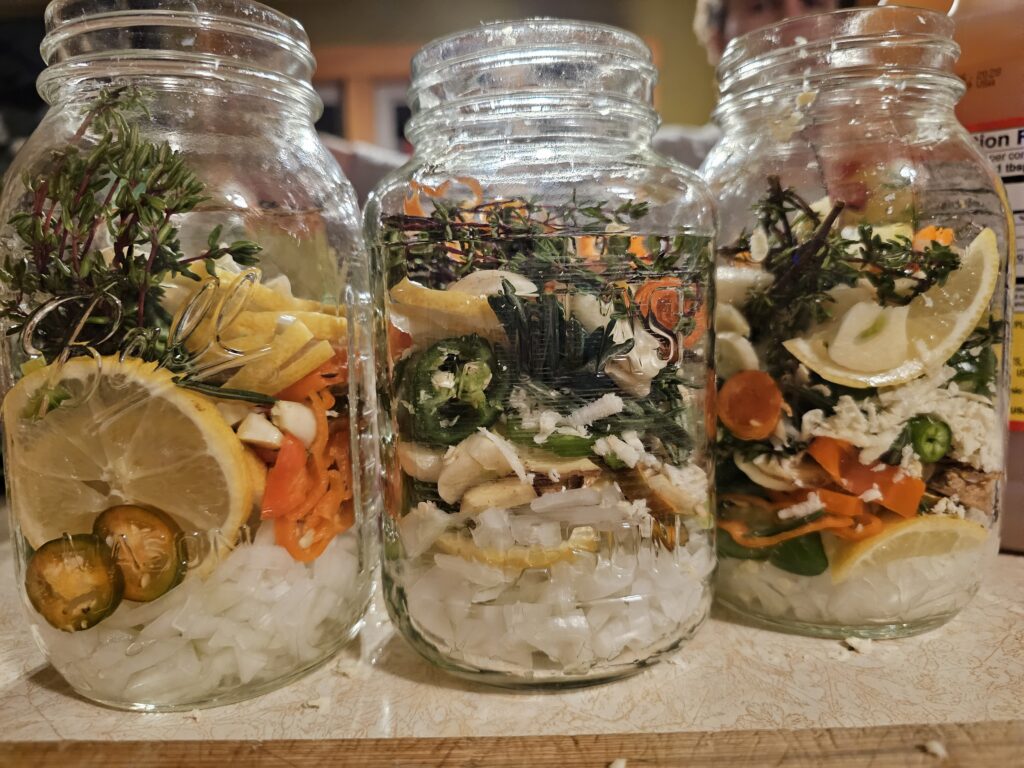
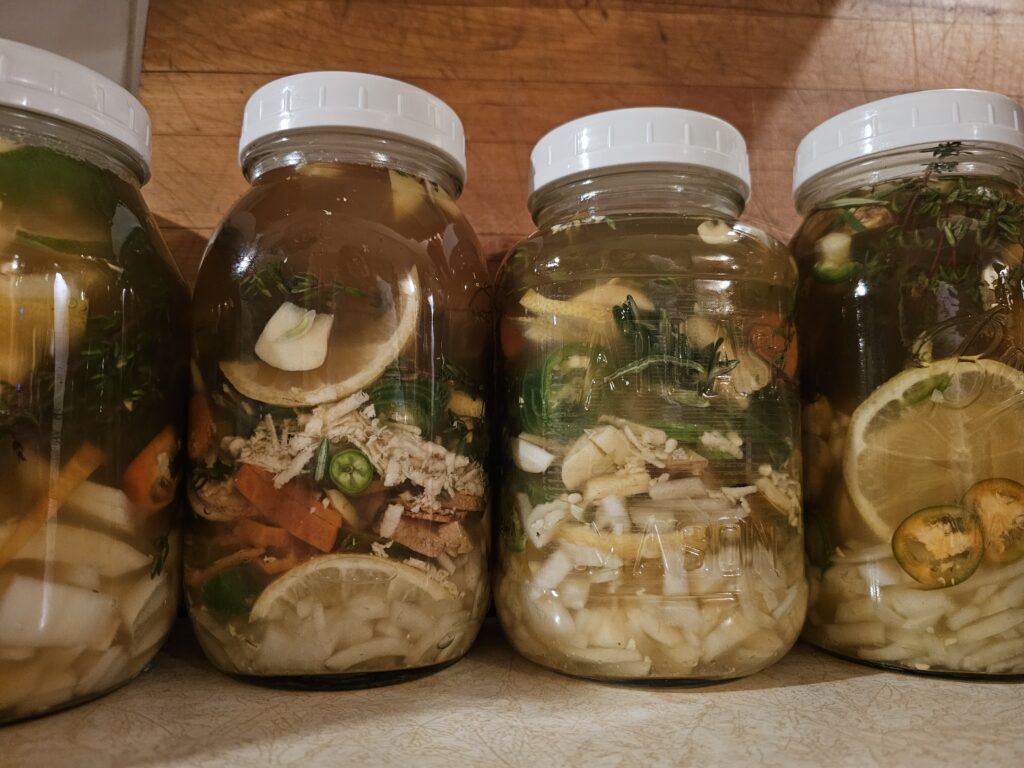
Grab your ingredients, chop them up, pack them in a sterile jar, and pour your unfiltered apple cider vinegar over them. It is best to be sure your ingredients are covered completely with vinegar. They’ll need a lid, but you want to use a lid that won’t react with the vinegar – a metal lid won’t work for this infusion. I like plastic lids, but I am actually using a fun new kind of lid this year. It is wooden on top, with a plastic seal beneath. They are cute, but when I shake my jars they do leak a wee bit. Regardless of your choice, cap them with a lid, shake them daily, and infuse for approximately a month to six weeks, strain and enjoy.


How to Enjoy & Store
I pour our the concoction back in a jar, something glass, still with a plastic lid. It is best to keep your Fire Cider in your refrigerator if possible. It will last longer. Sometimes I just pour myself a small glass and sip. But, we also like to add a shot to a glass of bubbly water, or maybe a bloody mary, or some tea. Yum!
There are LOADS of fun Fire Cider recipes on the interwebs, but I love this Fire Cider! book by Rosemary Gladstar and Friends.
Watch Our Technique
Hopefully, your Fire Cider will keep some of the bugs away. If nothing else, it tastes delish and adds a wee bit of spice to your daily, or maybe weekly routine.
