Paper Piece Quilting
This is a post I’ve been waiting to do for months. I’m breaking my pattern a bit of featuring a crafty friend, but I figured since this project was a great big collaboration it was a safe thing to do. Well, and this is my craft blog after all, so I guess I can do whatever I please.
I asked myself whether or not this a lazy way to quilt? Some of the squares that I made took me an hour though so I decided it wasn’t cheating. I also asked a very skilled quilter at the Western Montana Fair this summer what she thought and she said that Paper Piecing was one of the most difficult quilting techniques. I don’t really buy that response, but it made me feel pretty good about the time I’d put into each piece. If you’re looking for some patterns here is a great source.
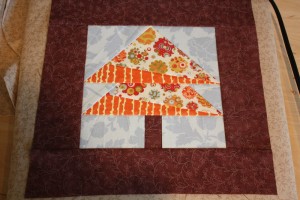
As I mentioned before this collaboration was pretty amazing thanks to my awesomely crafty family, and they deserve credit for the crafty side of me. I thought for this first post I would do a step-by-step of how to paper piece these squares, and then I would follow up in another post, with photos of everyone’s squares and the completed quilt. I wasn’t present for the gifting of the quilt, so I don’t have many photos, and I haven’t seen the finished product in person yet, but the photos looks great and I’m envious, I wish this was my wedding present.
So here we go with the paper piecing…
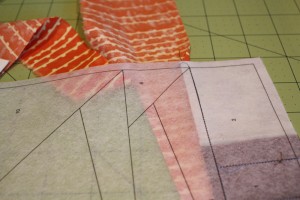
Step One is choosing your fabric. After a little bit of practice it is easier to choose based on the square you are working with. The patterns are always numbered so it is important to follow the numbers. I’ve also turned my whole pattern over before and then it is all backwards, it doesn’t matter so much with a tree, but it can mess up a more complicated pattern. So, start at the very beginning, a very good place to start, number 1 and 2 can be stitched together right off the bat. You stitch right on the lines and then of course when you flip your pattern over they will be 1/4″ off from where you think they would be. The important info is to stitch right on the lines and make sure you have enough fabric to cover the entire space you are working with. I’ve cut myself short way too many times, then you’ve got seam ripping ahead of you.
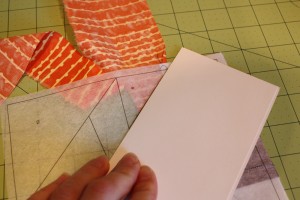
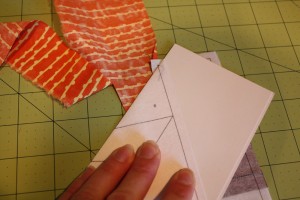
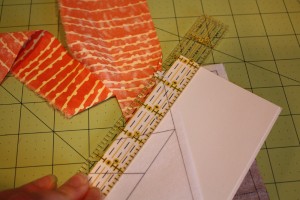
After I stitched those first two sections I took a card and put the card right on the line between number 2 & 3. I fold the pattern over the card to make a very straight line and then I can trim my excess fabric off. I leave myself a 1/4″ allowance when trimming. You need some room to stitch your future portion to your completed portion.
Once you fold the pattern over top of the card you can lay down your quilt & sew ruler, making sure to leave yourself that 1/4″.
Here is that allowance you want to be sure you have.
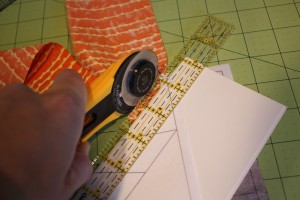
I would definitely recommend trimming with one of these rotary cutters, in fact I think you need it for paper piece quilting projects. Trim and try to save that excess fabric. That excess fabric is the beautiful thing about paper piecing, you are supposed to just use scraps for these projects.
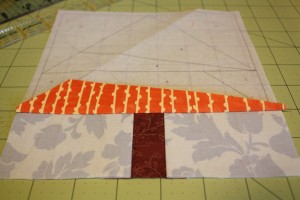
After trimming if you take a moment to look at your progress, it is instantly gratifying. Keep on truckin’.
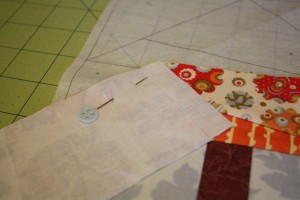
When stitching, especially diagonally, I think pinning is key. So, don’t be afraid to use your pins and just keep following the numbers. It is actually really simple when you try it. This is the most perfect way to make your quilting easy and a great way to start quilting. I’ve been wanting to quilt forever, and this was just the nudge I needed.
Just wait until you see the final product. Happy Crafting!

