Solar Art
As our week of Art Camp progresses we look to the sunshine, and boy do we have plenty of it in July and August.
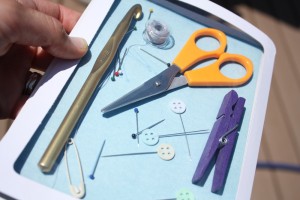
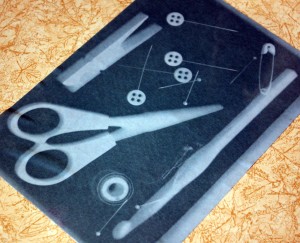
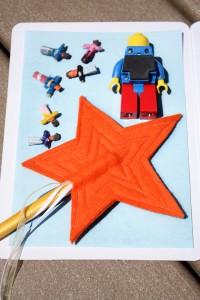
I suppose you can put most anything on this paper and have fun results. These were my choices…NOT Simon and Gus’s choices.
This is a great simple craft for a sunny day – very easy – not messy. It filled a good gap of time because we decided we’d make a whole bunch of them using all kinds of things we found in the yard and in the house.
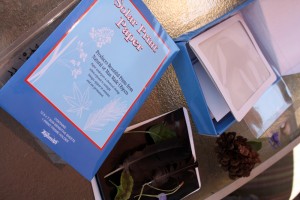
The kit consisted of several sheets of solar paper (of which we still have a handful) a clear cover to put your paper and goodies inside of to prevent them from sliding around as easily. We ordered ours from Amazon, but you can get them at Walking Stick Toys now! There are two different sizes in our little store.
[phpzon asin=”B001FD86EI” country=”US” trackingid=”mamalovescrafting-20″ templatename=”asin-tabs”]
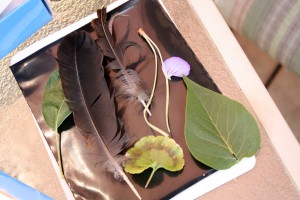
First we decided what kinds of things we’d like to see the silhouette of. We had to discuss the fact that a photograph wouldn’t work a few times – it is a little bit tricky to wrap your head around this concept when you are 4 and 6. “So why can’t I just put this picture of me and Grandpa on here?” Me:”You can but it will just come out as a 4×6 rectangle…you won’t see your Grandpa.”
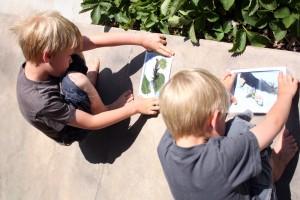
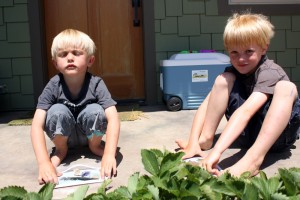
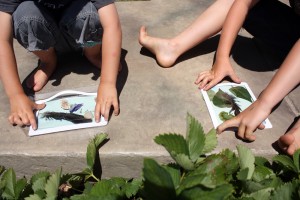
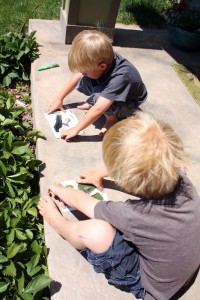
We took our treasures outside and when that blue paper hits the sun it almost immediately starts to change. Once it turns white you are ready to head back inside or to a cool water source.
Your paper/items may need to be in the sun for up to 5 minutes. Just make sure when you set your paper up you put the blue side of the paper up (exposed to the sun).
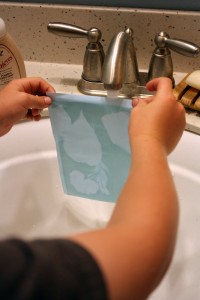
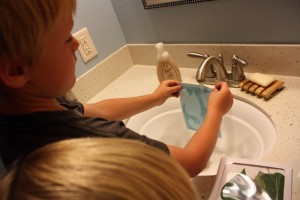
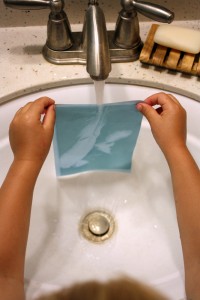
When you bring your creation in the house or to the hose you run cold water over it while gently holding the corners (you don’t really want your paper to tear so this can be tricky). You run water over the paper for approximately 1 minute.
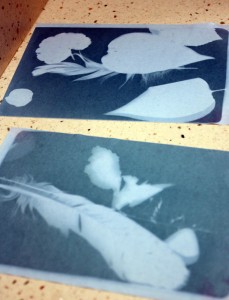
Your paper will turn a dark blue while the places you covered with treasure remain white.
Just like magic!
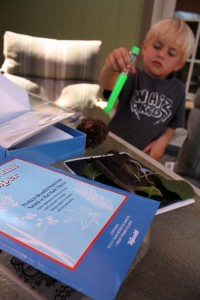
I wonder what this will look like…

